
Winter Camping for Beginners
Tips for How to Stay Warm and Comfortable in the Snow

So, you have decided to brave the elements and go winter camping but aren’t sure where to begin. Winter camping offers a rare glimpse into a wonderland of untouched landscapes that only the colder months can provide—absent of footprints and crowds, without summer bugs biting, and with some of the most incredible sunsets you may ever see streaking across the sky as you sit in utter solitude surrounded by the deafening sound of silence.
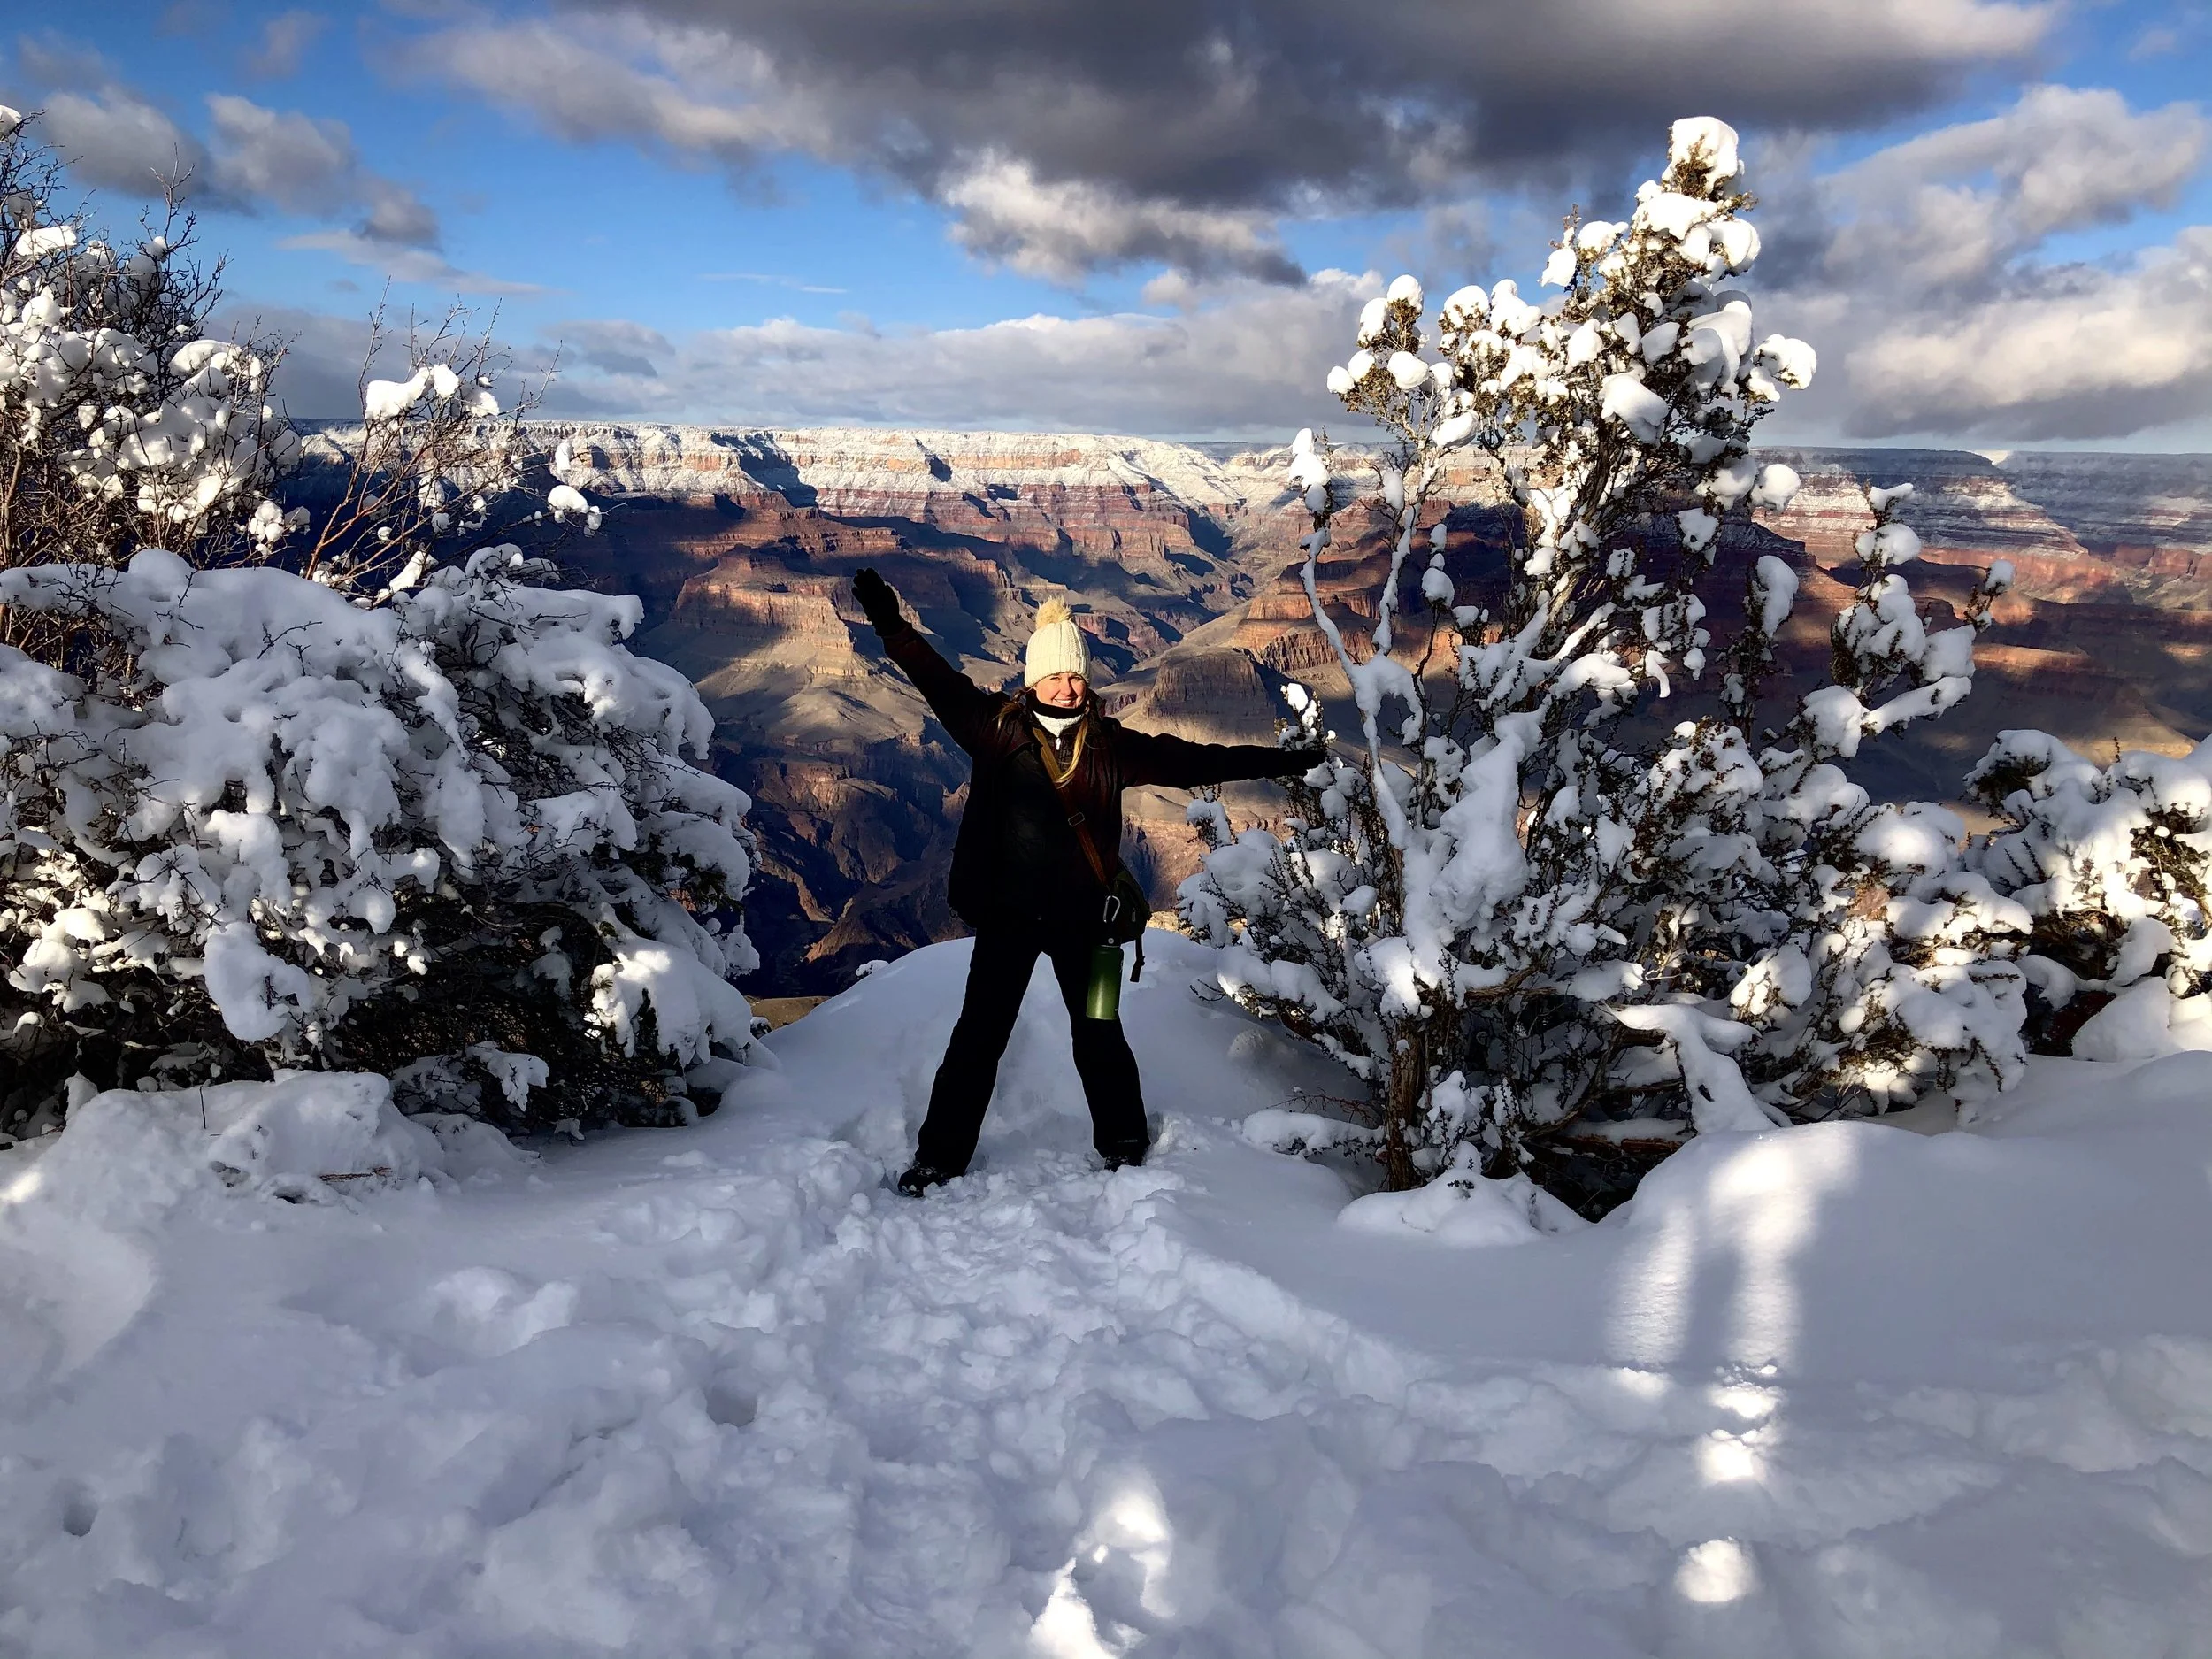
However, being unprepared for harsh winter conditions and freezing temperatures is a sure-fire way to ruin a trip that might otherwise become one of your favorite adventures. Camping in snow is nothing like camping in more temperate conditions. Below are my best tips for staying warm, safe, and comfortable while making the experience much more enjoyable and memorable.
✨Editorial Note: I have camped countless times in the snow both with my son and grandkids. These aren’t simply general cold-weather recommendations. Many tips in this article are small tricks I learned firsthand while camping in tents during freezing temperatures and heavy snow, often after discovering exactly what did and didn’t work.
👉 Shop My Winter Camping Essentials: Get my complete Amazon list of the cold-weather gear, clothing, and campsite essentials I recommend for staying warm, safe, and comfortable in the snow. Note this is an affiliate link and I earn from qualifying purchases.
Table of Contents
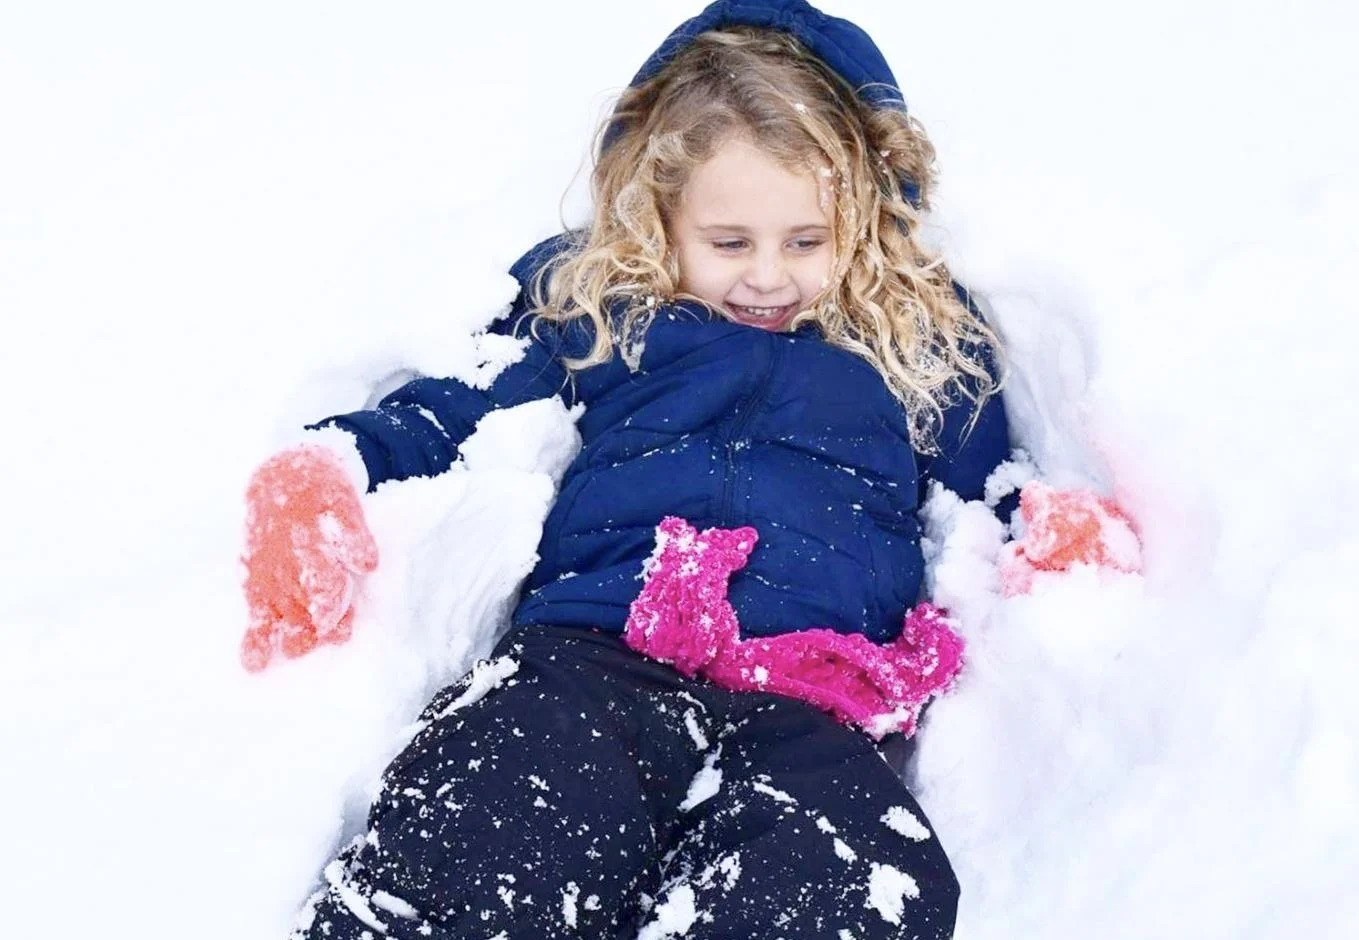
❄️ Why Try Winter Camping
Winter camping is more demanding than warm-weather camping, but the rewards are difficult to match. Familiar landscapes become completely different beneath fresh snow, popular trails can feel wonderfully quiet, and long winter nights create extraordinary opportunities for stargazing, photography and simply slowing down.
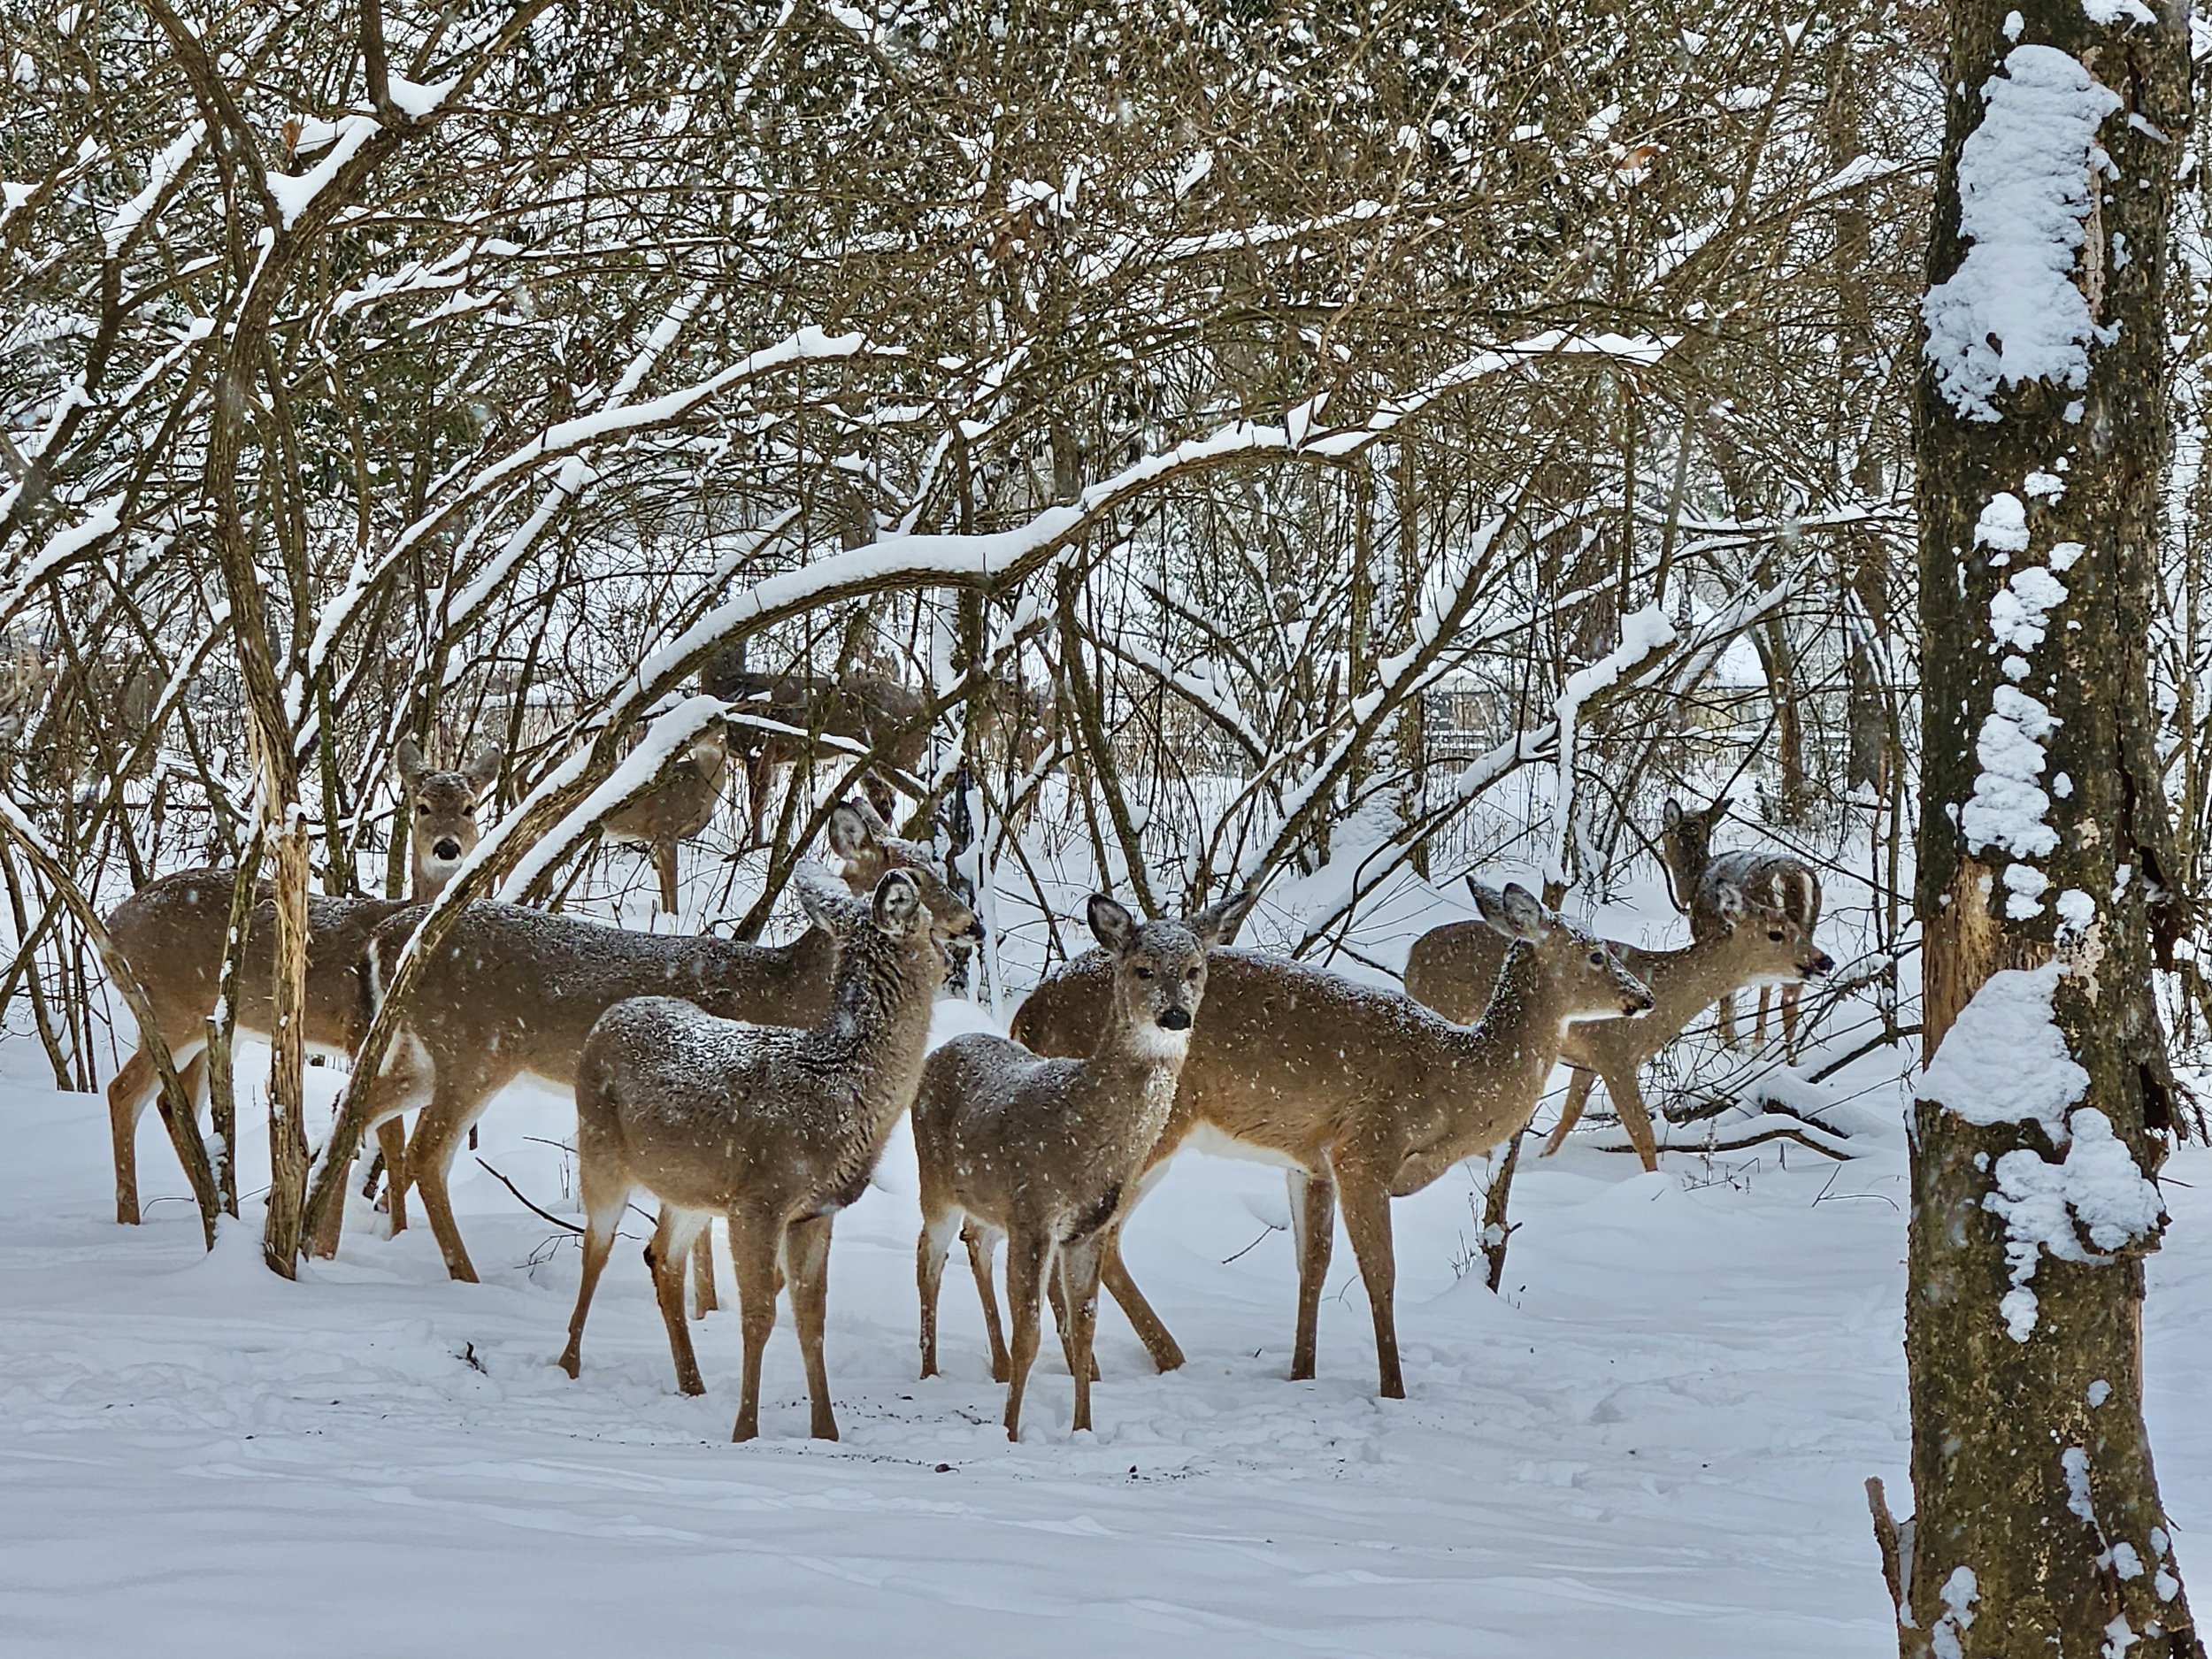
It also teaches you to become more deliberate. Every layer, meal, piece of equipment and campsite decision matters. With careful preparation and conservative choices, winter camping can be peaceful, beautiful and surprisingly comfortable.
🧭 Before You Leave Home
Check the Weather and Road Conditions
Before you ever leave home, check the local weather to determine what conditions you will likely encounter. Winter weather can be unpredictable and change quickly, especially with elevation, so check more than one forecast and prepare for conditions colder, wetter and windier than expected.
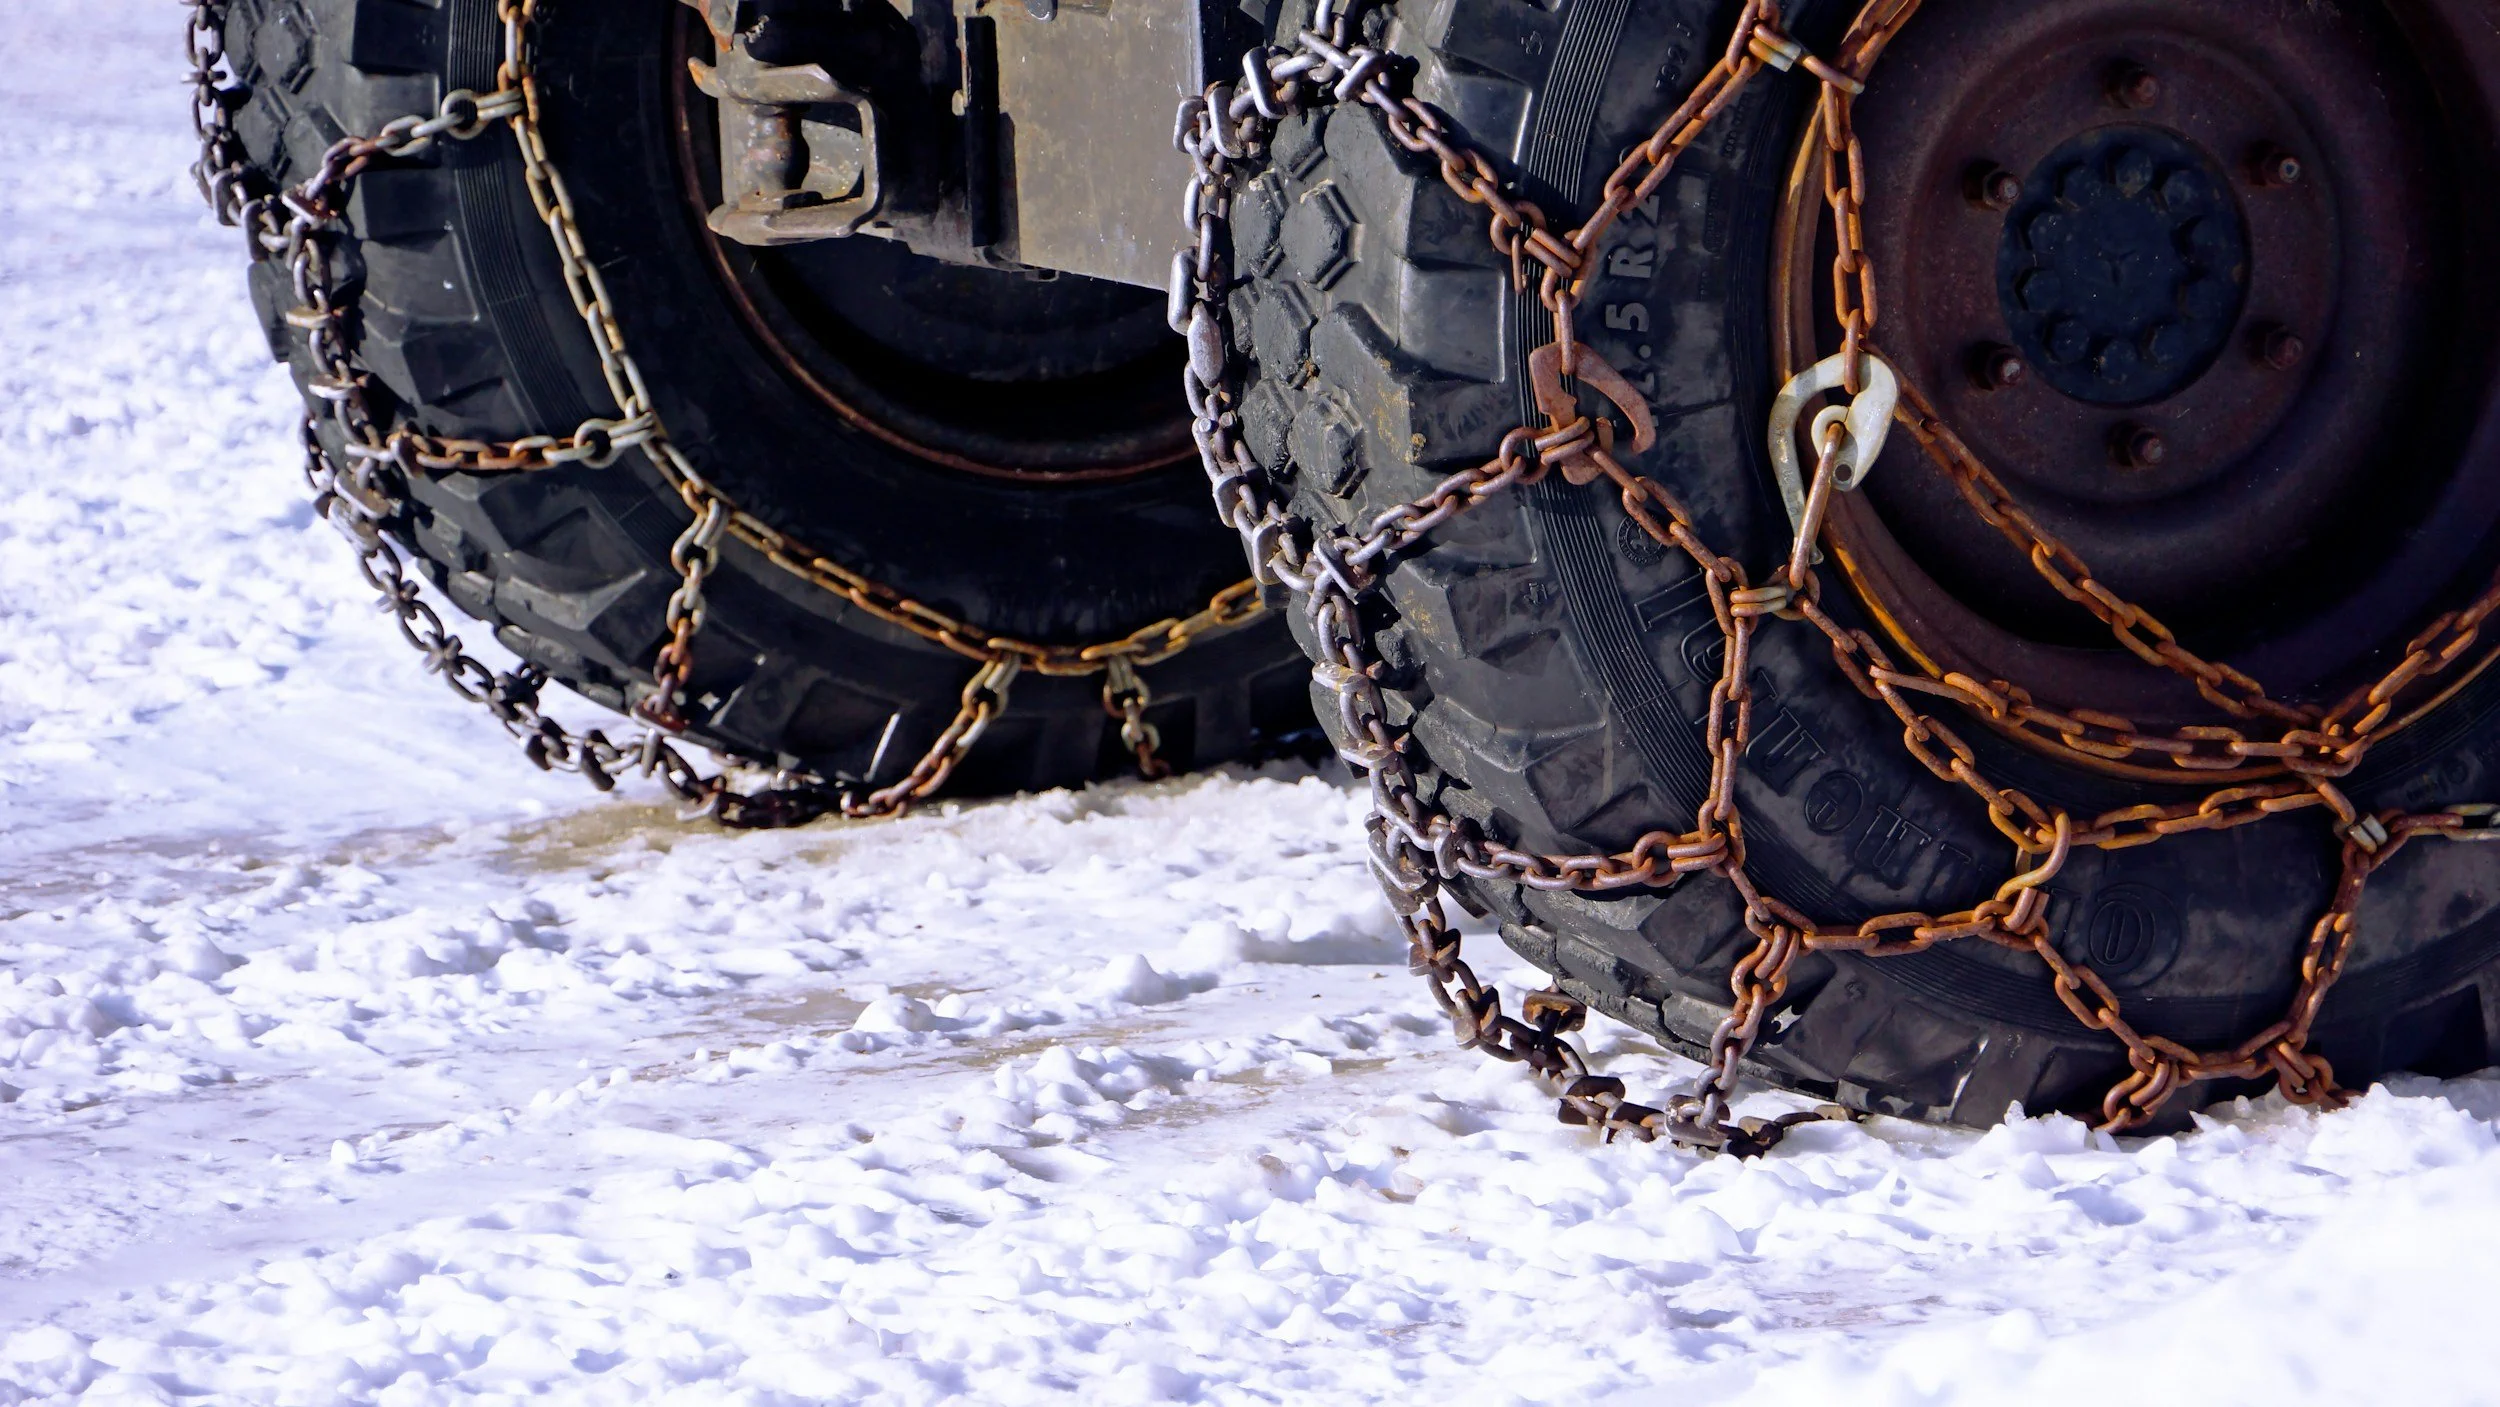
Weather will also affect road conditions, making it extremely important to know what you are in for so you can safely reach your destination and return home. Check official transportation or park alerts for chain restrictions, closures and overnight parking rules. Carry properly sized tire chains or traction devices when required.
✨ Pro Tip: Practice putting on your tire chains at home before your trip to avoid having to test them out on icy roads. I also keep fingerless gloves and a waterproof tarp in my vehicle so I don’t have to kneel directly on wet, icy pavement while installing them. The cold metal can make your hands feel frozen and the ground will undoubtedly get your clothes wet otherwise.
Prepare Your Vehicle
Before leaving, check your tires, battery, windshield wipers and fluid levels or have the vehicle inspected. Fill the fuel tank before heading into remote areas and never assume the nearest seasonal service station will be open.
What My Winter Vehicle Kit Includes
A portable battery jump starter
Ice scraper and snow brush
Winter-rated windshield fluid
Spare set of windshield wipers
Shovel
Traction material - non-clumping cat litter (sand also works)
Headlamp
Flashlight with spare batteries
Roadside warning lights or reflective triangles
Spare tire, jack, and basic tools
Warm blankets and extra clothing
First-aid kit
Portable phone charger
Make a Trip Plan
Leave a detailed itinerary with someone who is not joining you on your trip and check in when you can. Include your destination, route, vehicle description, campsite, group members, expected return time, and the point at which they should contact authorities if you have not checked in. Cell service is unreliable in many winter destinations, so consider carrying a satellite messenger or personal locator beacon and know how to use it. I love my Garmin for this purpose.
Check Permits, Closures and Local Rules
Winter access, overnight parking, campfire rules, food-storage requirements and permit systems vary widely. Confirm current regulations with the agency managing the land. Do not assume a campground, road, restroom or water source that is available in summer will remain open in winter.
🧥 What Clothes to Pack
Dress in Layers
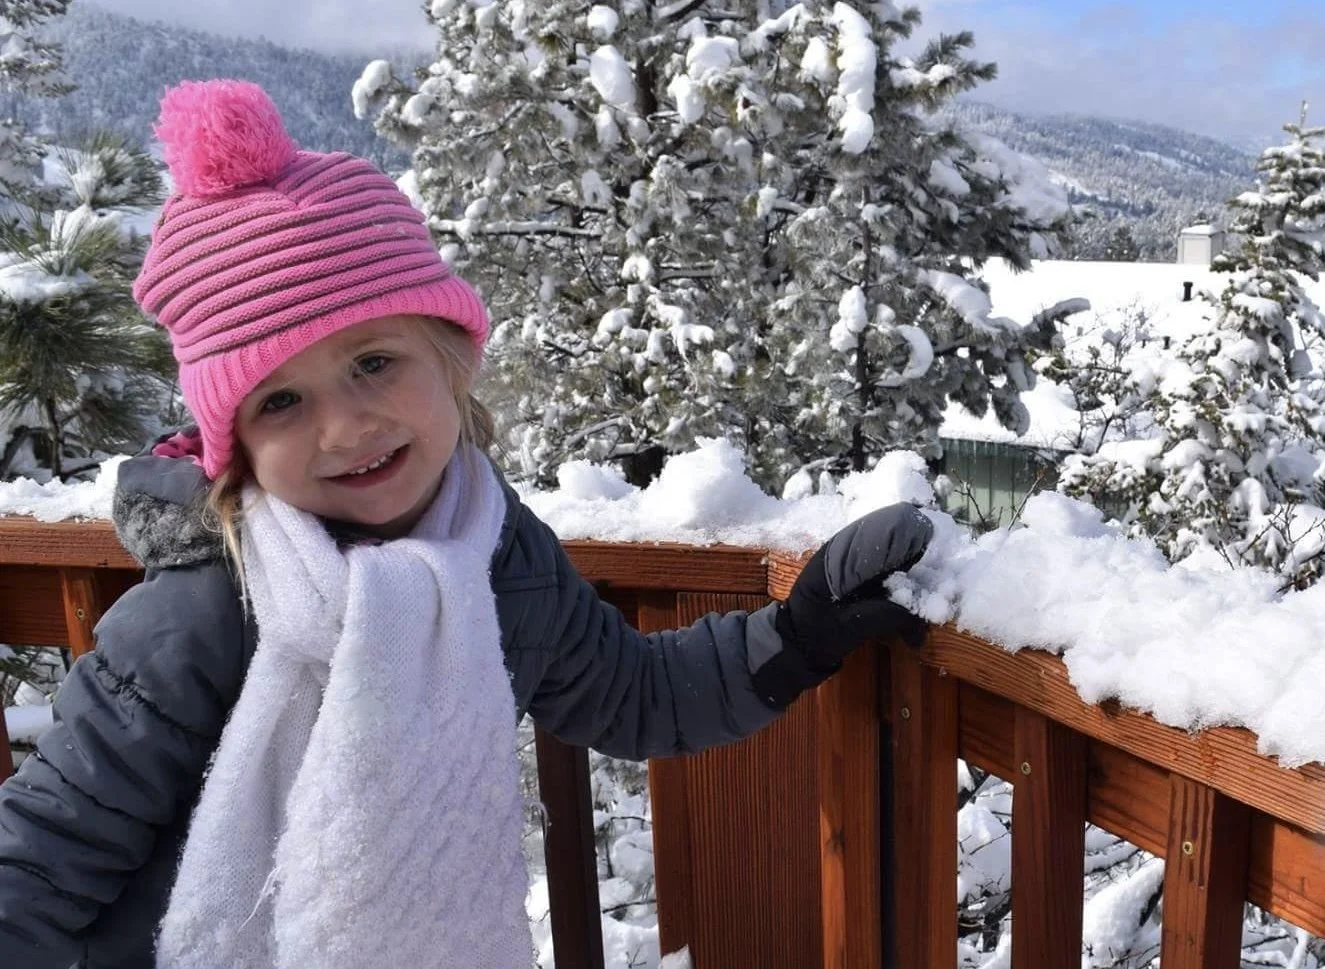
Most people already know my number one tip: dress in layers. Wearing multiple layers allows warm air to become trapped between them while letting you adjust as your activity level and the weather change. Start with a close-fitting, moisture-wicking base layer, add one or more insulating layers, and finish with a windproof and waterproof shell.
Layering also allows you to remove clothing as you become hot, especially while hiking, so you do not sweat. Nothing will make you colder in winter than wet clothing. Slow your pace or remove a layer before you begin sweating heavily, and add insulation before you actually feel cold because it is much harder to warm up after your body temperature drops.
Avoid Cotton
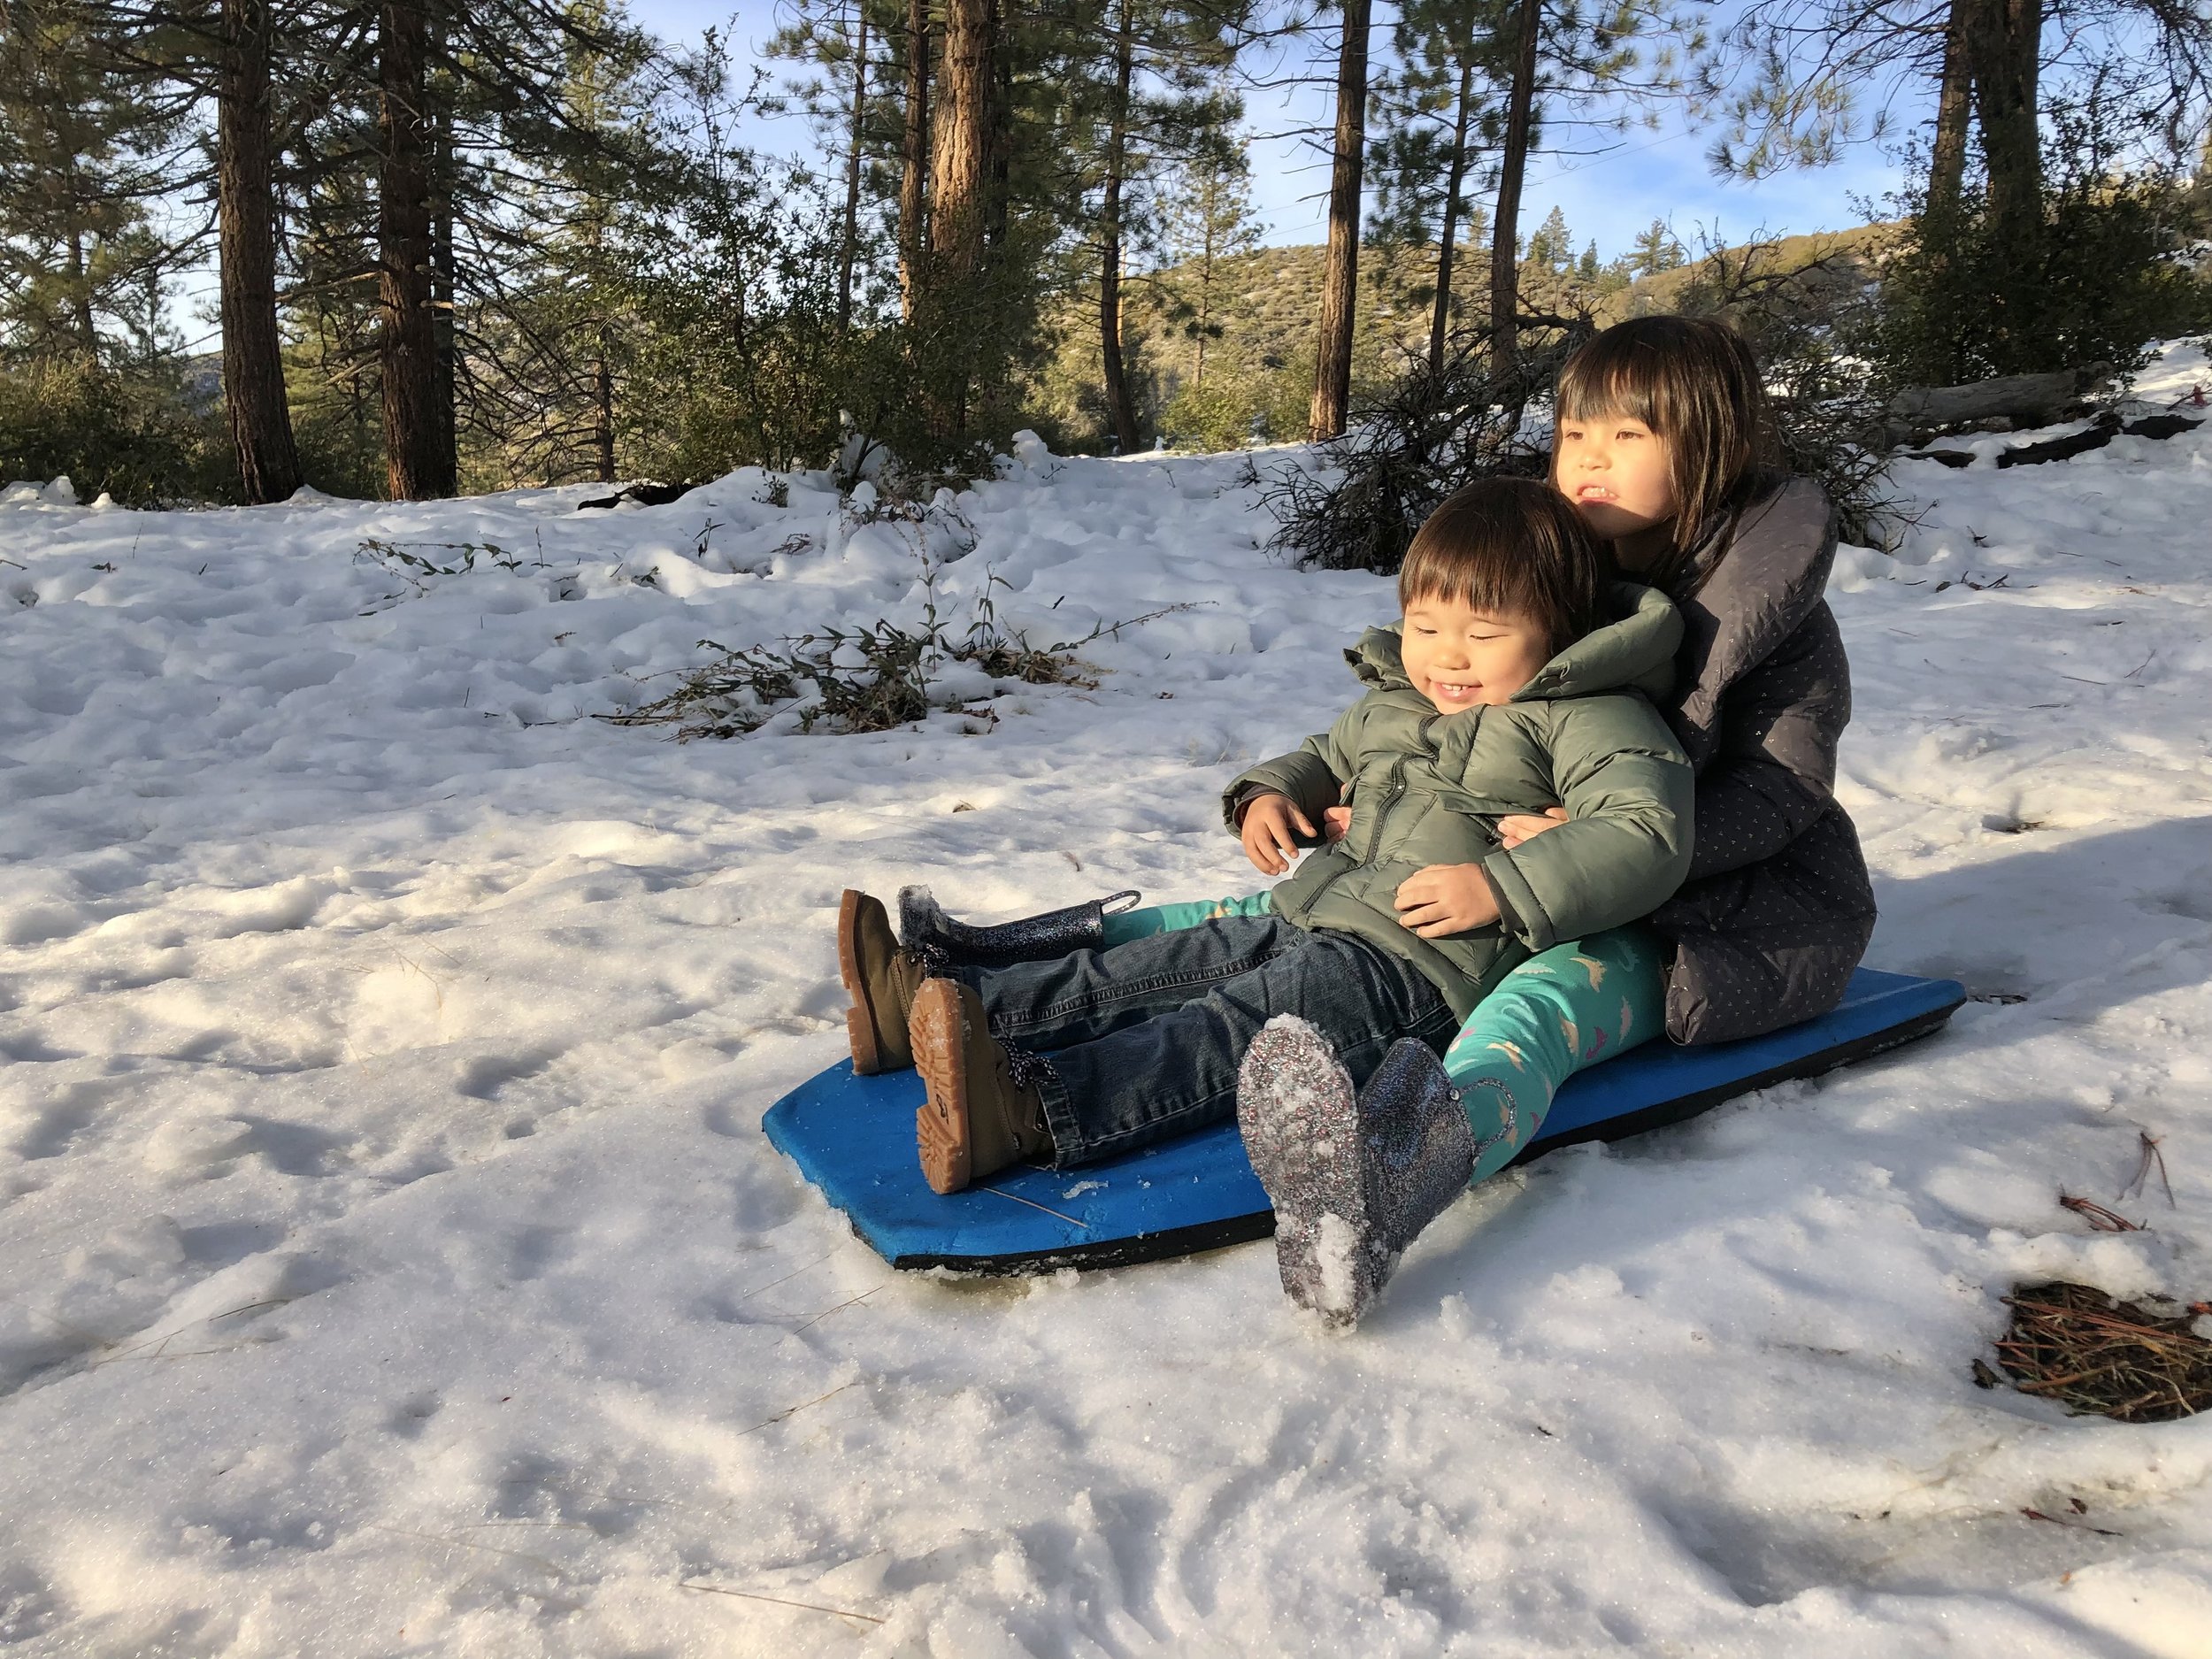
Cotton absorbs moisture and dries slowly. Choose synthetic or wool layers that continue insulating more effectively when damp.
My Winter Packing List
Lightweight moisture-wicking base-layer top and bottom
Midweight fleece or merino wool insulating layers
A heavier fleece or insulated jacket
Windproof and waterproof shell jacket
Waterproof shell pants or snow pants
Warm hat plus a spare
Fleece or wool neck gaiter
Waterproof insulated gloves or mittens plus a spare pair
Thin liner or fingerless gloves for photography, cooking and camp tasks
Several pairs of wool or synthetic socks
Insulated waterproof boots with room to wiggle your toes
Gaiters to keep snow out of your boots
Sunglasses or goggles and sunscreen for reflected snow glare
When I hike in winter, my feet often sweat, which means my socks can become damp surprisingly quickly. I bring several extra pairs and change them constantly as needed. Nothing is worse than cold, wet feet in the snow. The key is not simply owning warm clothing—it is keeping that clothing dry, so pack extras of anything likely to become wet.
👉 Packing for a winter trip? Get my complete Amazon list of the cold-weather gear and clothes.
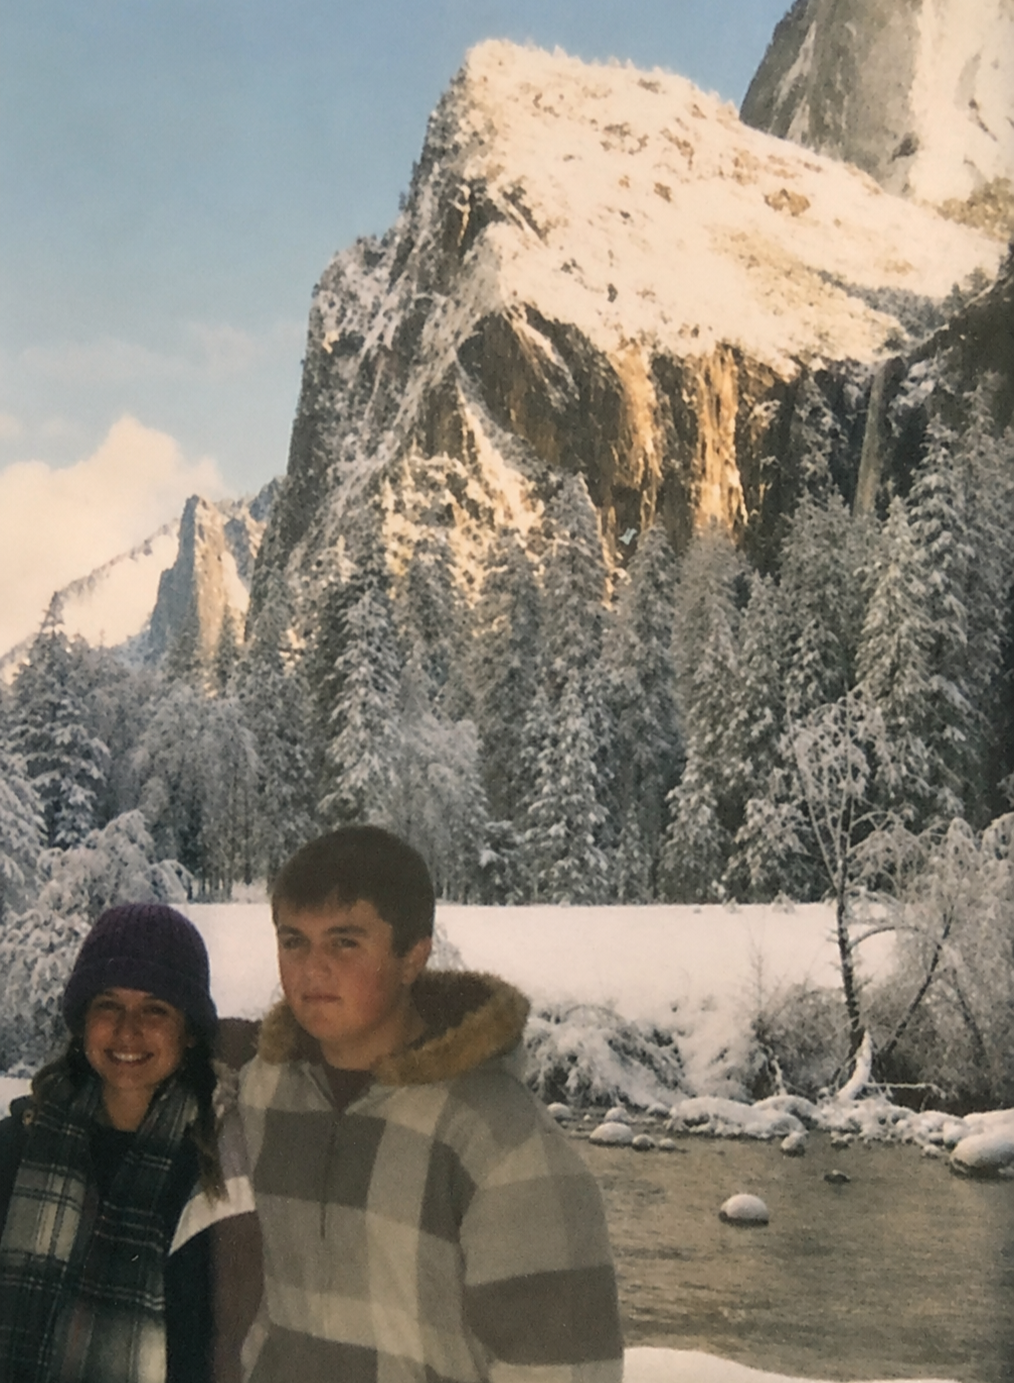
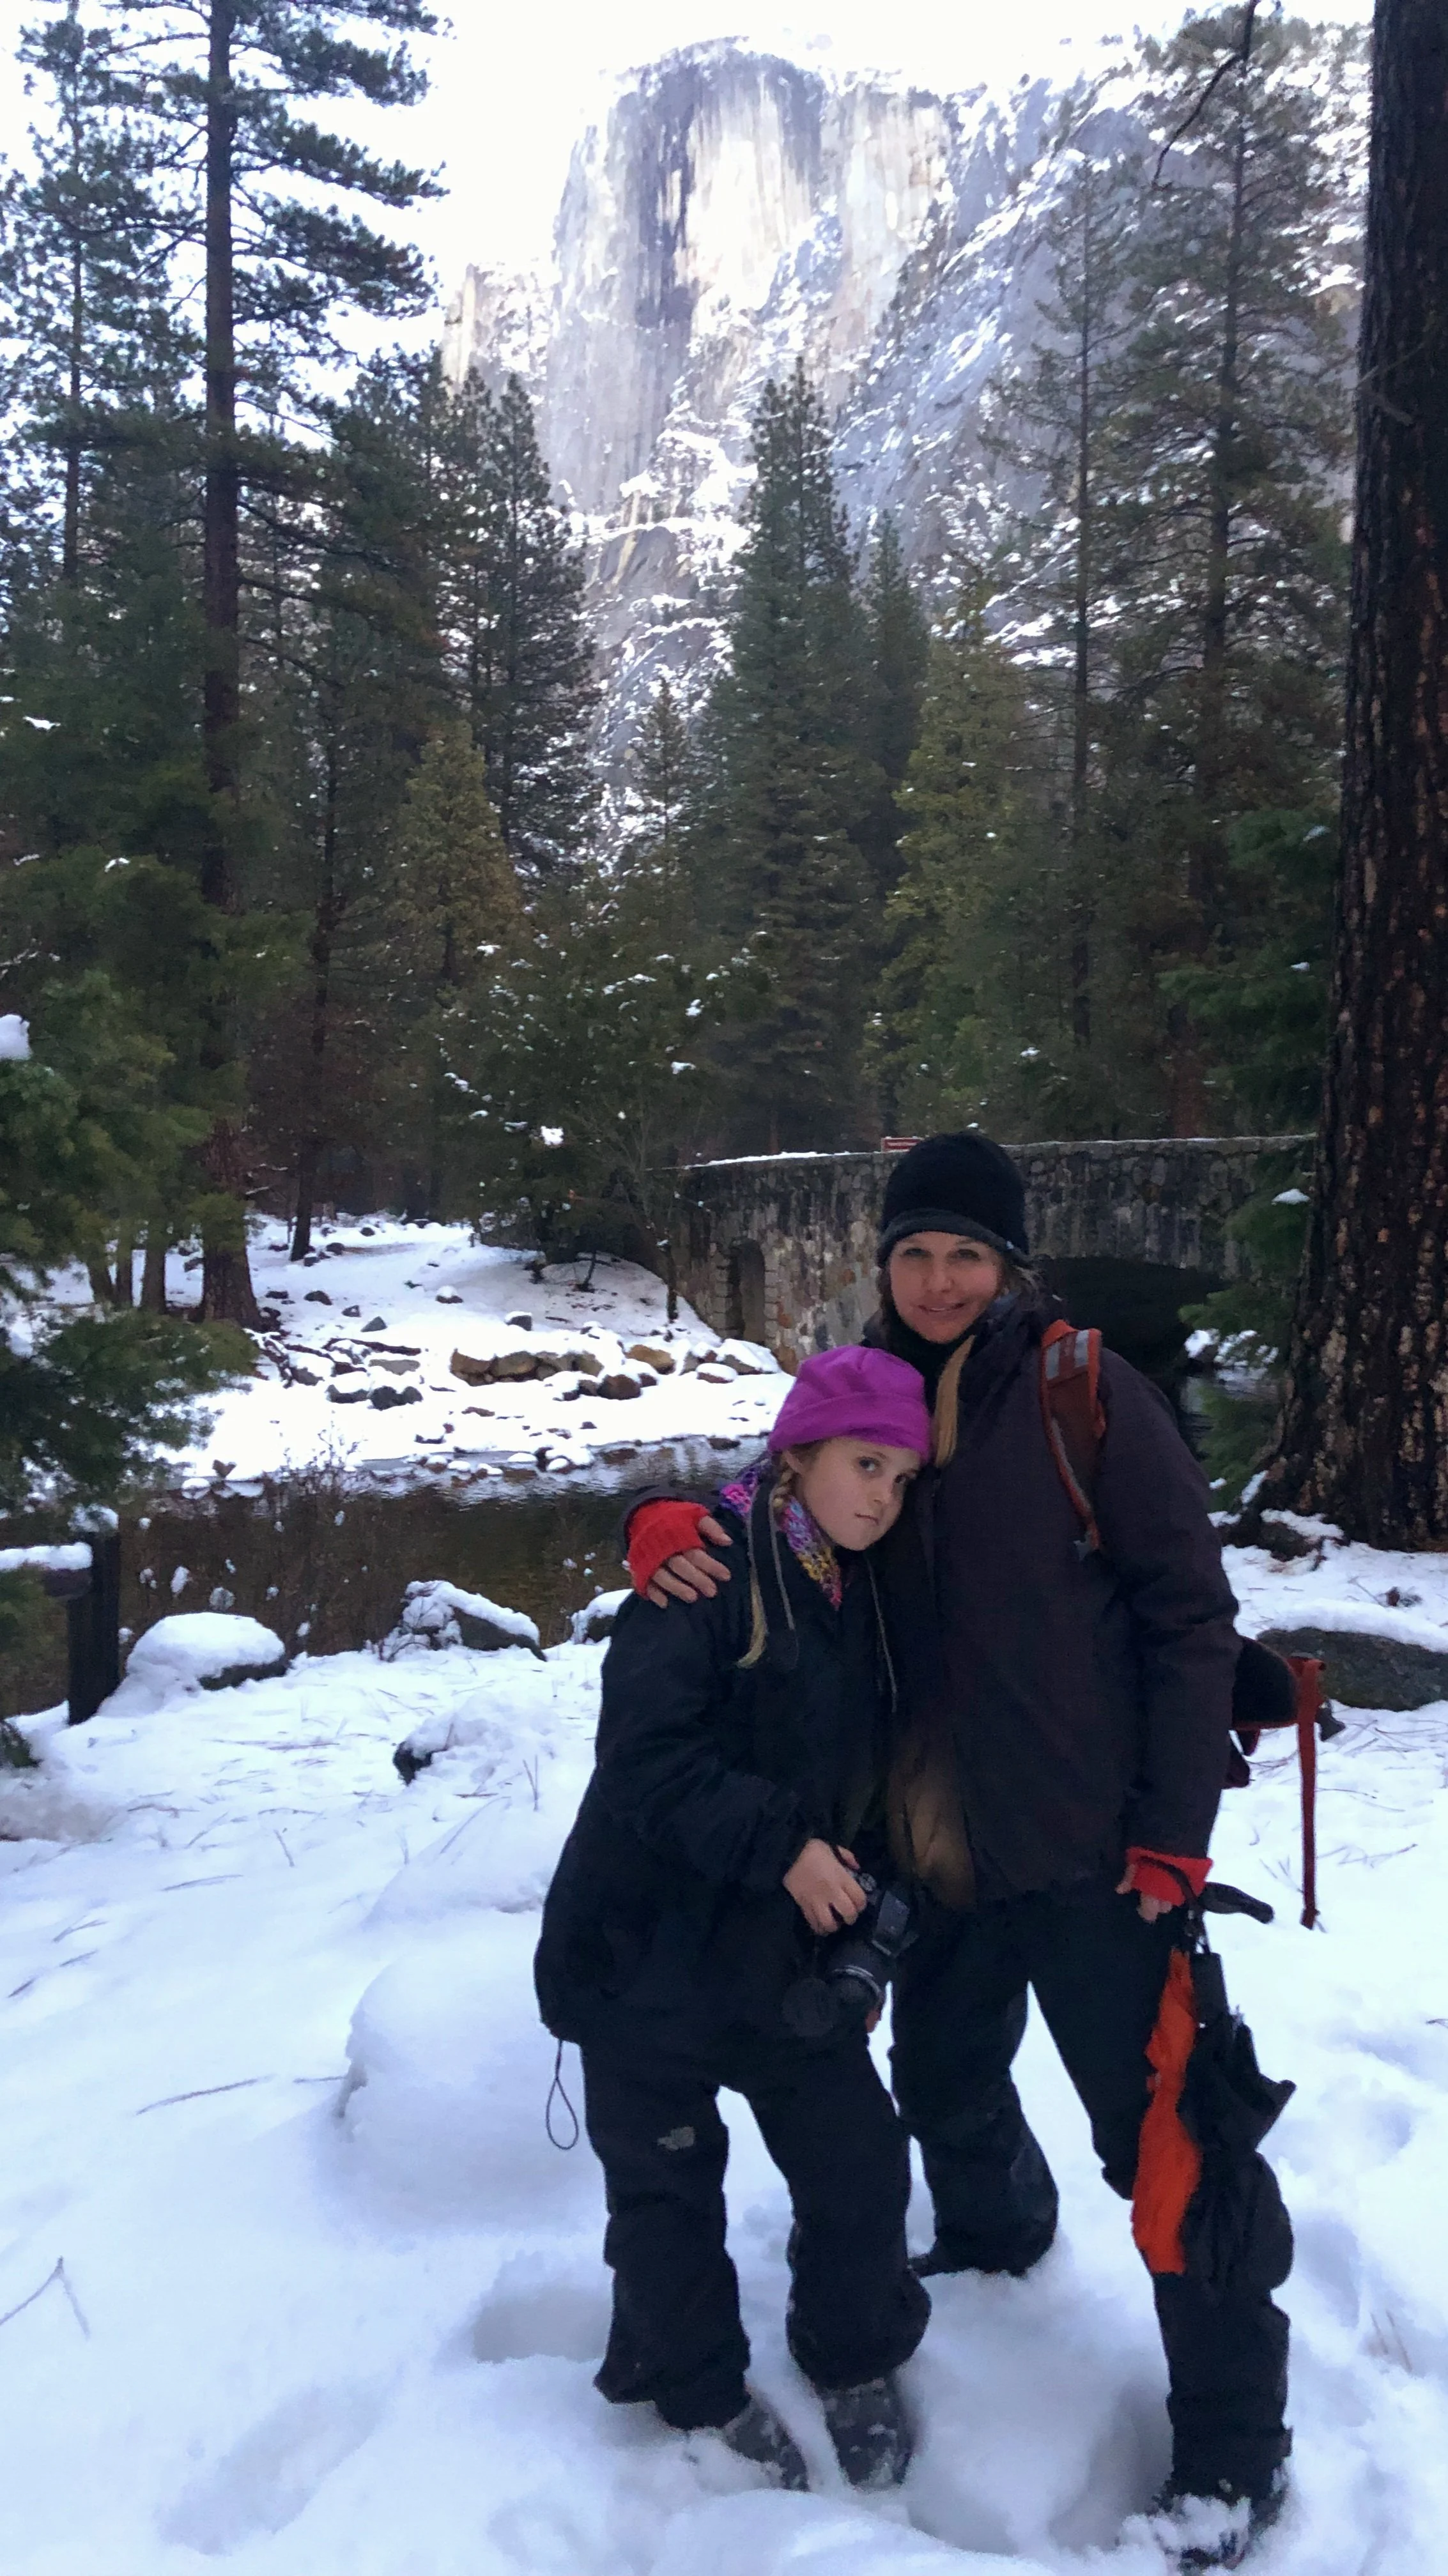
Me and my son on his first camping trip to Yosemite National Park in 2011.
I also wear snow or ski pants around camp at night—even when there is little snow—because they are one of the warmest layers I own. I keep a thick scarf close at hand and bring at least two hats and two pairs of waterproof gloves because small items have a way of becoming wet or disappearing. Wool makes my forehead itch, so I personally use a double-layer fleece cap; choose whichever warm, non-cotton material works best for you.
For an extra layer beneath my pants, I have even cut the feet from a pair of heavy tights and worn them like long underwear. It is an inexpensive trick that has kept me warm on my own trips, although purpose-built synthetic or merino base layers are usually easier to manage and should never fit so tightly that they restrict circulation.
⛺ Essential Winter Camping Gear
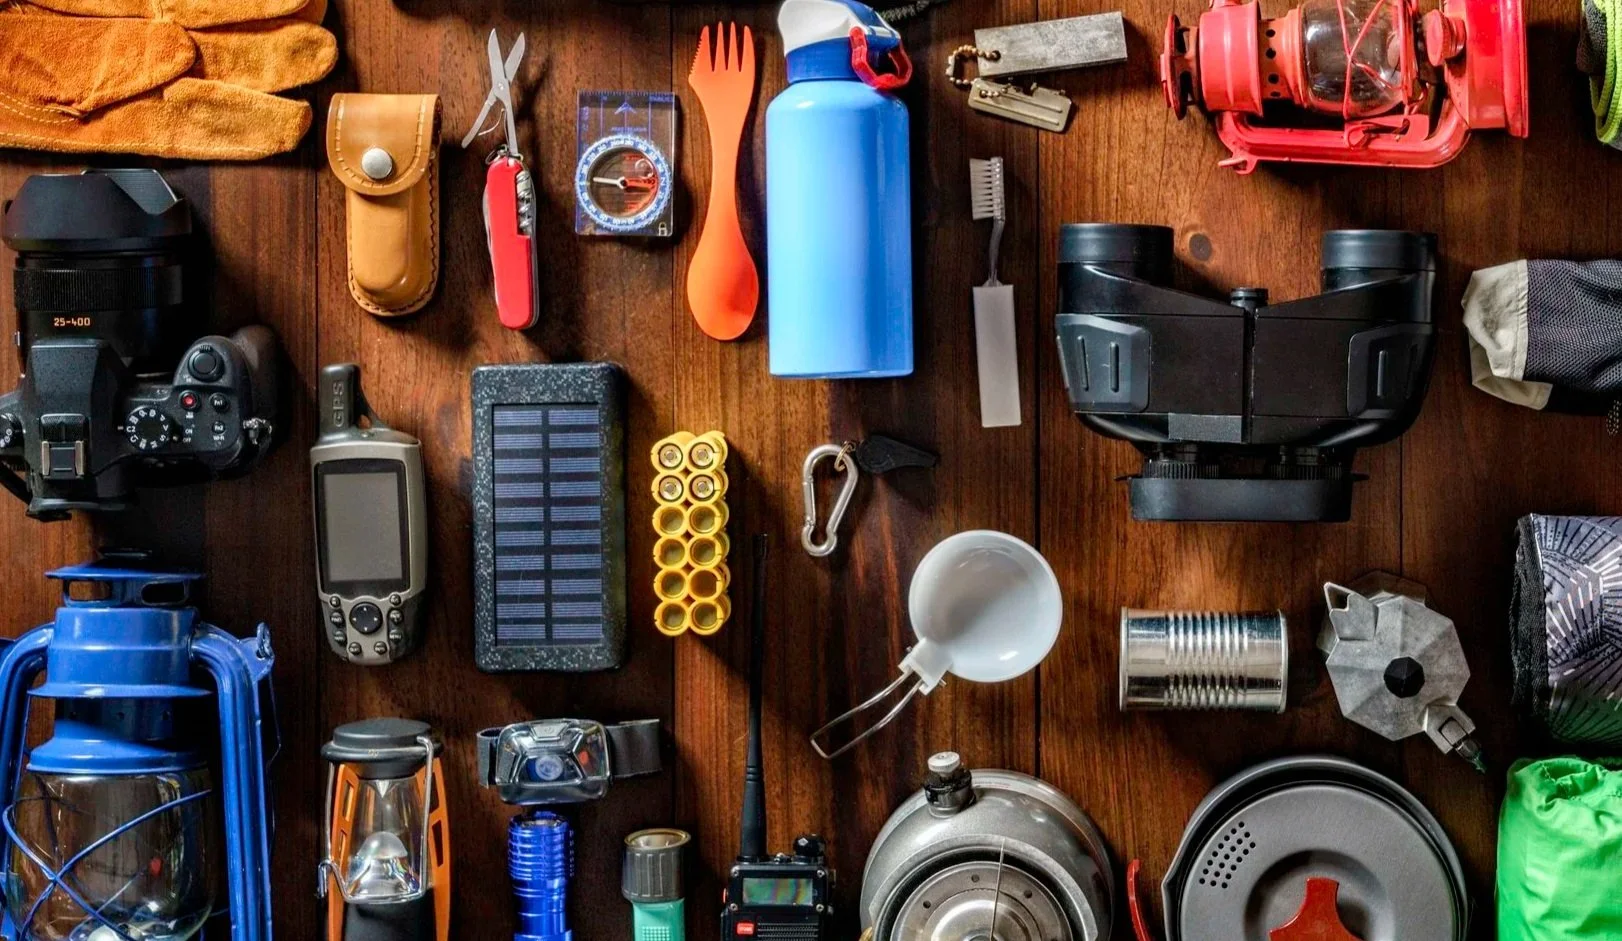
Winter is not the time to skimp on gear. Choose equipment designed for the temperatures, wind and expected snow load. At minimum, you need a suitable shelter, a complete sleep system, a reliable stove, navigation equipment, a shovel and emergency supplies.
👉 Shop My Winter Camping Essentials: I’ve gathered the cold-weather gear and small comfort items that have worked well on my own winter camping trips into one convenient Amazon list.
Four-Season Tent
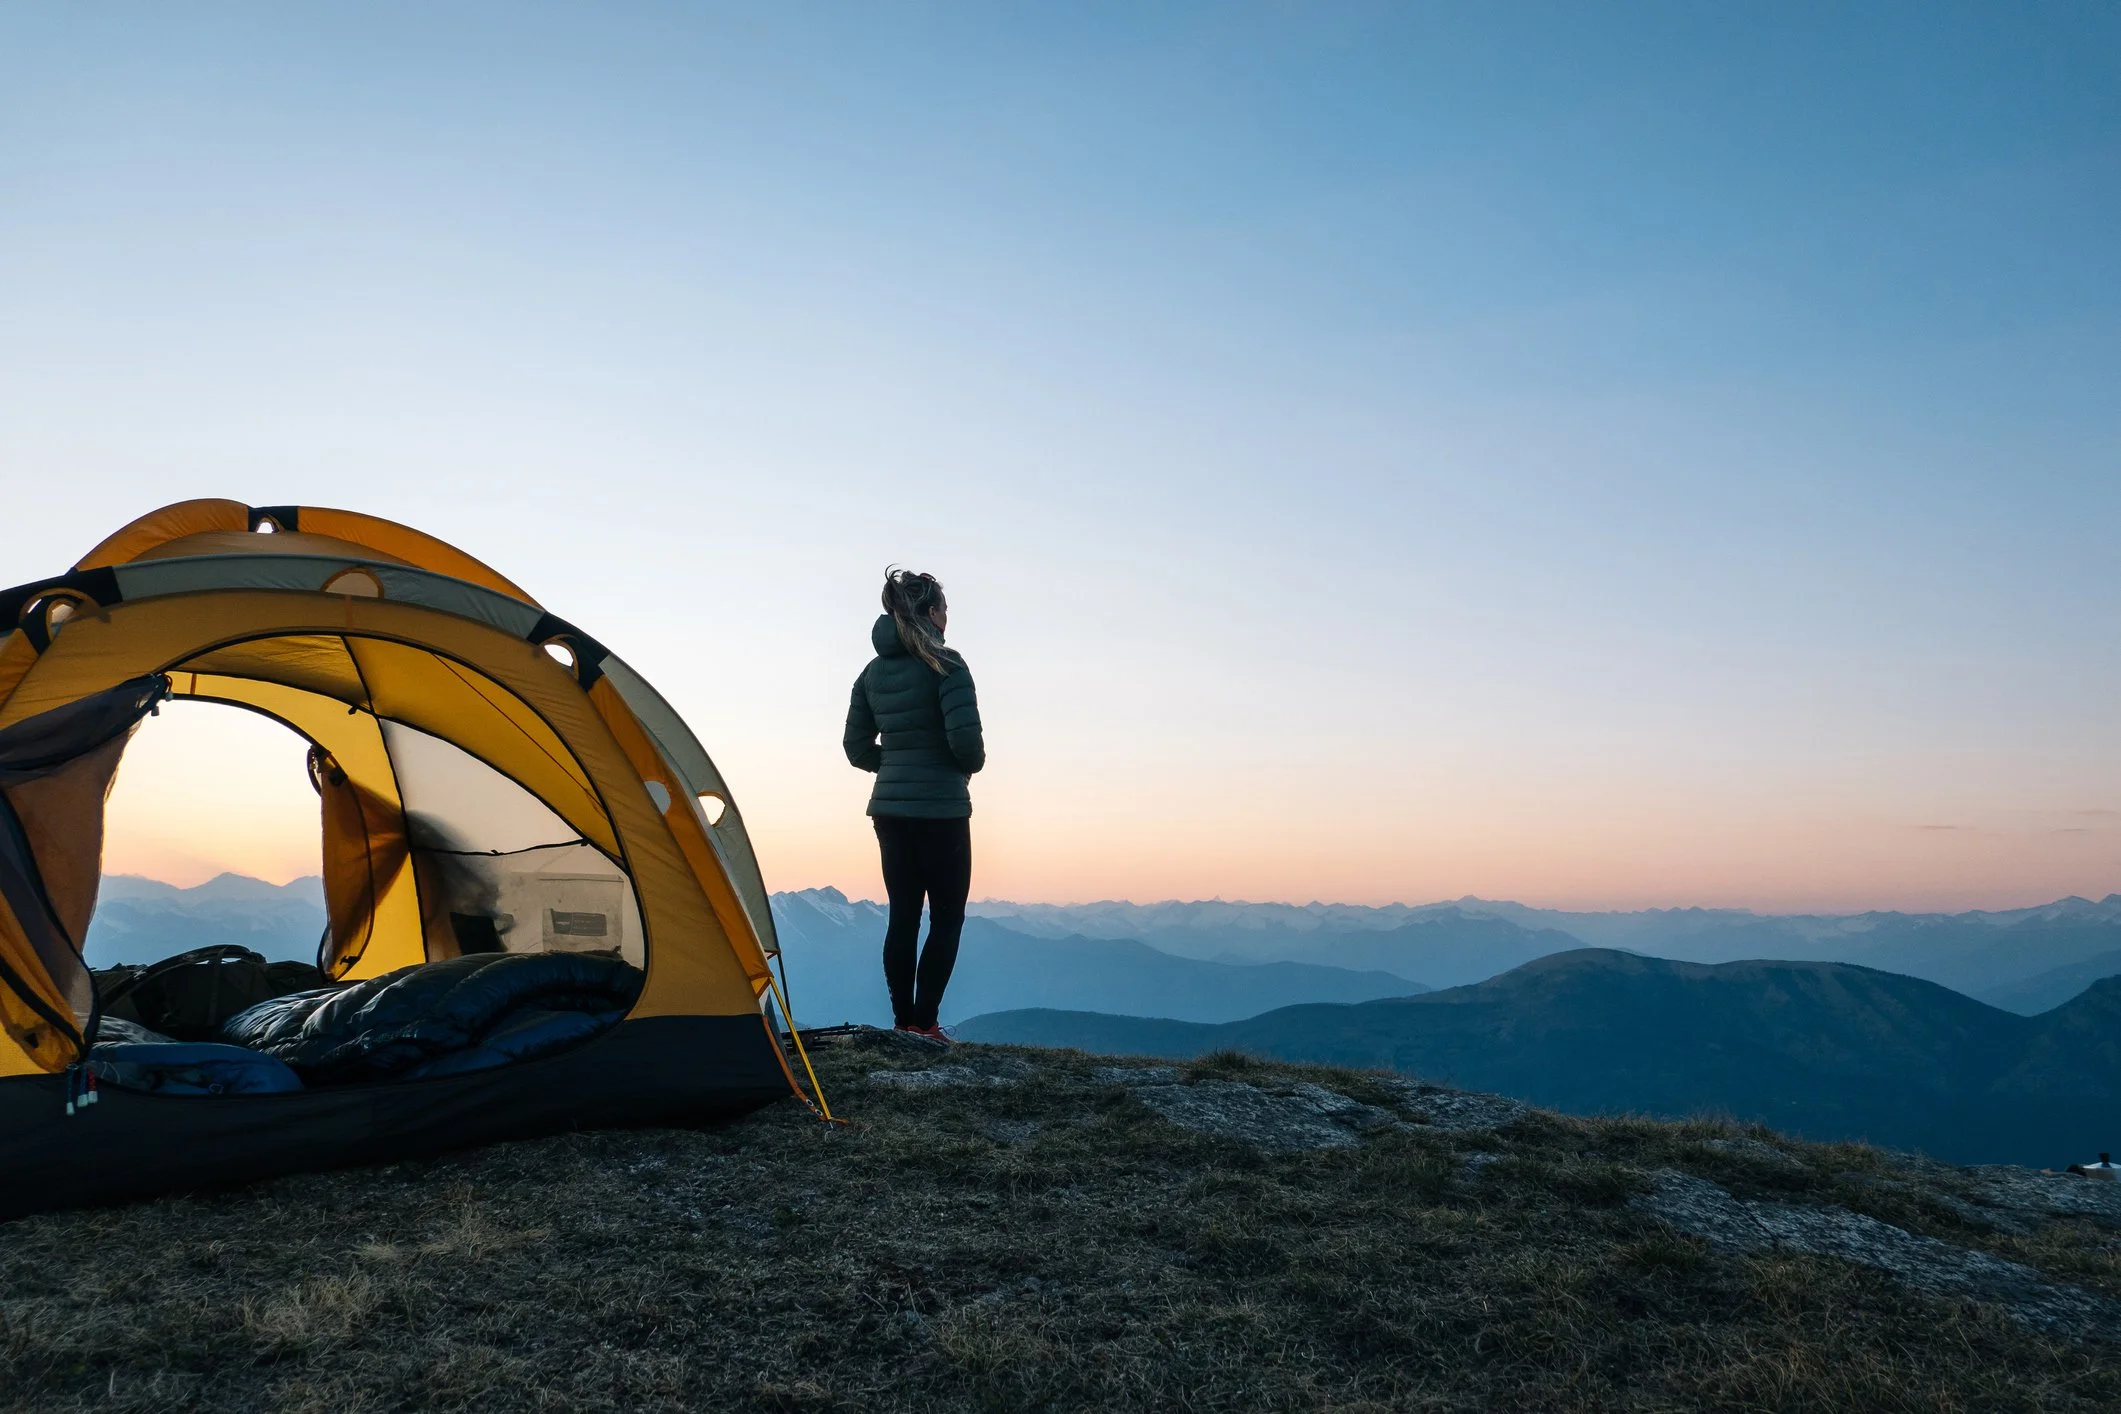
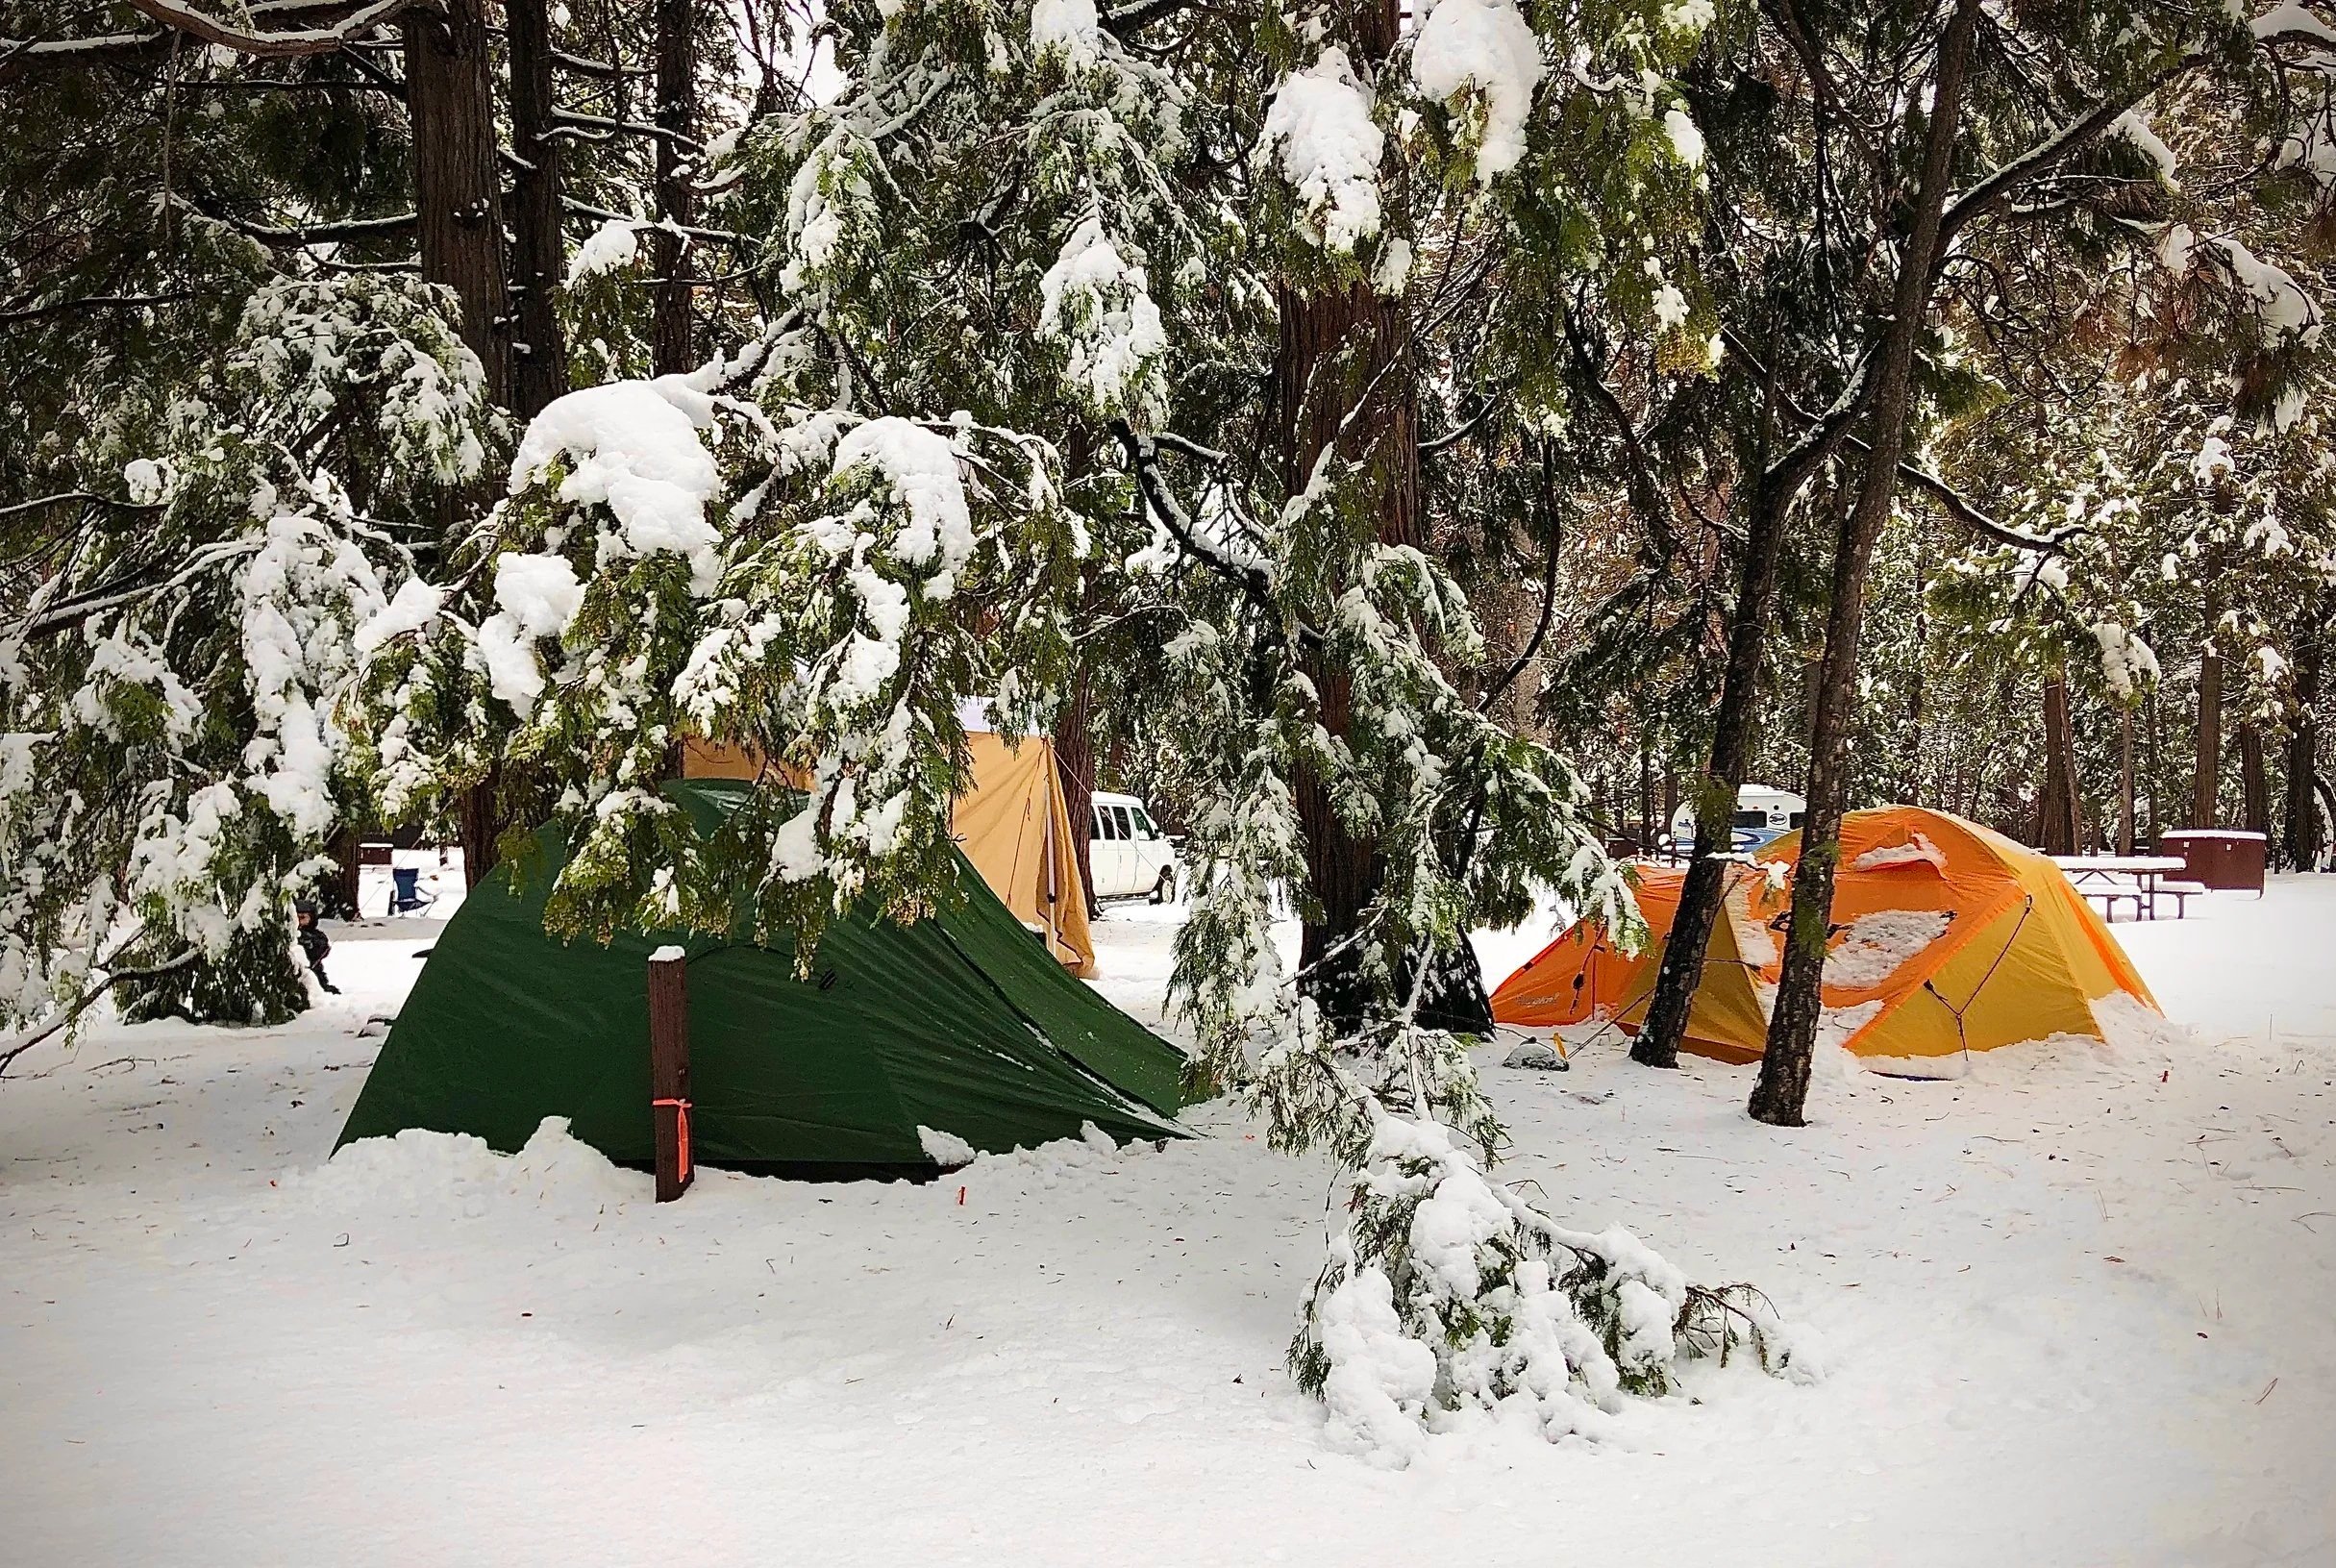
The difference between a winter tent and a typical three-season tent largely involves wind resistance, pole strength, ventilation and the ability to withstand accumulating snow. For exposed or severe conditions, choose a four-season tent with a robust frame and durable poles. If weight is not a concern, a double-wall design with less mesh can provide additional protection. I also appreciate a generous vestibule for storing bulky winter gear outside the sleeping area and enough interior room to wait out bad weather without crowding the tent walls.
A four-season label does not make a shelter indestructible. Brush accumulating snow from the tent, keep vents clear, inspect guy lines and relocate if conditions exceed the tent’s capabilities.
Sleeping Bag
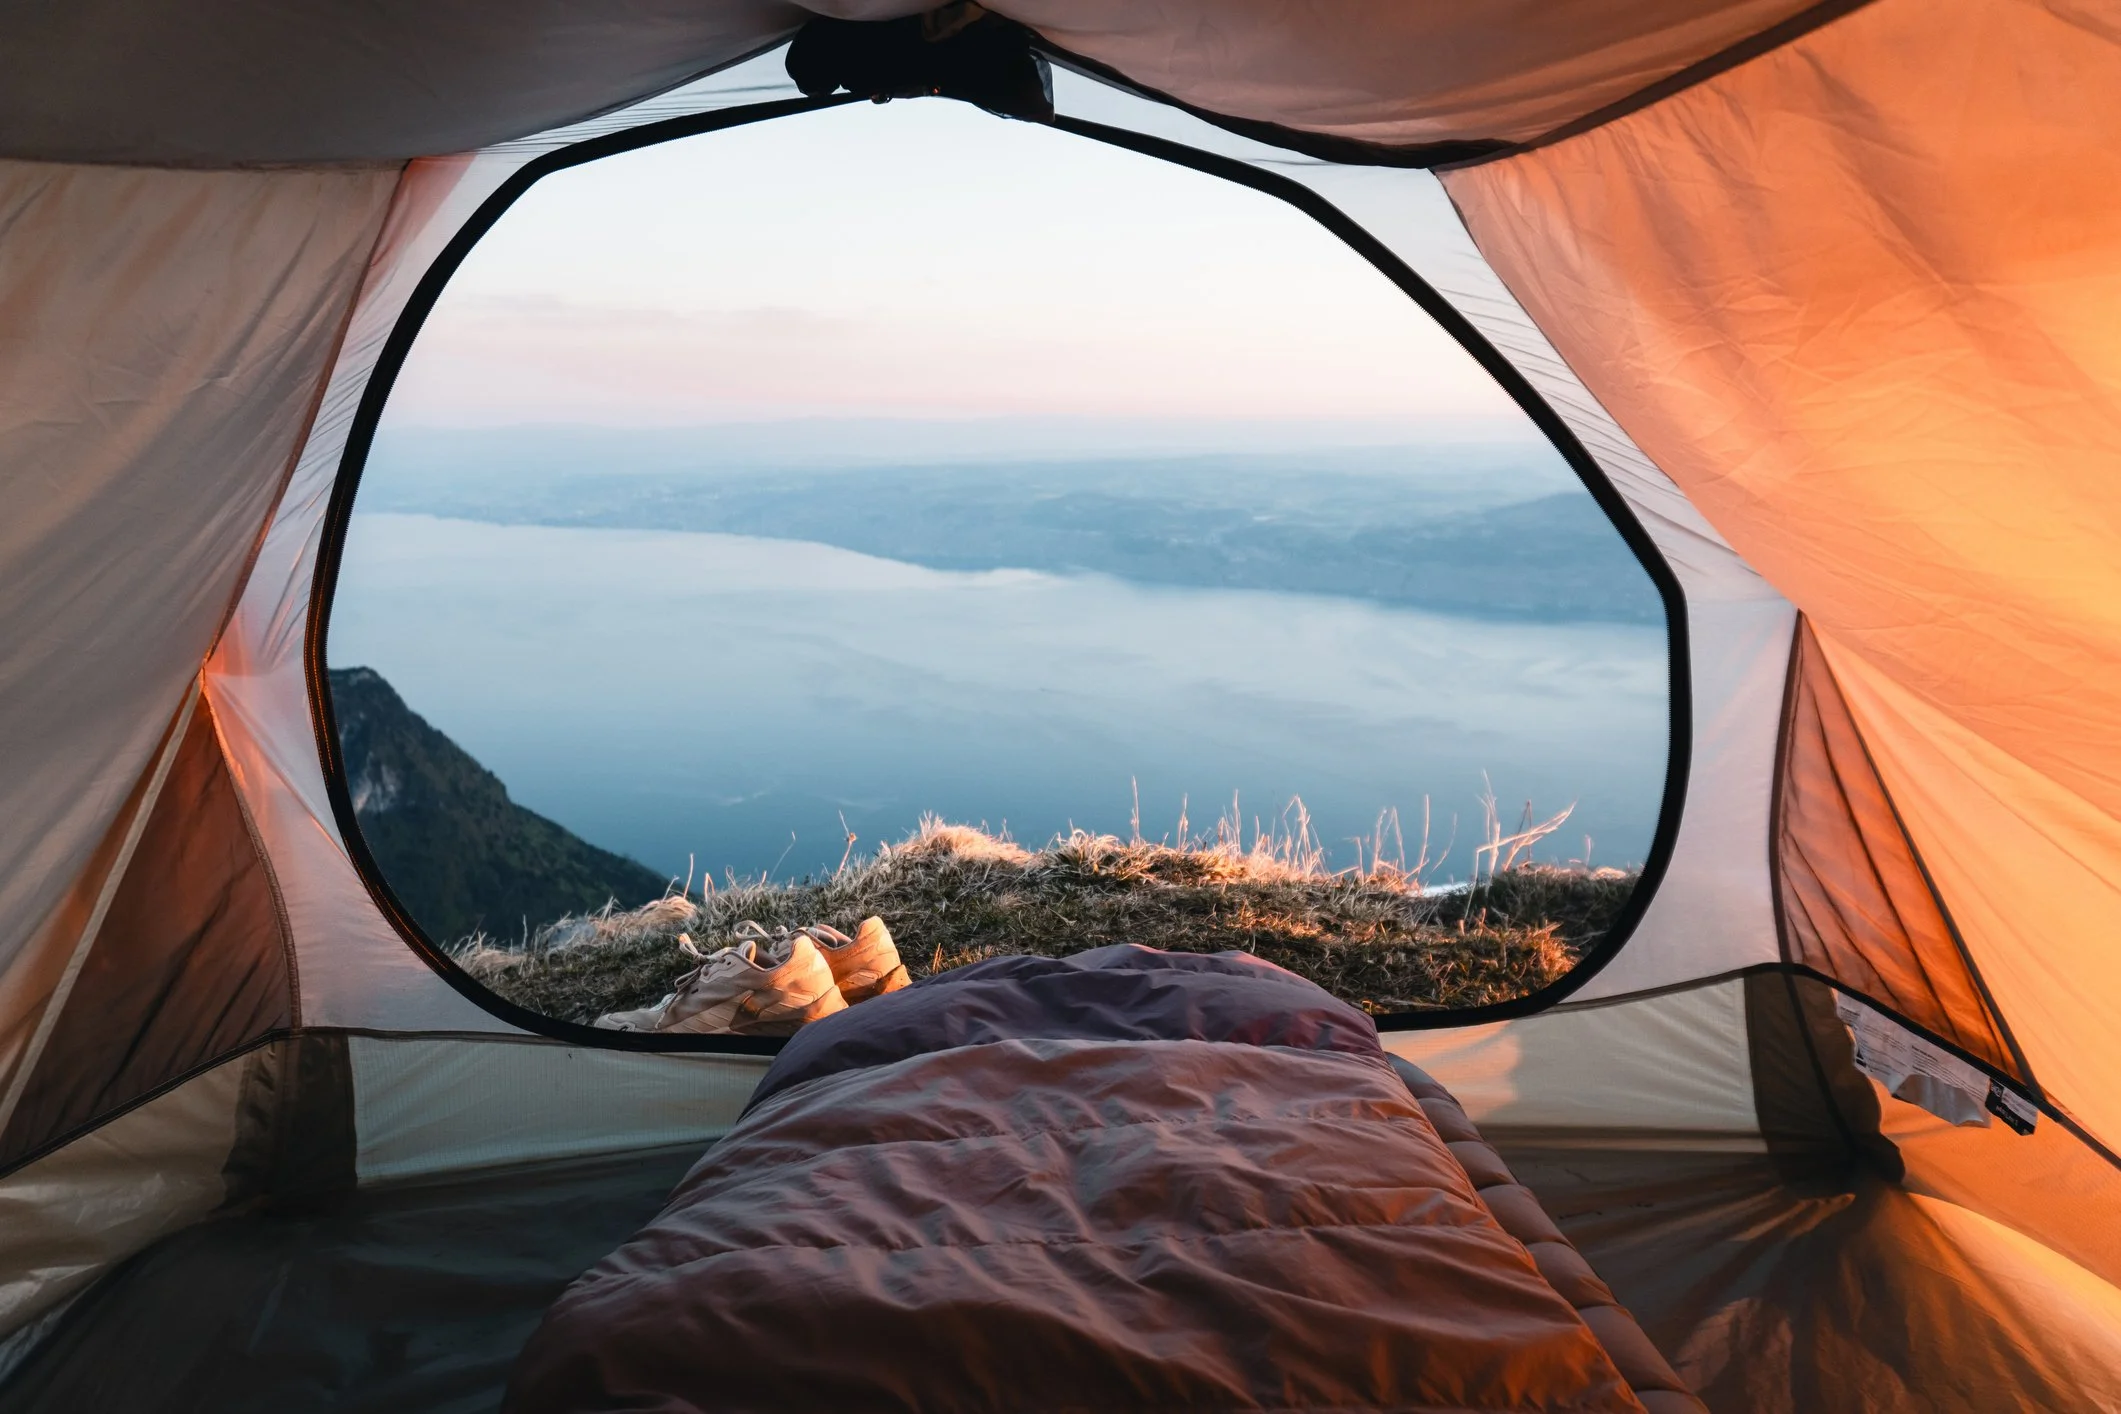
Sleeping-bag temperature labels require careful reading. Choose a bag whose tested comfort rating is safely below the coldest temperature you expect, particularly if you tend to sleep cold. Do not assume that a bag labeled 10°F will keep every camper comfortable at 10°F; ratings, testing terminology, clothing, humidity, wind exposure and individual metabolism all affect warmth.
I have a tendency to always be cold, something I absolutely hate despite my love for winter camping. My personal solution has been to stuff a 0°F sleeping bag inside my –20°F mummy bag, effectively double-layering my sleeping bags. This setup has worked exceptionally well for me during nights spent sleeping in tents in the snow. If you try a nested system, make sure the bags fit together without excessively compressing the insulation, test the combination somewhere safe first and remember that your own comfort may differ from mine.
I am also short, so I stuff a large dry scarf or lightweight blanket near my feet to take up extra space and eliminate the cold pocket at the bottom of the bag. I wear a dry hat and fleece neck warmer to bed and keep a scarf nearby to place over any part of my body that feels unusually cold as I fall asleep.
Another small trick that has made a noticeable difference for me is placing a dry blanket along the side of my sleeping bag between the bag and the tent wall. It helps block the cold I feel radiating from that side of the tent. Keep the blanket and sleeping bag dry, avoid pressing the bag tightly against a damp tent wall and preserve as much insulation loft as possible.
✨ Pro Tip: Test your entire sleep system before depending on it in remote conditions. If possible, spend your first winter night at a developed campground near your vehicle so you can make adjustments or leave if your setup isn’t warm enough.
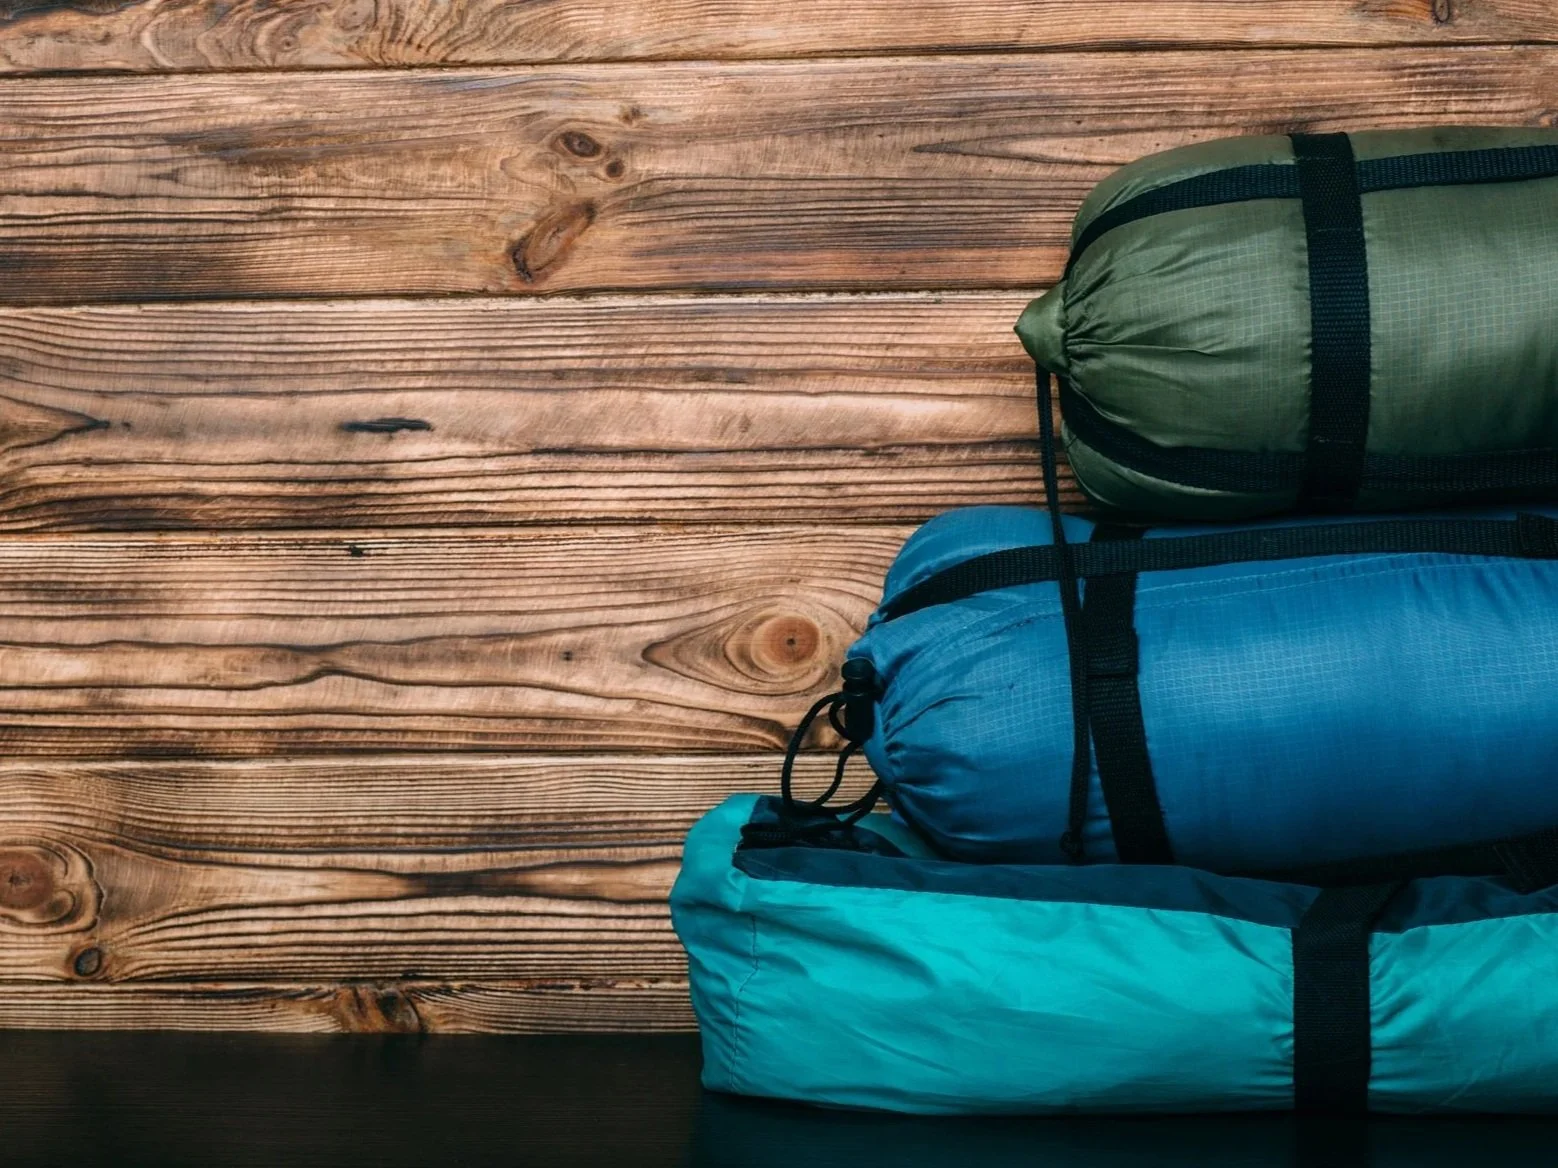
Sleeping Pads
Insulating yourself from the frozen ground is just as important as choosing a warm sleeping bag. The ground can pull heat away from your body through conduction, and your body weight compresses the sleeping bag insulation beneath you.
I always use two sleeping pads because the layers beneath me have made a tremendous difference in how warm I remain through the night—two layers beneath me have helped far more than simply piling another blanket on top. My personal minimum has been pads with an R-value of 4 or more, with a closed-cell foam pad underneath whenever possible. The foam layer adds warmth, protects the inflatable pad and provides backup insulation if the inflatable pad leaks. I have also used spare dry clothing to fill a small cold gap beneath me in a pinch, but it should never replace a properly insulated pad system.
Choose the combined R-value for the actual forecast: 4.0–5.4 is generally considered cold-weather insulation, while 5.5 or higher is more suitable for extreme cold. Two compatible pads can increase the total insulation beneath you, but check the manufacturers’ specifications and carry a repair kit for inflatable pads.
✨ Pro Tip: Don’t focus exclusively on your sleeping bag. Insulation beneath you is just as important. Using two sleeping pads has made one of the biggest differences in keeping me warm while sleeping on frozen ground.
Cold-Weather Stove
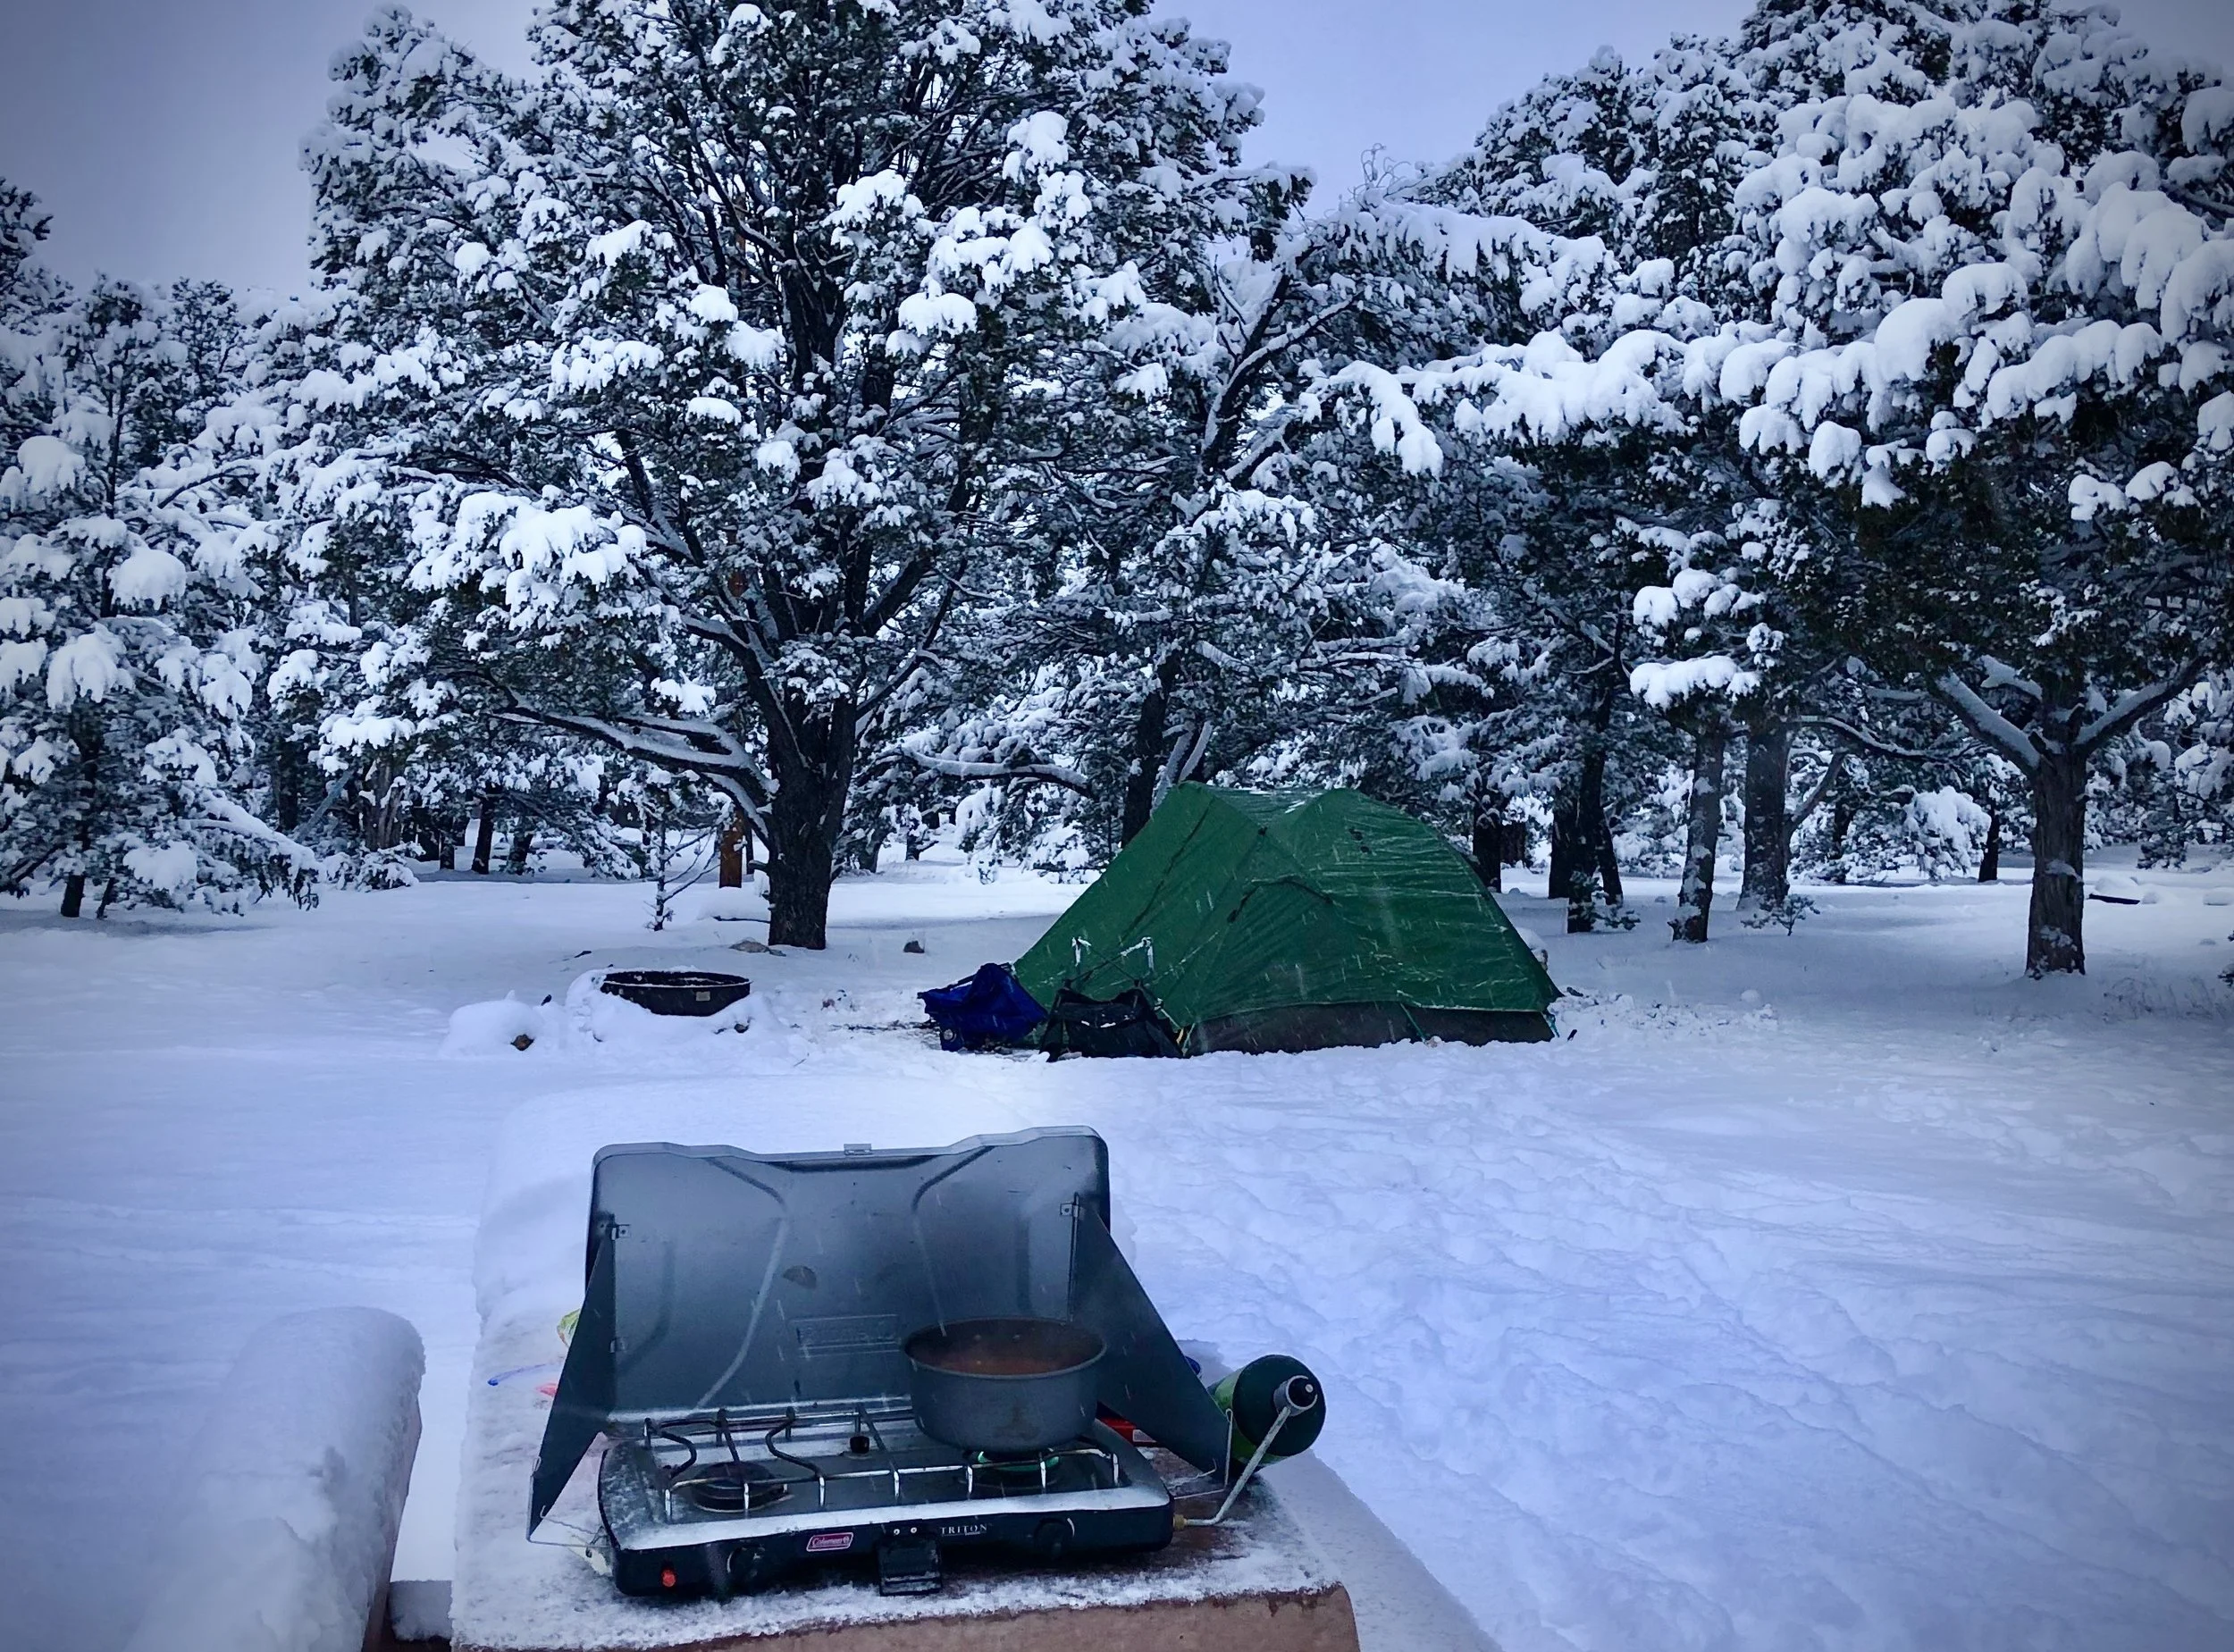
Liquid-fuel stoves, particularly white-gas models, remain dependable choices in very cold temperatures because the bottle can be pressurized and refilled. Some remote-canister stoves designed to run with an inverted isobutane-propane canister can also work well in cold weather. Standard upright canister stoves generally lose performance as temperatures fall.
Whichever system you choose, test it in cold conditions, bring enough fuel to melt snow if liquid water is unavailable, carry the correct repair supplies and use a stable stove base on snow.
⚠️ Carbon Monoxide Warning: Never operate a camping stove, grill, heater, or open flame inside a tent, vehicle, or other enclosed sleeping space. Carbon monoxide is colorless, odorless, and potentially fatal, while an open flame also creates a serious fire risk. Cook outside, keep the stove away from tent fabric, and follow all manufacturer instructions.
Navigation and Emergency Equipment
Paper map and compass, plus GPS if appropriate
Headlamp with spare batteries
First-aid kit and knowledge of how to use it
Emergency shelter or bivy
Fire-starting supplies appropriate to local regulations
Whistle, signal mirror and satellite communicator where appropriate
Snow shovel
Knife or multi-tool and basic repair kit
Traction devices, snowshoes or skis suited to the route
Extra food, fuel and dry clothing
🏕️ Choosing and Setting Up Your Campsite
Choose a Conservative Location
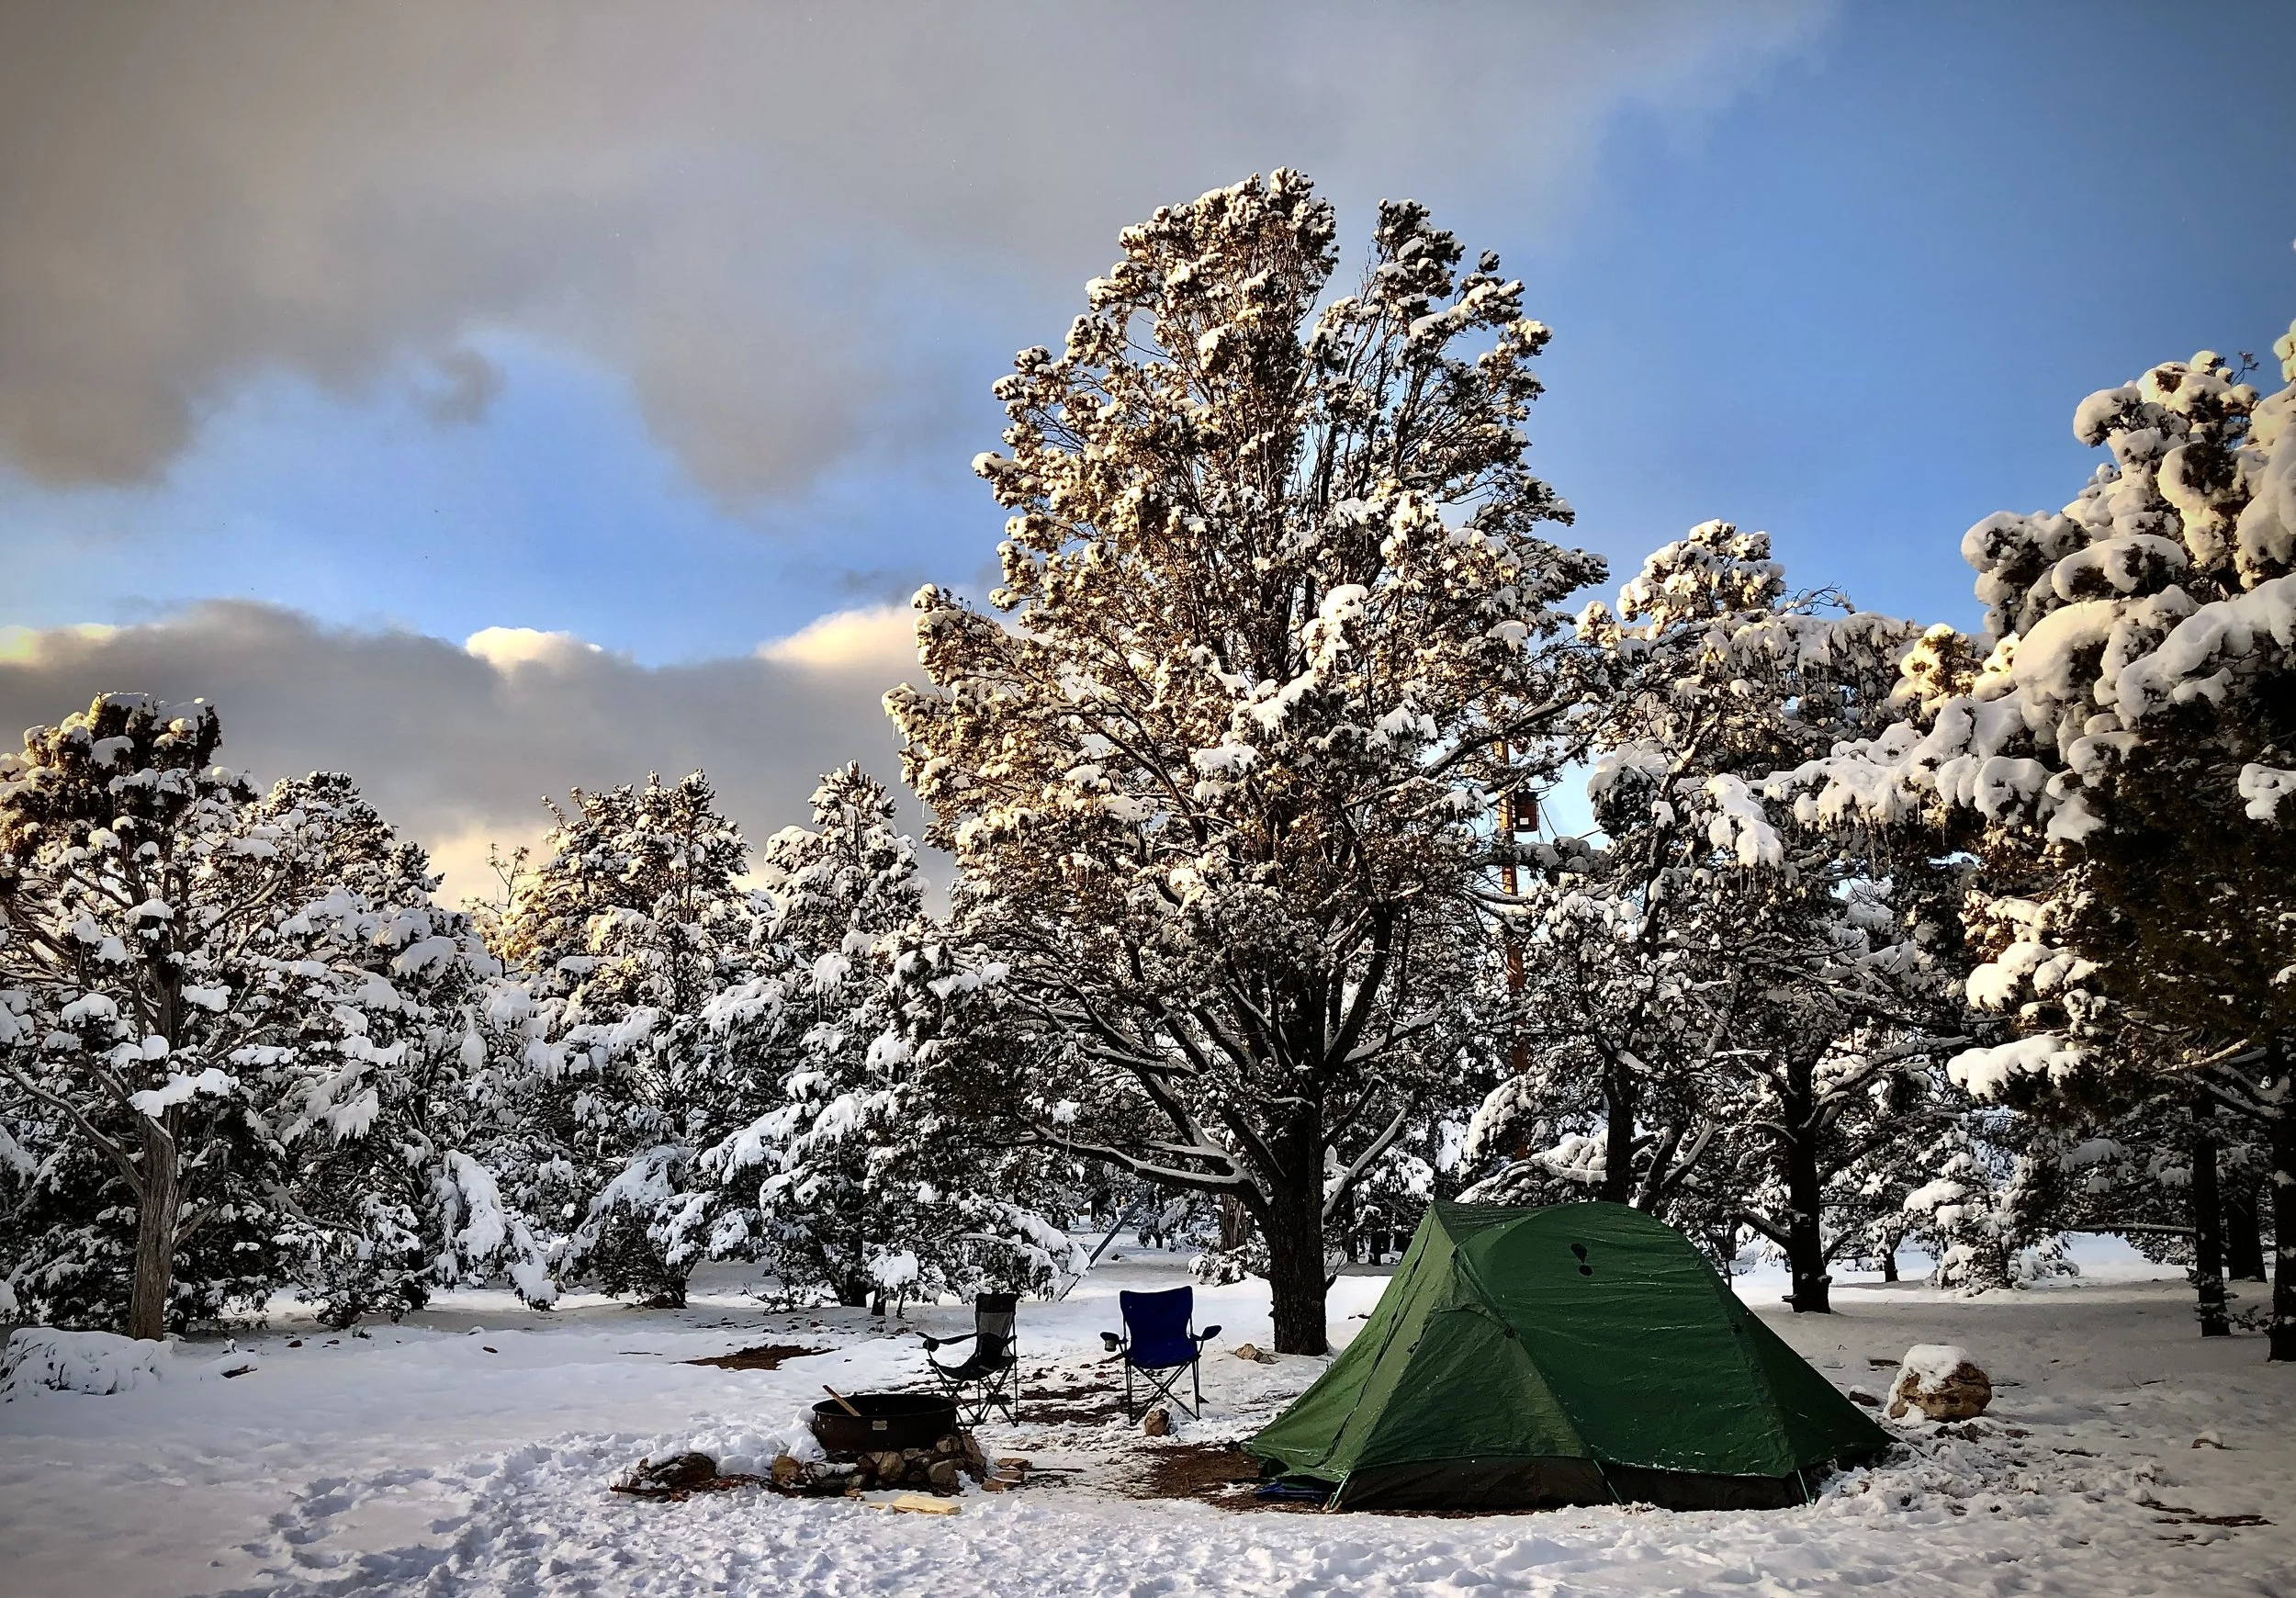
Choose your campsite wisely to reduce exposure to wind, falling trees, drifting snow and avalanche hazards. Avoid exposed ridgelines, low depressions where cold air collects, areas beneath dead branches, frozen waterways and terrain threatened by avalanches or cornices. Stay out of avalanche terrain and away from the runout zones below it. Check the regional avalanche forecast before leaving and continue evaluating conditions throughout the trip.
Look for a level site with natural wind protection. On my trips, I have had success pitching the tent with its door perpendicular to the prevailing wind so gusts do not blow directly through the entrance whenever I open it. Tent designs and drifting-snow patterns differ, however, so also follow the manufacturer’s guidance and position the strongest or lowest-profile portion of your particular tent to handle the expected wind.
When car camping, I strategically park my vehicle to serve as a wind block for the tent. It is amazing what a difference this can make. Leave enough distance to prevent exhaust, drifting snow, a sliding vehicle or falling ice from creating a hazard, and never run a vehicle near an occupied tent.
✨ Pro Tip: Pay attention to the wind before setting up camp. Strategically positioning my vehicle as a windbreak has made an incredible difference, but always leave enough distance to avoid exhaust, drifting snow, falling ice, or movement of the vehicle.
Pack the Snow
Before setting up the tent, walk over the site with snowshoes or boots to compress the snow. Let the platform settle and harden before pitching the tent. Packed snow creates a more stable floor and reduces the chance of stepping into a soft pocket and damaging the tent floor.
Anchor the Tent Properly
Frozen ground and deep snow require different anchoring methods. Snow stakes work well in many conditions. You can also bury purpose-built anchors or sturdy objects horizontally as deadman anchors, then allow the snow to consolidate. Skis, snowshoes or poles can sometimes serve as anchors, but only if doing so does not leave you without essential travel equipment.
Use every appropriate guy-out point and check the anchors as wind and temperature change. Before leaving, remove every anchor and restore the site.
Build a Sheltered Common Area
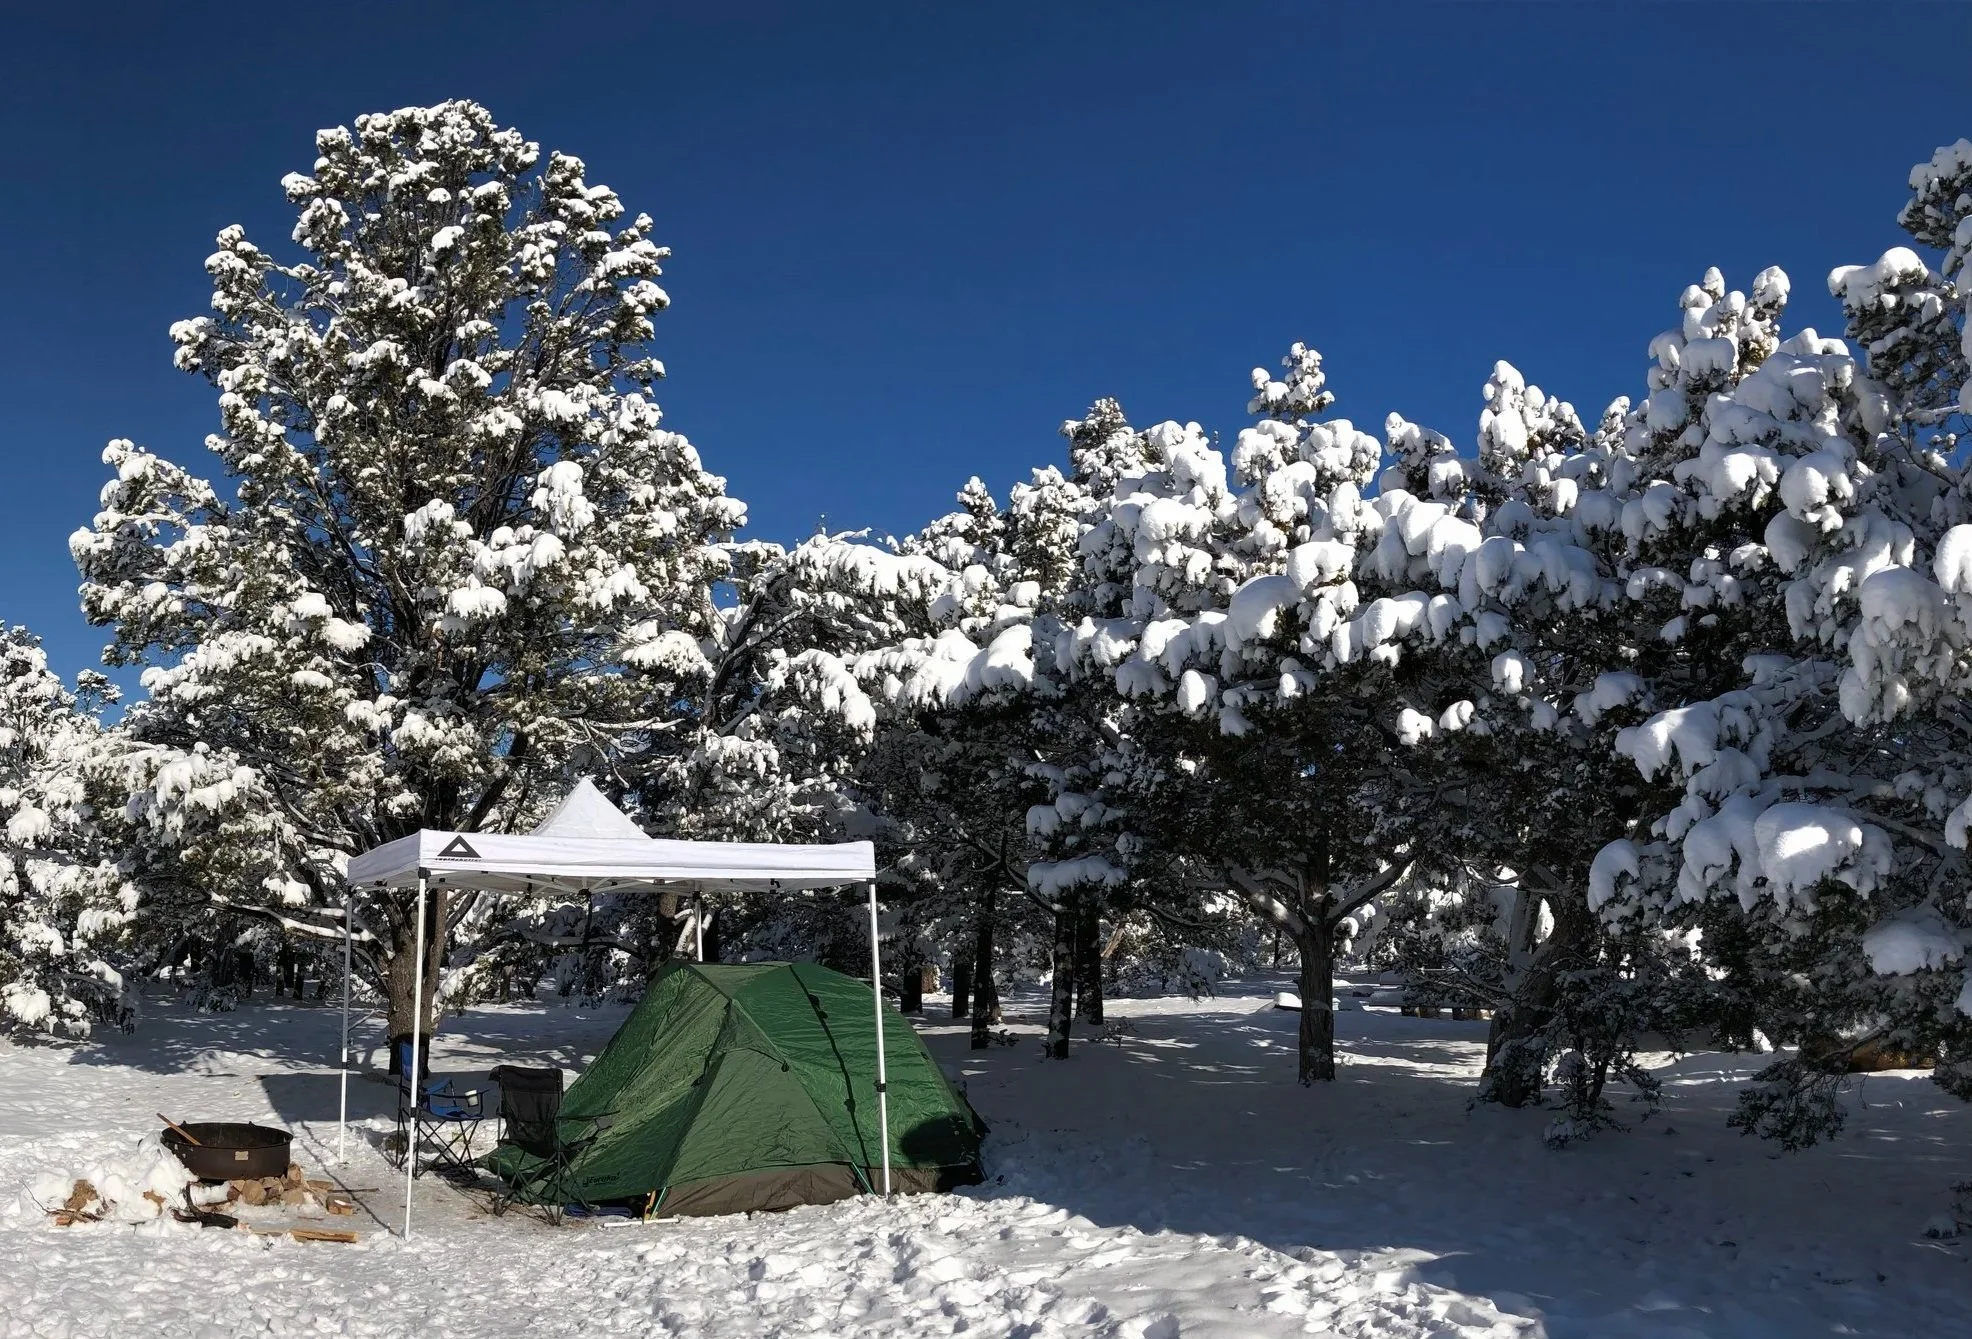
One technique that has worked especially well for me is setting up a sturdy tarp or pop-up structure to protect the tent and the area where I cook and congregate from falling snow. I also keep firewood beneath shelter so it remains dry. Choose equipment rated for the conditions, anchor it securely, remove accumulating snow before it becomes heavy and maintain plenty of airflow. Never operate a stove inside an enclosed shelter or allow fabric to come near the stove, sparks or open flame.
When campfires are permitted, I have also strategically positioned my vehicle or a stable wind block at a safe distance to reduce the wind around the fire. A properly placed windbreak can make sitting outside considerably more comfortable, but it must be secure, resistant to heat and far enough away that it cannot ignite, melt, trap smoke or interfere with an exit route. Never use a lightweight umbrella or ordinary fabric directly beside open flames.
✨ Pro Tip: Winter campfires aren’t always permitted or practical. Wood may be buried, wet or unavailable. Confirm local fire regulations before the trip. Bring enough stove fuel to prepare every meal and melt snow for water so you never have to depend on finding dry firewood.
🌙 How to Stay Warm While Sleeping
A warm sleeping bag alone will not guarantee a comfortable night. Staying warm requires an entire system that includes insulation beneath you, dry clothing, proper ventilation, enough food, and a few small habits that help preserve the heat you have already created.
Change into completely dry clothing. Even slightly damp hiking layers can chill you once you stop moving. Keep dedicated sleep clothing protected in a waterproof bag.
Eat before bed. A filling meal or snack gives your body energy to generate heat, but keep food and scented items stored according to local wildlife regulations.
Use a securely sealed hot-water bottle. Fill a durable bottle with hot—not dangerously boiling—water, check the lid carefully, wrap it in clothing and place it near your core or feet.
✨ Pro Tip: Prepare your hot-water bottle shortly before bed and place it inside your sleeping bag while you finish getting ready. This allows the bag to begin warming before you climb inside.
Keep tomorrow’s clothing warm. I place the dry socks, underwear and base layers I plan to wear the next morning inside my sleeping bag so getting dressed is less unpleasant.
Protect removable boot liners. Place dry liners inside the sleeping bag or in an insulated sack. Put damp boots in a waterproof bag so they do not soak the sleeping bag.
Ventilate the tent. Some condensation is inevitable. Open vents appropriately and wipe moisture away with a small towel before it wets your sleeping bag.
Do not cover your face inside the bag. Breathing into the sleeping bag introduces moisture that can freeze within the insulation during extended trips.
Wear a beanie to bed. Even in a mummy bag, wear a beanie to bed that covers your ears. It will keep you surprisingly warmer.
🍲 Food, Water and Cooking in the Cold
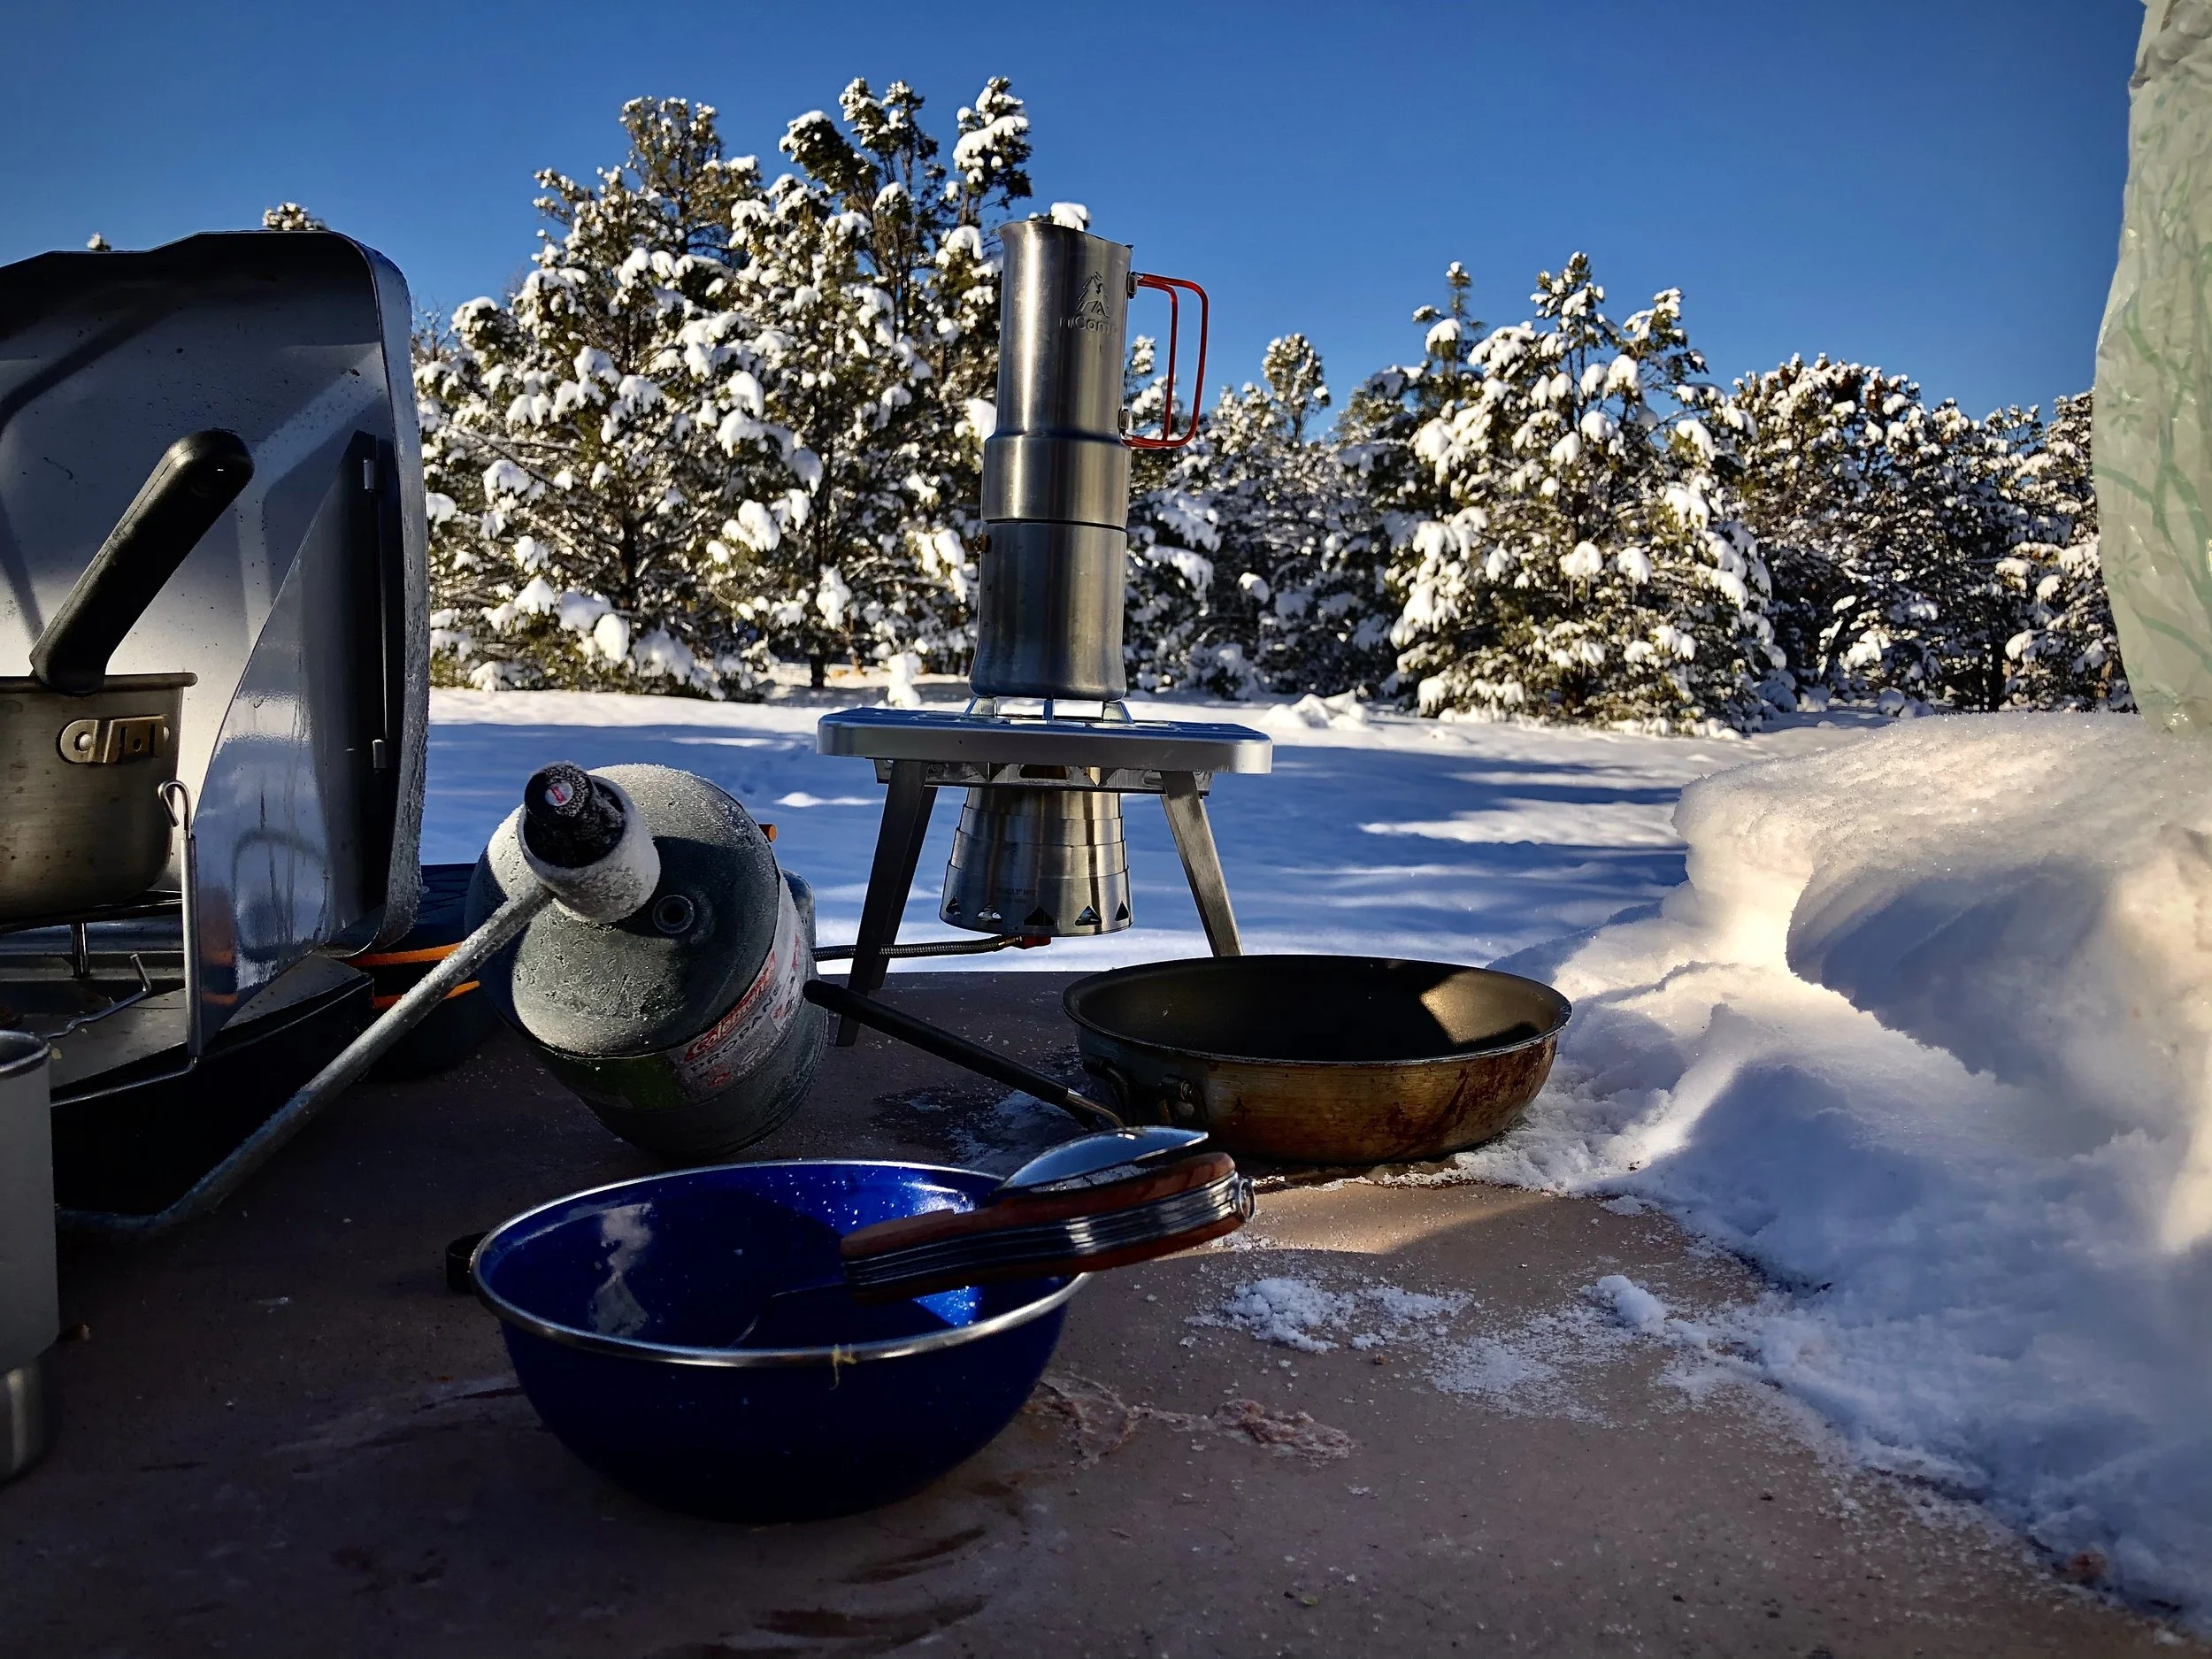
Proper nutrition and hydration help you stay warm. Winter travel burns considerable energy, so eat regular meals and carry calorie-dense snacks that remain edible when cold. Bring at least one extra day of food for emergencies.
Drink throughout the day even when you do not feel thirsty. One simple trick I use is storing larger water containers upside down at night. Ice forms from the top down, so keeping the opening at the bottom helps prevent the spout from freezing shut. Insulate bottles carefully and make certain every lid is secure. If you must melt snow, begin with a small amount of liquid water in the pot to avoid scorching it, and treat the resulting water when required.
✨ Pro Tip: Check the lid carefully before turning any water container upside down. I also keep bottles insulated and close enough to monitor overnight rather than leaving them exposed outside the tent.
Avoid relying on alcohol for warmth. Alcohol can create a misleading sensation of warmth while increasing heat loss and impairing judgment—exactly what you do not need in freezing conditions. I also rarely drink while winter camping because it makes it more likely that I will have to climb out of my warm sleeping bag to use the restroom in the middle of the night.
Store all food, trash, toiletries and scented items according to local wildlife rules. Winter does not eliminate wildlife encounters, and snow-covered campsites still require responsible food storage.
⚠️ Winter Camping Safety
Winter camping requires more than simply enduring the cold. Weather can change quickly, minor problems become more serious in freezing conditions, and help may be hours away. Learn to recognize the earliest warning signs of cold-related illness and make conservative decisions before a situation becomes an emergency.
Recognize Hypothermia
Early signs can include persistent shivering, fumbling hands, fatigue, confusion, poor coordination and slurred speech. Stop, add dry insulation, protect the person from wind and wet conditions, provide warm nonalcoholic drinks if they are alert and able to swallow, and seek emergency assistance. Severe confusion, fading shivering or unconsciousness is a medical emergency.
Recognize Frostbite
Numbness, tingling, waxy or unusually pale skin and hardening tissue can signal frostbite. Cover exposed skin before it becomes numb and regularly check one another’s faces, ears and fingers. Do not rub suspected frostbite or expose it to direct flames. Rewarming is best performed with appropriate medical guidance, particularly if there is any chance the tissue could refreeze.
I always pack Vaseline or another protective salve and apply it beneath my nose and to other exposed areas from the first day of the trip. That area above my lip becomes painfully wind-chapped in extreme cold, and this simple habit has worked extremely well for me. A balm can help protect irritated skin from wind and dryness, but it does not prevent frostbite. Frostbite protection still requires keeping skin dry and covered, limiting exposure and responding quickly to warning signs.
✨ Pro Tip: Don’t wait until your skin becomes painfully chapped. I begin applying Vaseline or protective salve beneath my nose on the first day because I know that area is especially vulnerable to windburn. Remember that balm helps with dry, irritated skin but does not prevent frostbite.
Avoid Avalanche Terrain Without Training
Snow conditions can change while you sleep. Review the daily avalanche forecast, recognize that an absence of an obvious warning does not eliminate risk, and choose terrain conservatively. A beacon, probe and shovel are rescue tools—not substitutes for education, judgment and avoidance.
Do Not Depend on Cell Service
Download maps and forecasts before leaving, carry paper navigation and establish an emergency plan. Cold temperatures drain batteries quickly, so keep phones, cameras, headlamps and power banks insulated and close to your body when practical. Lithium batteries generally perform better than alkaline batteries in cold temperatures.
🧊 Additional Tips for Staying Comfortable
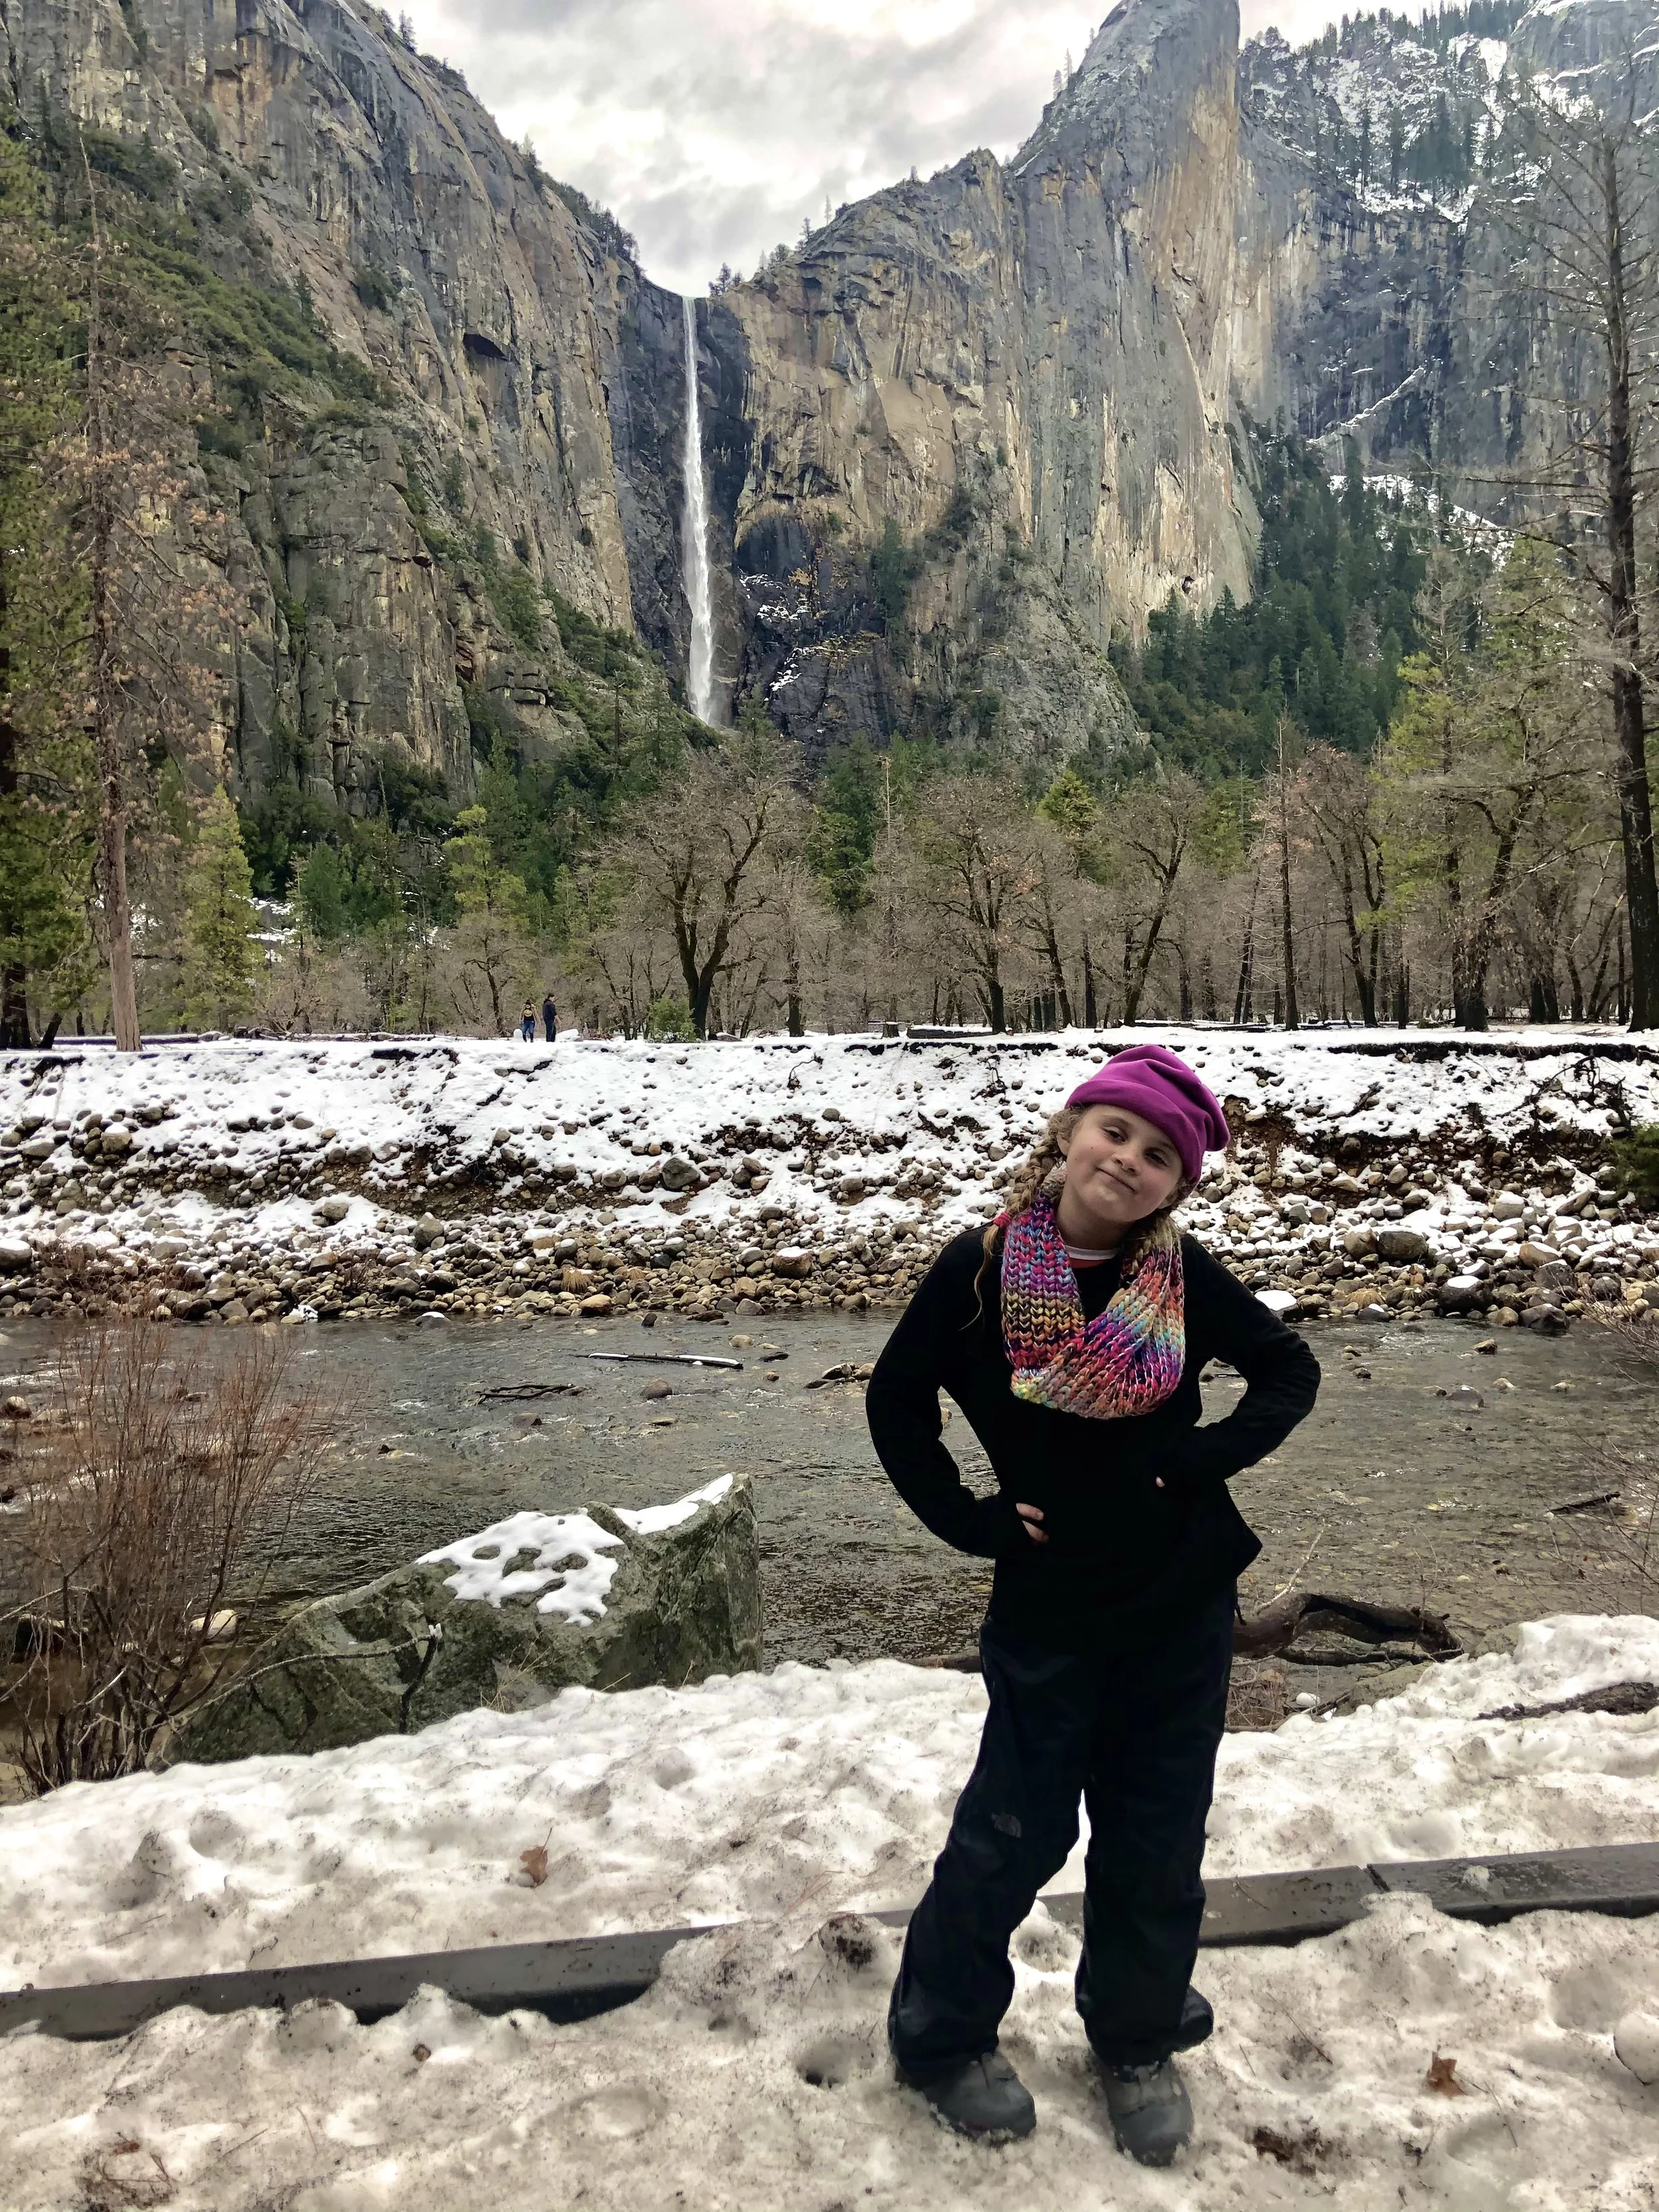
Once you’ve got your essential gear covered and you understand the safety precautions that go along with winter camping, it’s often the smallest details that determine whether you merely tolerate winter camping or genuinely enjoy it. I hate the cold. Truly hate it. Yet, I have camped in freezing cold tents and snow more times than I can remember and loved it.
These are some of the less-obvious tricks that have made my own cold-weather trips considerably more comfortable.
Use the restroom as soon as nature calls. Being cold can make you need to urinate more frequently, and waiting only makes it harder to settle back into a warm sleeping bag. Many winter campers use a clearly marked bottle at night so they do not have to leave the tent in freezing temperatures. I admit this is one trick I have not personally embraced, but if you do, wrap the bottle in duct tape or mark it unmistakably so it can never be confused with drinking water. Women can use a purpose-designed device to make the process easier. Follow Leave No Trace rules for disposal and keep any bathroom system completely separate from food and water containers.
Bring microspikes or other appropriate traction. Traction devices can reduce falls on firm ice, but they are not interchangeable with crampons intended for technical mountaineering. Match the device to the terrain.
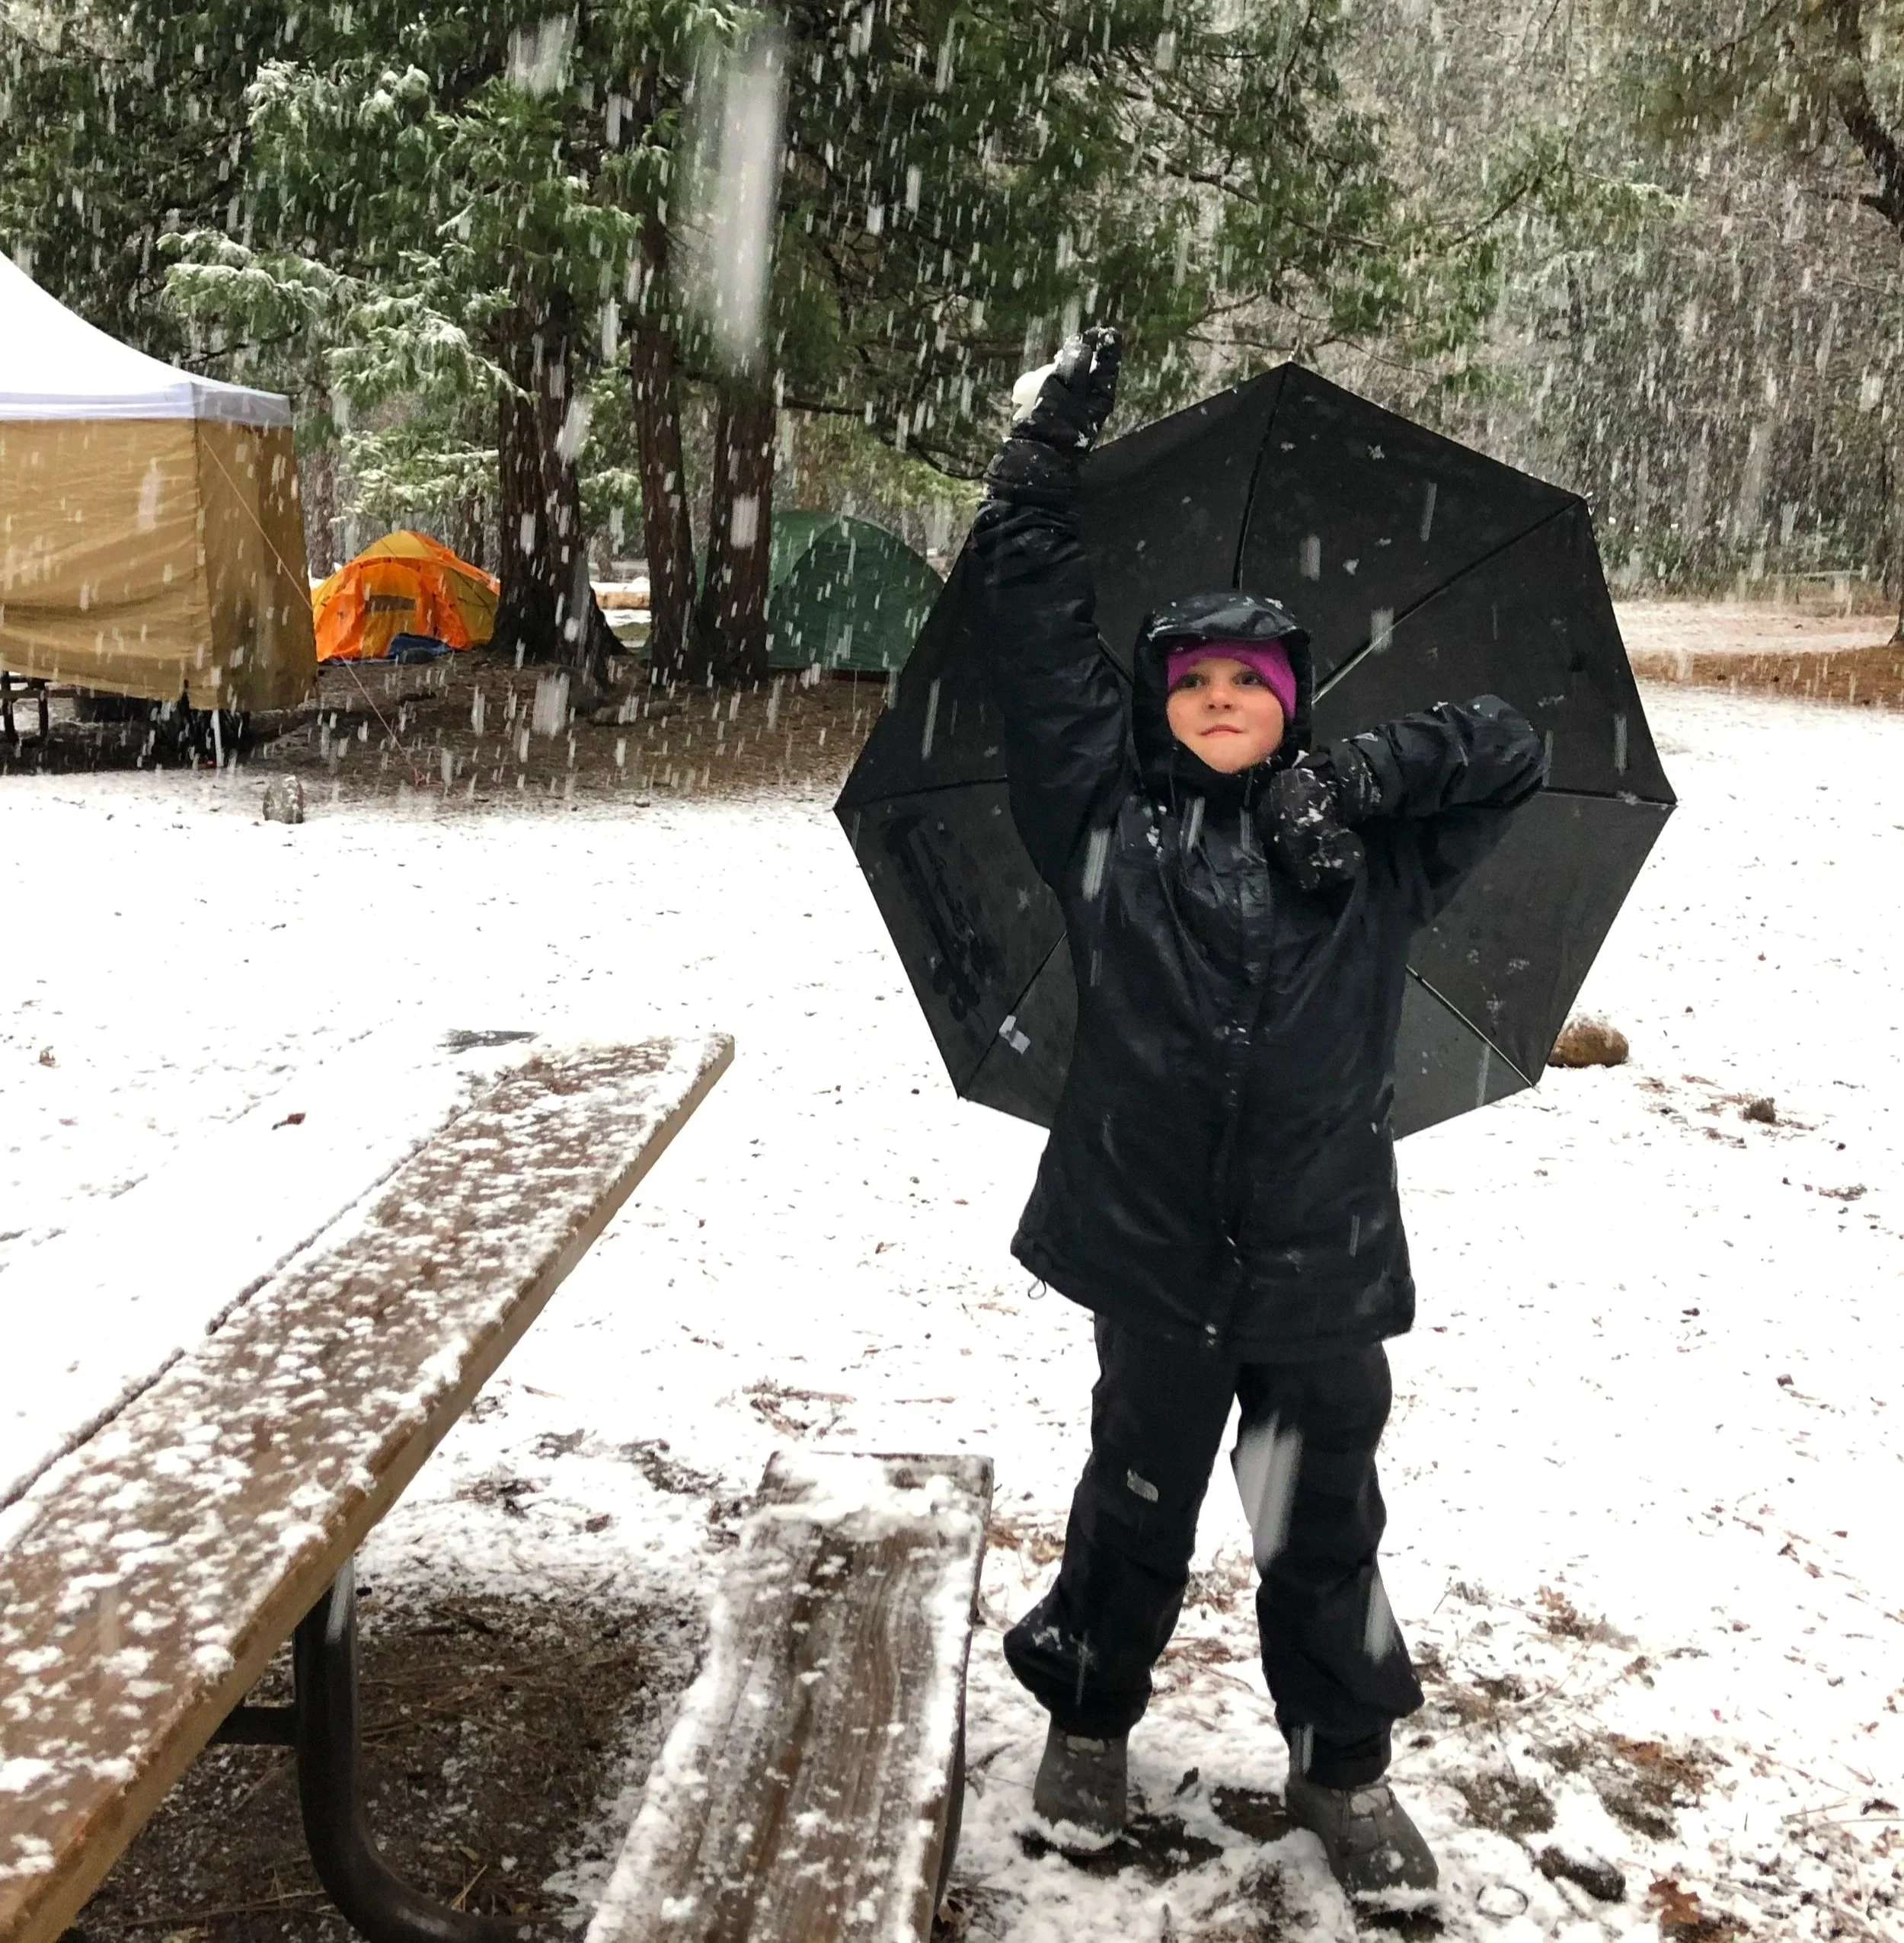
Hike with an umbrella when conditions allow. Even when rain is not forecast, I carry an umbrella while hiking and open it as soon as snow begins falling. Snow collecting on clothing and hair eventually melts, and nothing makes me colder faster than becoming wet. This has been one of my most effective personal tricks in light or moderate snowfall. Avoid using an umbrella in high winds, beneath branches, on technical terrain or whenever it interferes with balance, visibility or trekking poles.
✨ Pro Tip: A lightweight hiking umbrella is one of my favorite unexpected pieces of winter gear. It can keep falling snow from soaking your hair and clothing, but I only use it in gentle conditions (no strong wind) where it won’t interfere with my balance or visibility.
Consider vapor barriers only for specialized trips. Vapor-barrier liners can help manage moisture during extended expeditions but require experience because they intentionally trap perspiration. Test the system before depending on it.
Bring a small absorbent towel. Use it to wipe condensation from the tent and keep water away from your sleeping bag.
Slow everything down. Travel, setting camp, melting water and cooking all take longer in winter. Build generous time into the itinerary and turn around earlier than you would in summer.
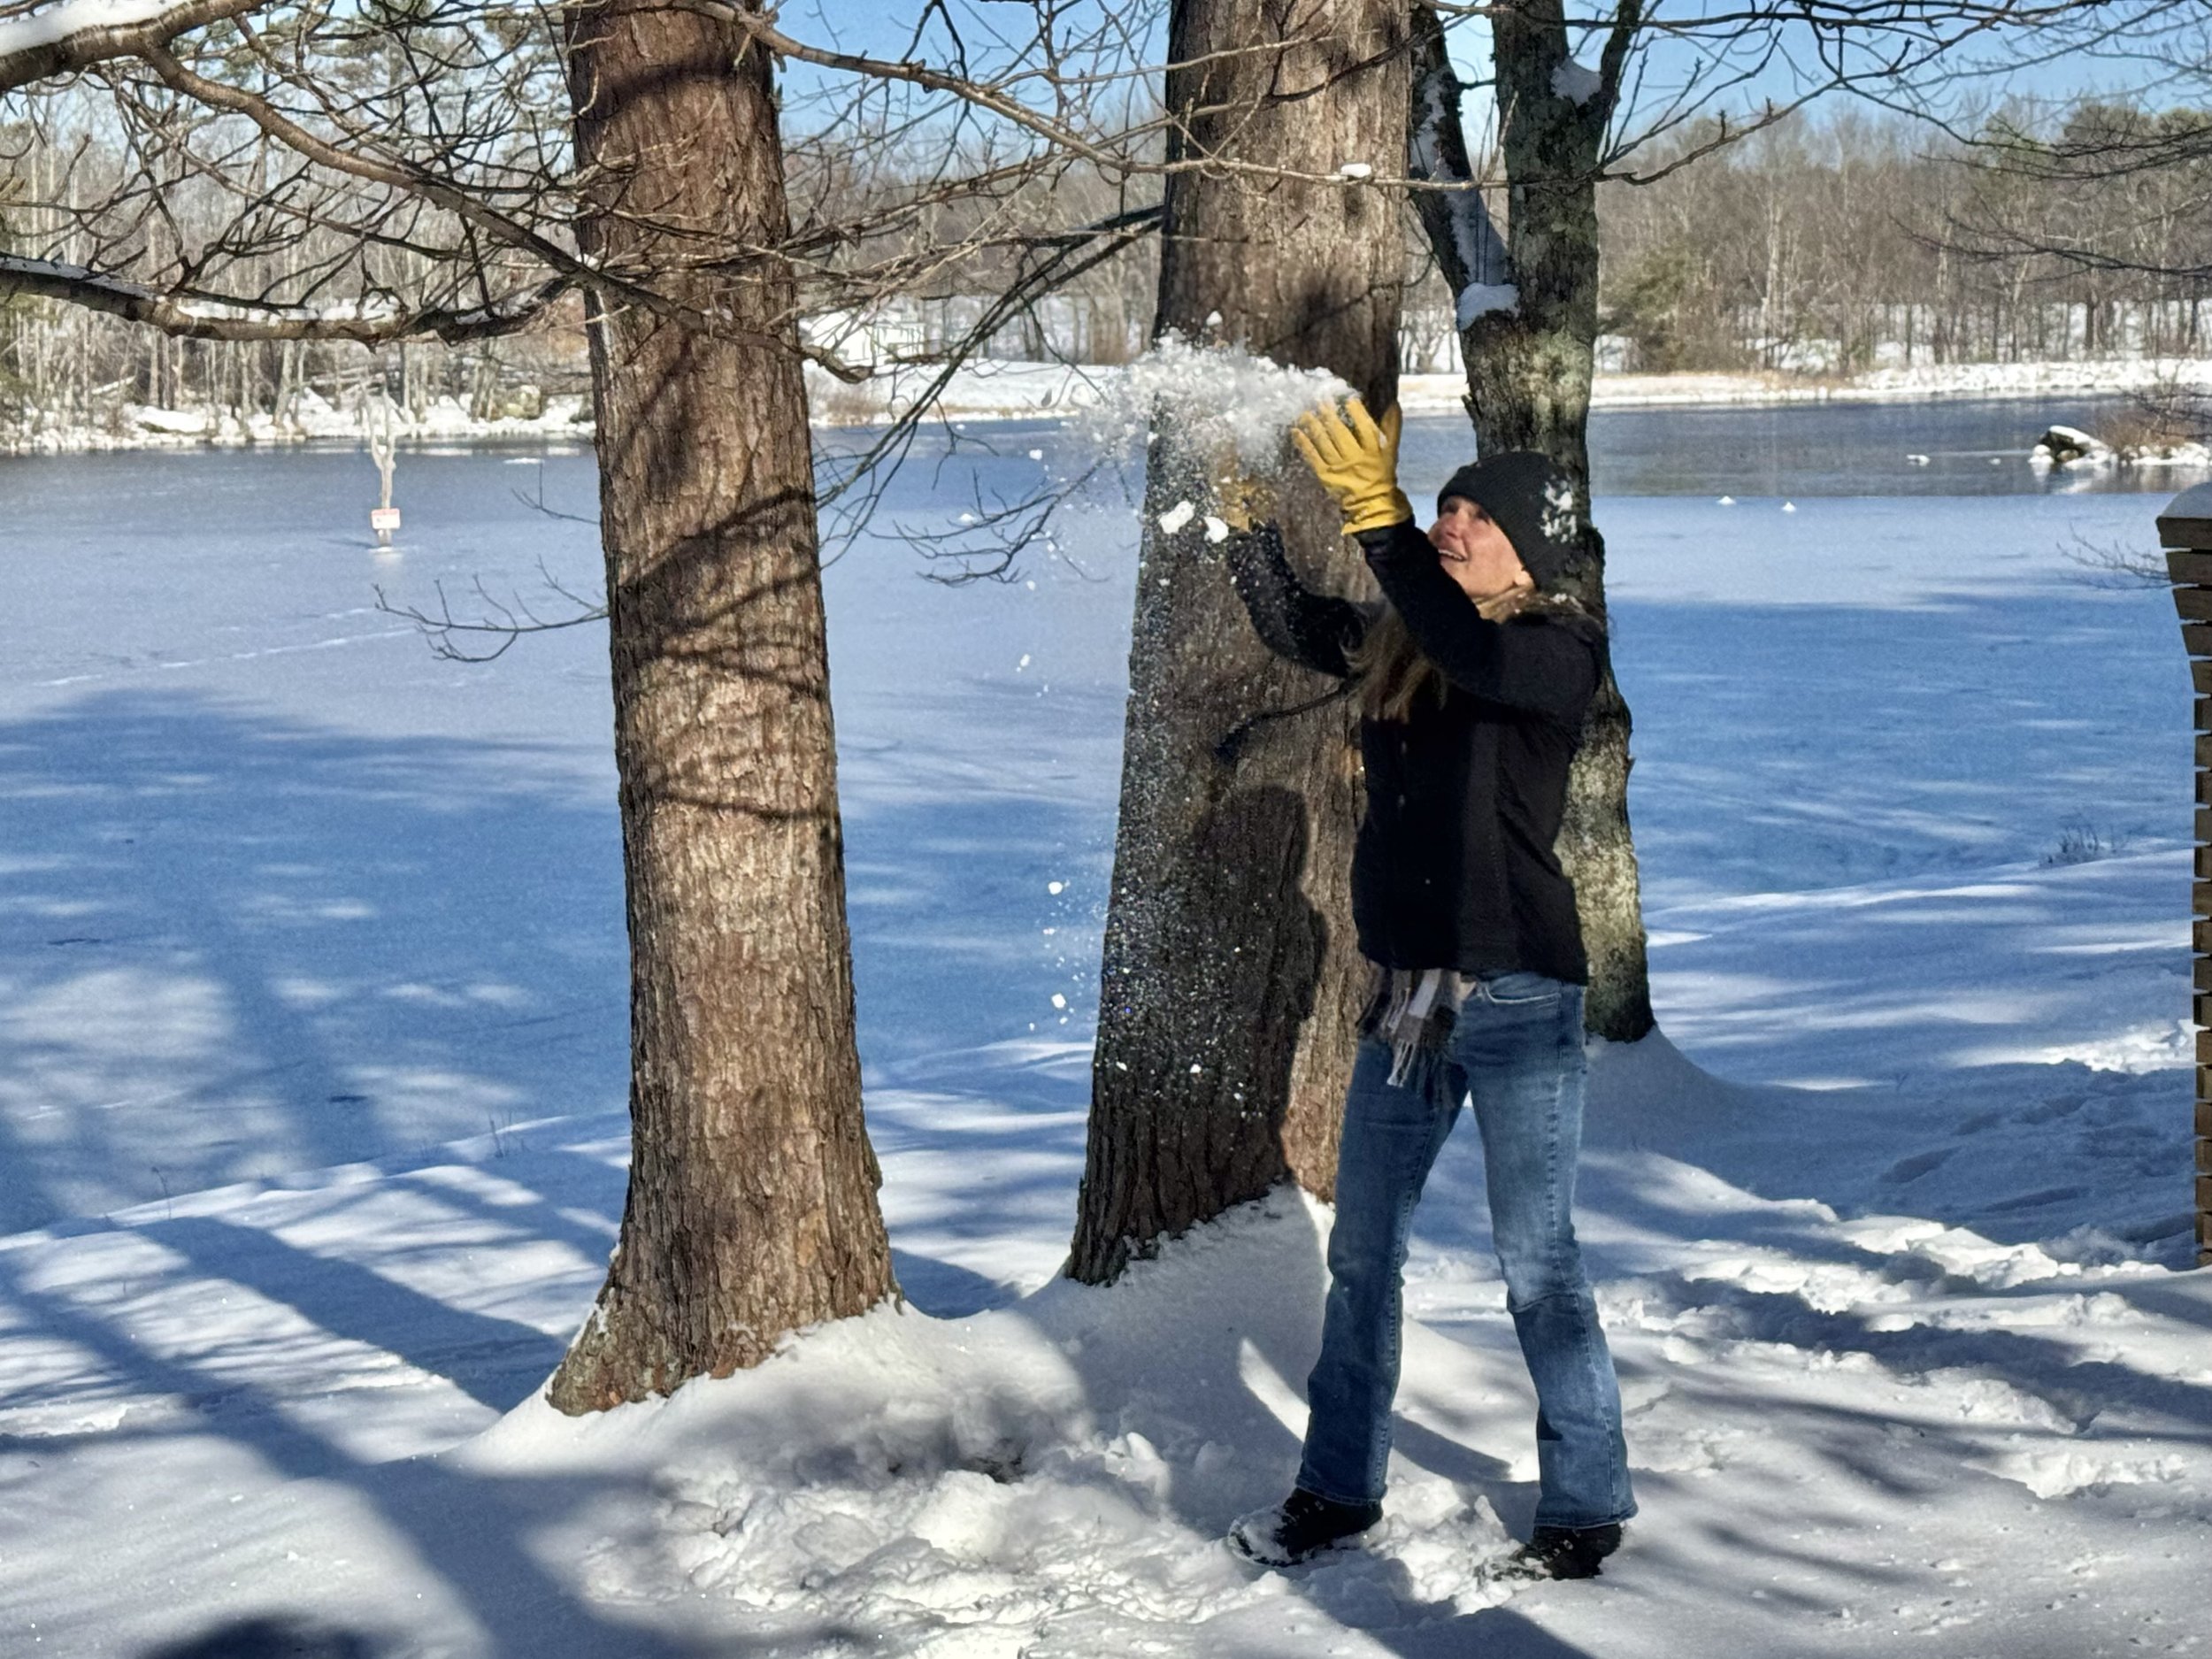
✅ Complete Winter Camping Checklist
Use these checklists as a starting point and adjust them for your destination, the weather forecast, the activities you have planned, and how far away you camp from emergency assistance. Some may not be necessary while others should not be skipped.
👉 Shop My Winter Camping Essentials: Get my complete Amazon list of the cold-weather gear, clothing, and campsite essentials I recommend for staying warm, safe, and comfortable in the snow.
Shelter and Sleep System
☐ Four-season tent or shelter appropriate for expected conditions
☐ Snow stakes or deadman anchors and extra cord
☐ Sleeping bag with an appropriate tested comfort rating
☐ Insulated sleeping pad plus closed-cell foam pad
☐ Sleeping-pad repair kit
☐ Dedicated dry sleep clothing
☐ Optional second compatible sleeping bag, dry scarf or light blanket for a personally tested nested sleep system
☐ Small absorbent towel for tent condensation
Clothing
☐ Synthetic or wool base layers
☐ Insulating fleece or puffy layers
☐ Waterproof and windproof shell jacket and pants
☐ Insulated waterproof boots and gaiters
☐ Warm hat, neck gaiter, gloves or mittens and spares
☐ Multiple pairs of wool or synthetic socks
☐ Sunglasses or goggles and sunscreen
Cooking and Water
☐ Cold-weather stove, stable base, fuel and repair kit
☐ Lighter plus waterproof backup ignition
☐ Cookware and insulated cup
☐ Water treatment and insulated bottles
☐ Food plus at least one emergency day
☐ Wildlife-resistant food-storage system where required
Navigation and Safety
☐ Map, compass and GPS as appropriate
☐ Headlamp and spare batteries
☐ First-aid kit and personal medications
☐ Shovel and traction or flotation equipment
☐ Emergency bivy, signaling equipment and fire starter
☐ Satellite messenger or personal locator beacon for remote travel
☐ Avalanche rescue equipment and training when entering avalanche terrain
☐ Repair kit, knife or multi-tool and duct tape
Vehicle Kit
☐ Chains or approved traction devices
☐ Shovel, ice scraper and traction material
☐ Jump starter and portable charger
☐ Warm blankets, extra food and water
☐ Warning lights or reflective triangles
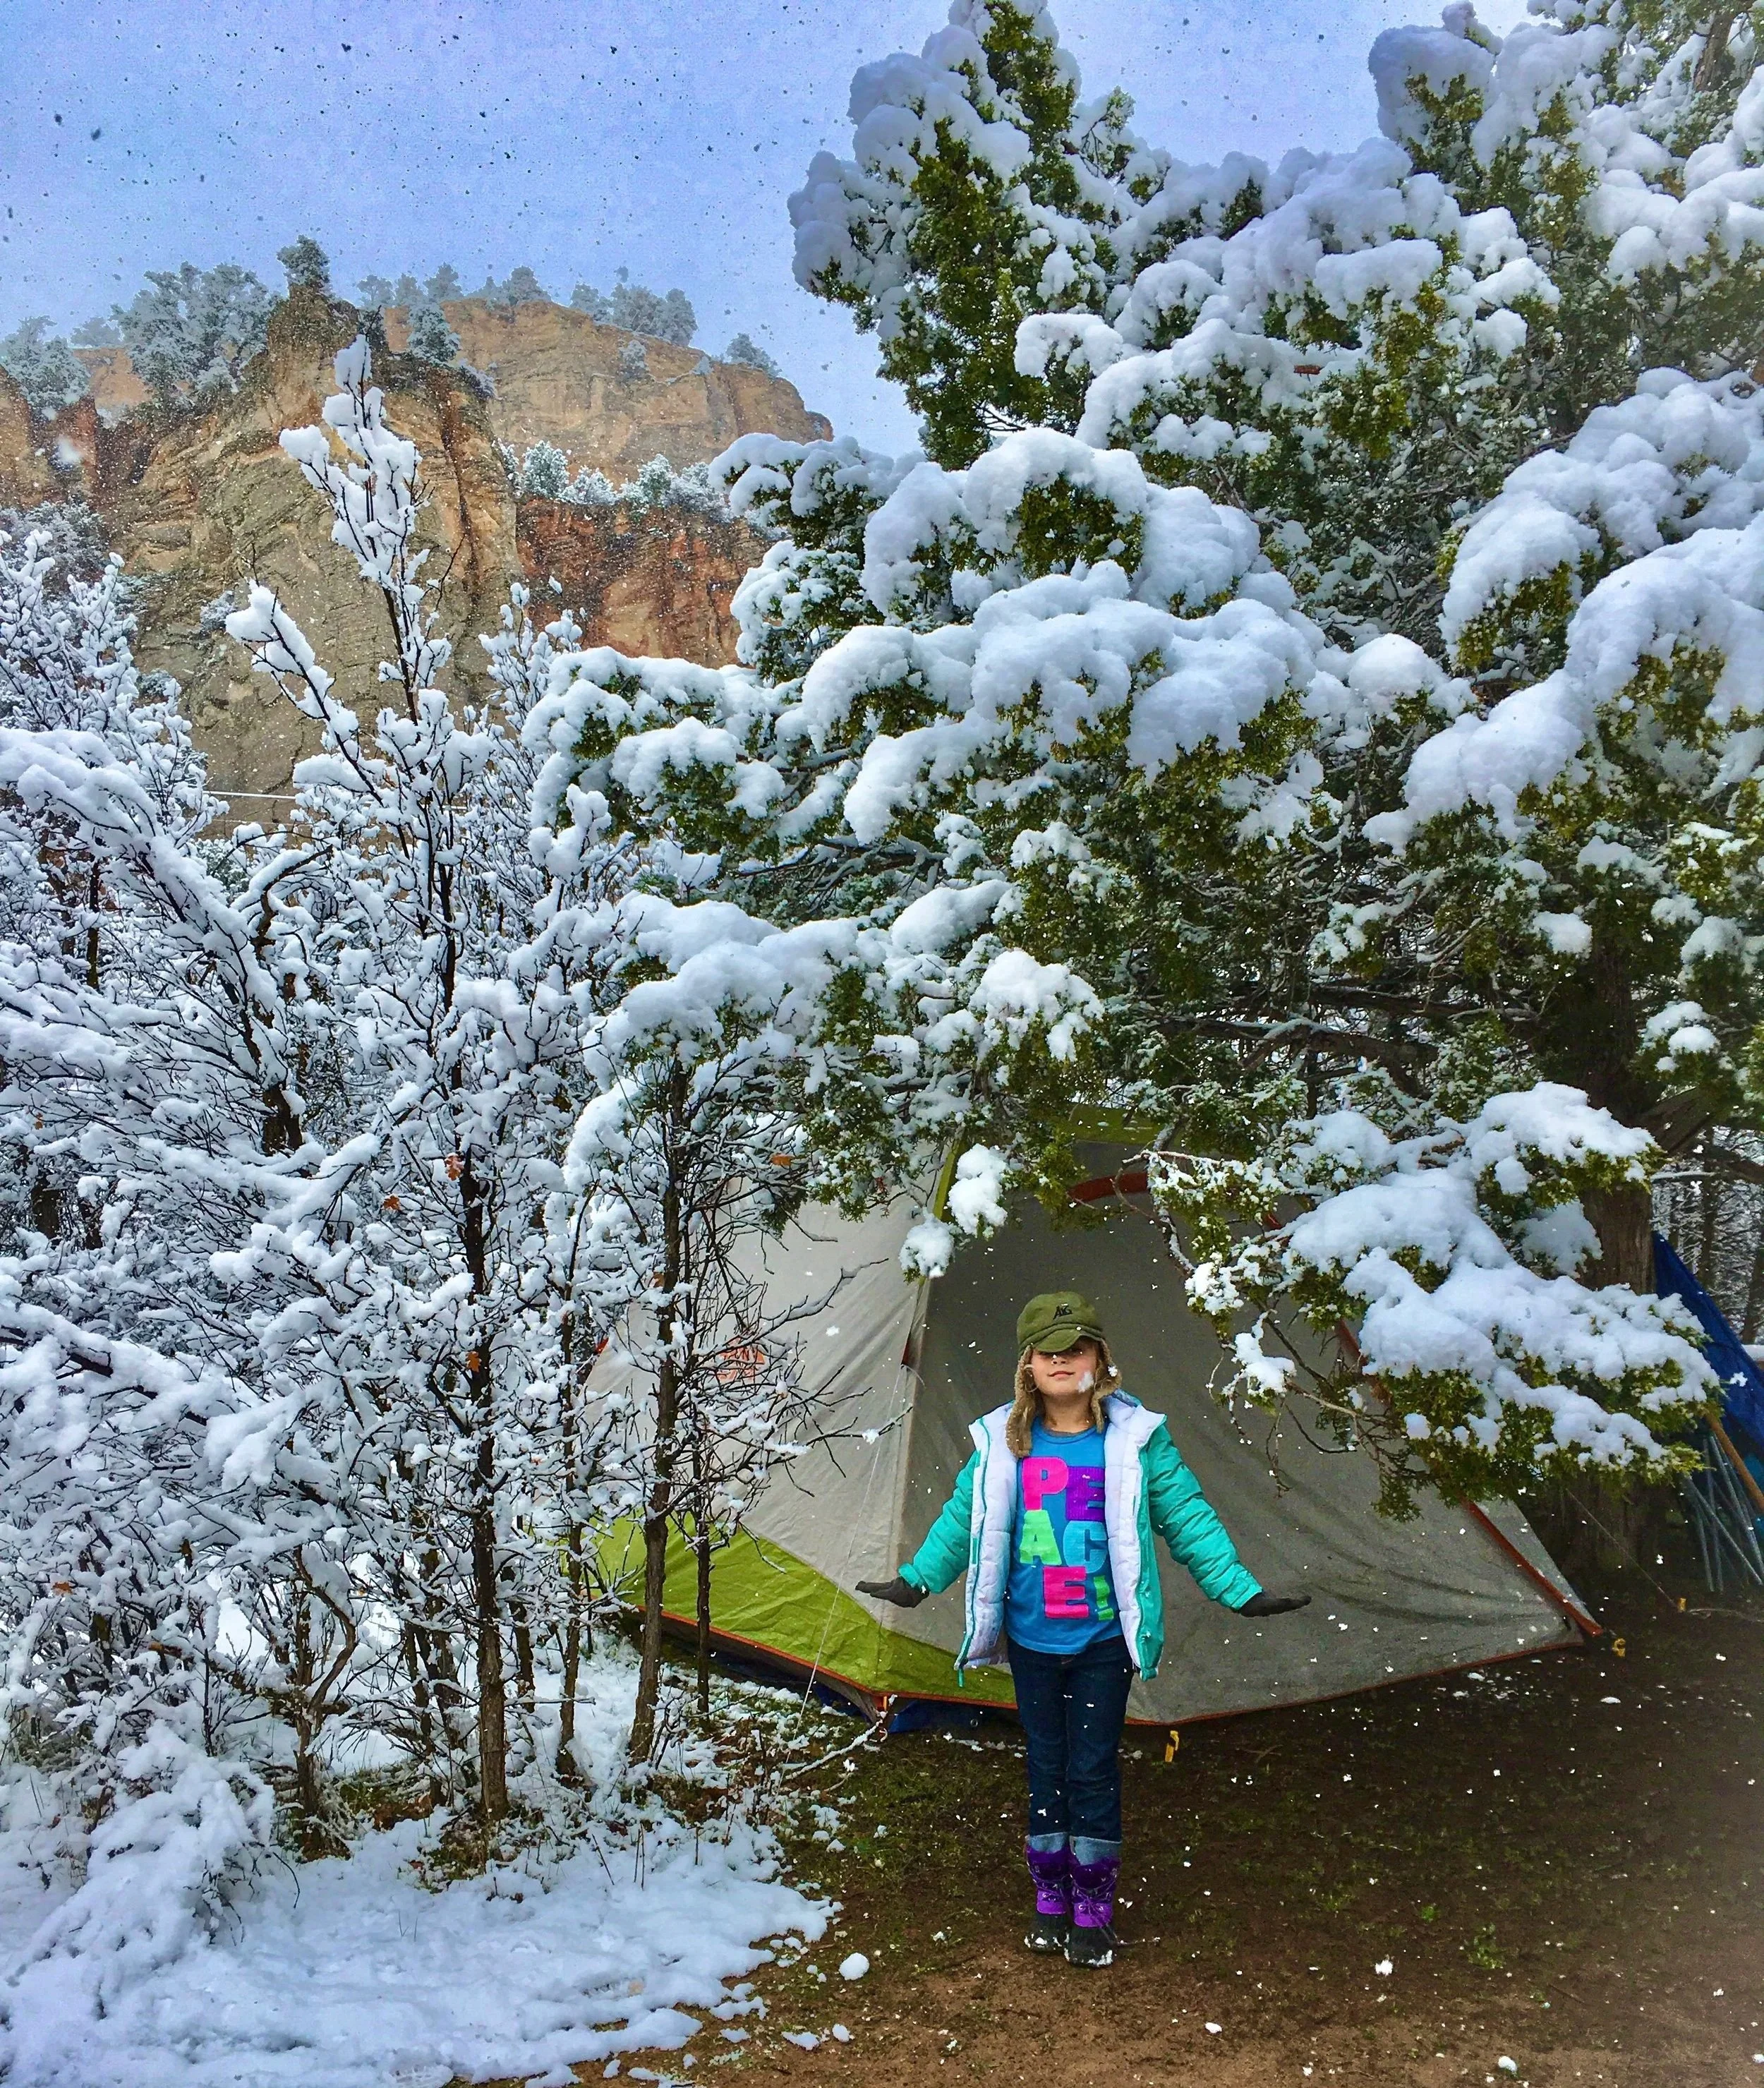
Frequently Asked Questions
Still deciding whether winter camping is right for you? These answers address some of the most common questions I get from people when I tell them how much I love tent camping in the snow.
Is winter camping safe for beginners?
It can be, provided beginners start conservatively at an accessible developed campground, use gear appropriate for the forecast and avoid avalanche terrain. A first trip with an experienced winter camper or professional guide is strongly recommended.
How cold is too cold for winter camping?
There is no universal cutoff especially with the right gear. The answer depends on your experience, shelter, sleep system, weather, wind, access to help, and ability to recognize cold-related illness. Beginners should choose mild, stable conditions and postpone the trip when forecasts exceed their equipment or skills.
Do I need a four-season tent?
For exposed locations, heavy snowfall or strong winter winds, a four-season tent is the safer choice and what I recommend based on my own experience. A sturdy three-season tent may work in a protected developed campground during mild, dry conditions, but only when the forecast and manufacturer’s specifications support it.
What sleeping-pad R-value is best for snow?
An R-value of 4.0–5.4 is commonly treated as cold-weather insulation, while 5.5 or higher is intended for more extreme cold. Choose based on the actual forecast and pair the pad with a suitable sleeping bag. Many winter campers combine an insulated inflatable pad with a closed-cell foam pad.
Can I use a camping stove inside my tent?
No. Camping stoves can produce carbon monoxide and create a serious fire hazard. Cook outside in a stable, well-ventilated location away from tent fabric, dry vegetation, and other flammable materials.
Can I melt snow for drinking water?
Yes, but start with a small amount of liquid water in the pot, add clean snow gradually and treat the finished water when required. Melting snow consumes considerable fuel, so plan accordingly.
Do I need avalanche equipment?
If you will enter avalanche terrain, every member of the group needs a transceiver, probe and shovel as well as the education and practice required to use them. Beginners without avalanche training should always choose routes and campsites completely outside avalanche terrain.
Winter camping takes more preparation than an ordinary camping trip, but waking up to a quiet landscape covered in untouched snow makes the extra effort worthwhile. Start somewhere accessible, test your gear before relying on it in remote conditions, and never hesitate to change your plans when the weather exceeds your experience or equipment.
Most importantly, give yourself time to enjoy it. Some of my favorite winter memories have come from those incredibly quiet moments when the snow was falling, the campsite was warm and organized, and the rest of the world felt wonderfully far away.
🏕️ More Camping Guides
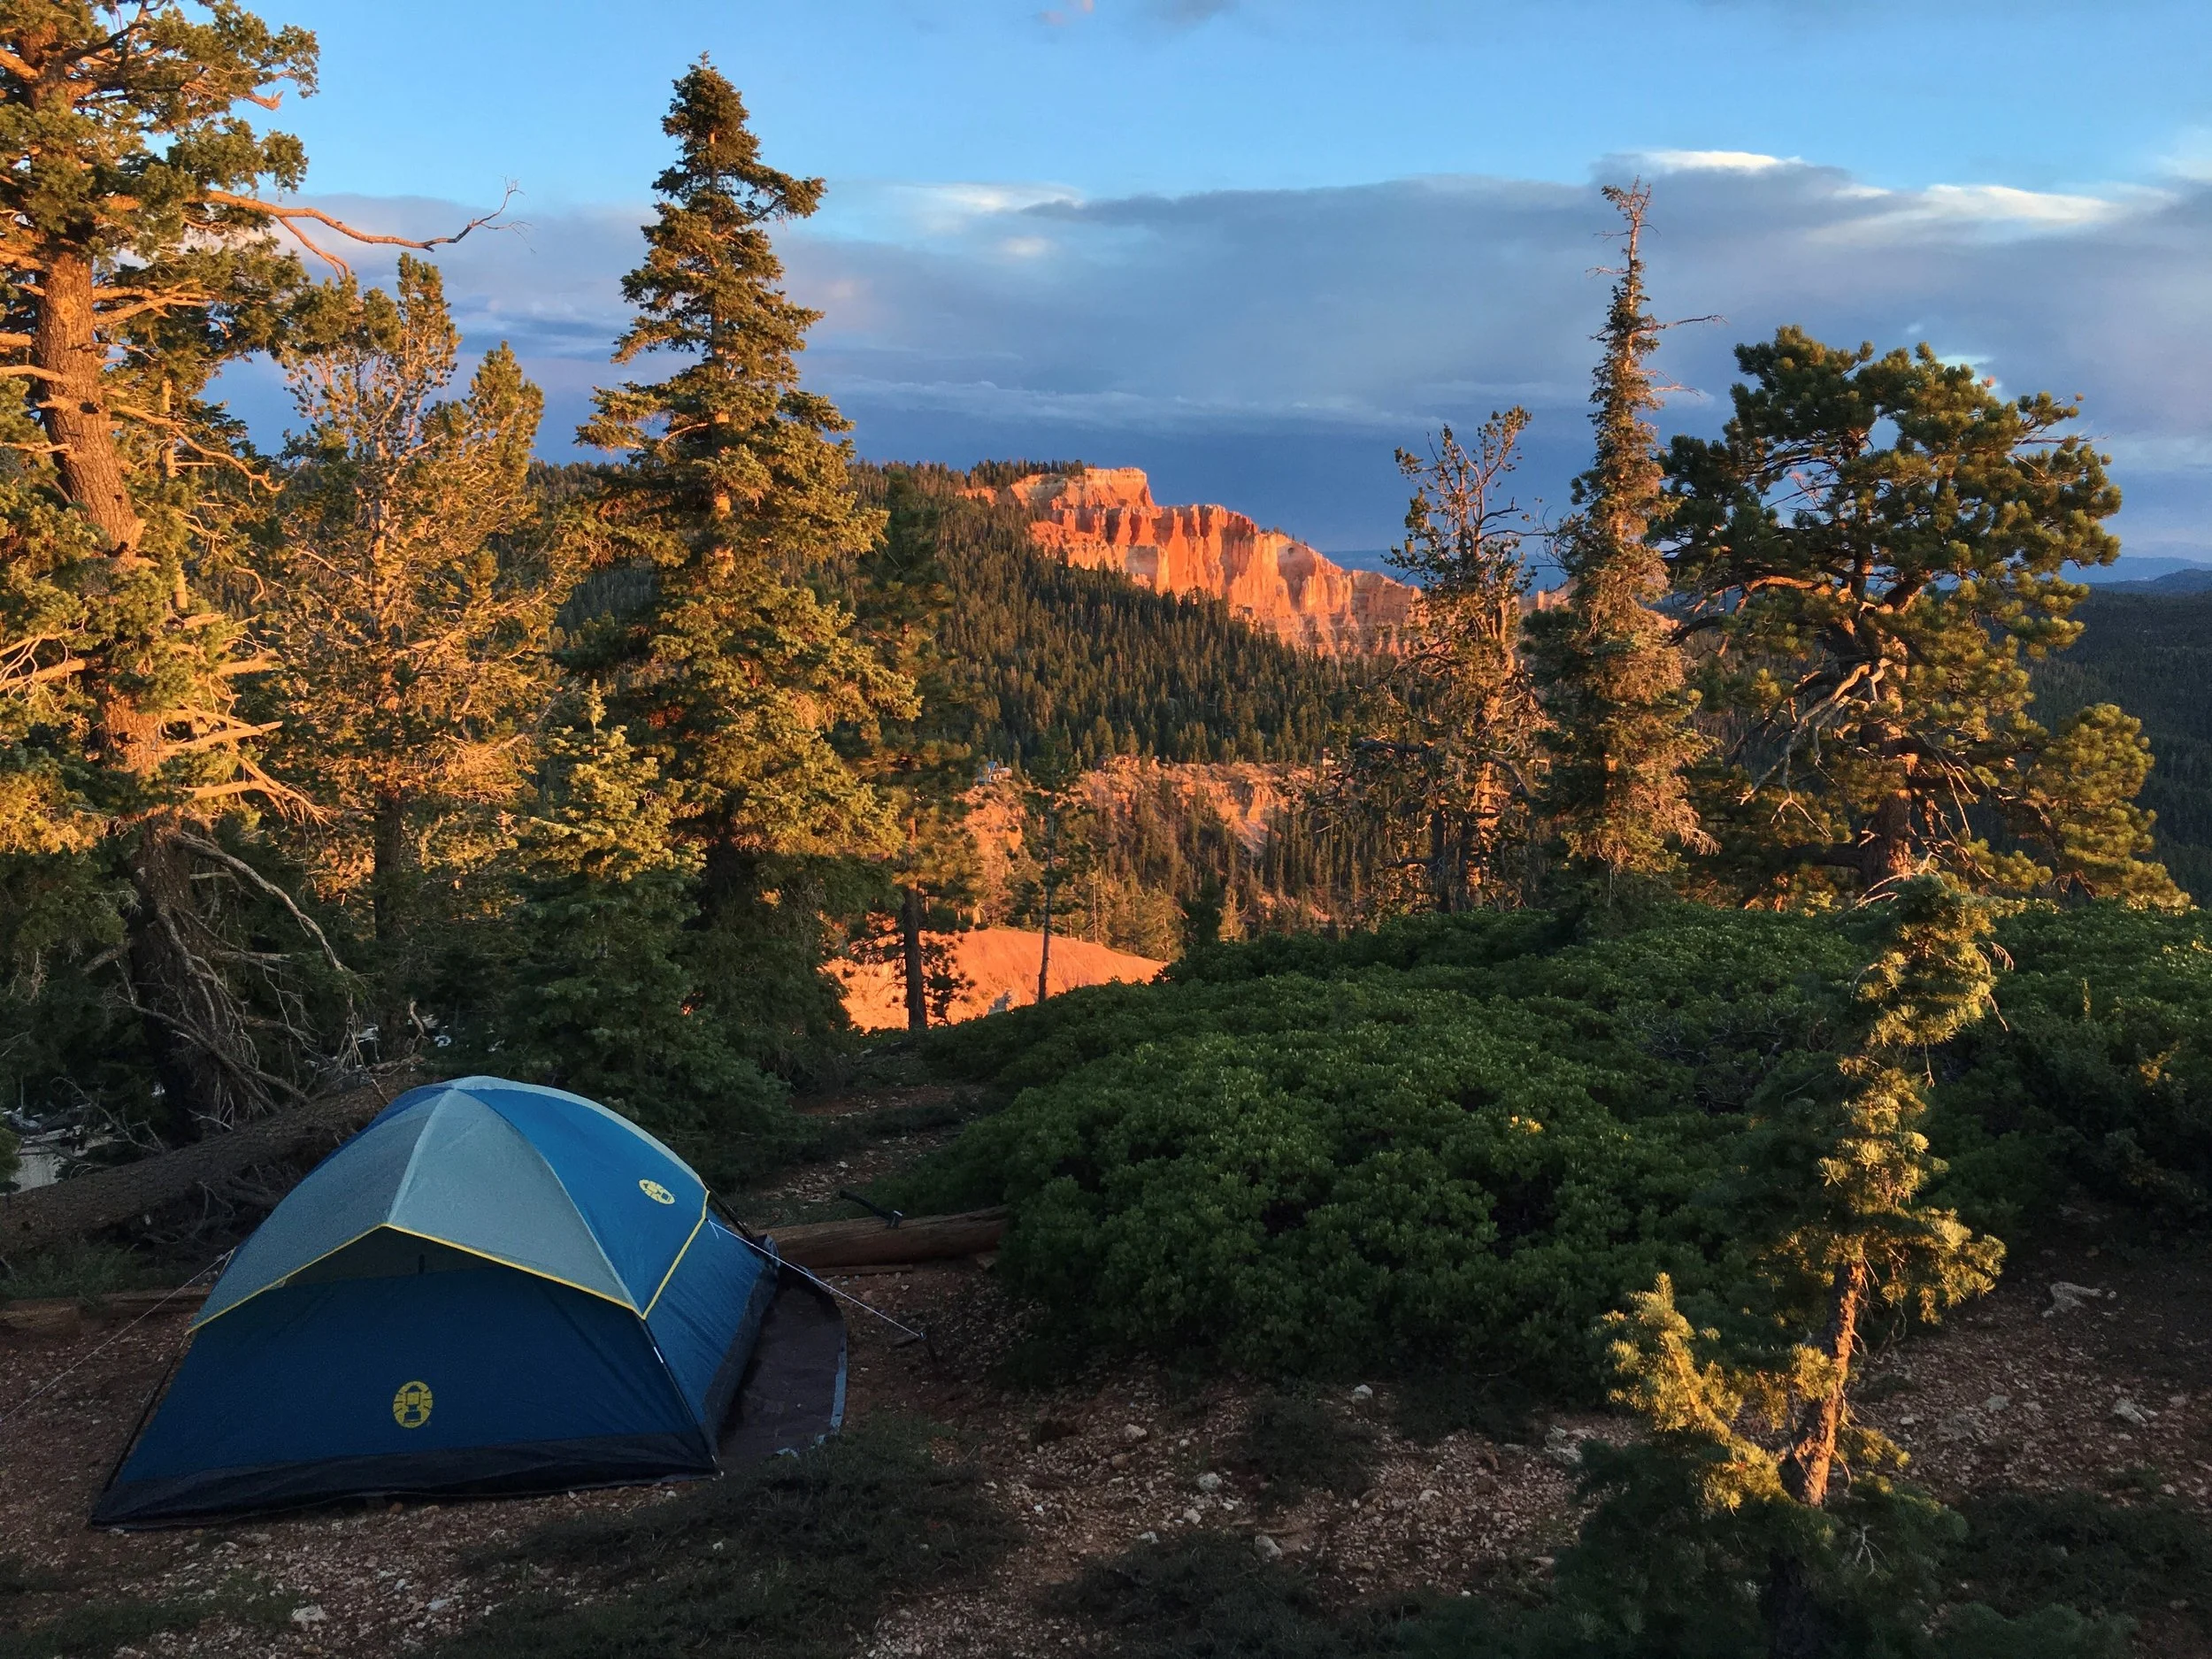
Camping Checklist: Things to Do Before Leaving Home
Summer Camping Tips to Keep You Cool - How to Beat the Summer Heat